
Editor’s Note: If you were at these demos or are just now reading this article and feel like you learned something then please consider donating to our Tip Jar! It helps us us bring the education and fun directly to you!
This was a new convention experience for us. We had known of Ushicon for a while but none of us had yet to attend. Part of the reason for that was that the previous venue we felt wasn't really designed for something like an anime convention. Then last year we found out that Ushicon would be moving to the same venue as Okashicon. Which certainly had a lot more space. Since we had presented demos at Okashi before we knew that the available panel rooms could be workable with things we wanted to present. Plus since it's a convention aimed at an older crowd the potential for a more chill vibe overall also intrigued us.
We submitted both our Light Painting and Cosplay Shot demos and they were both accepted.
Light Painting and Cosplay Photography
3/10/20 Update: Karsten’s Chronicle actually came out and recorded this demo… which is now available on YouTube. Make sure to check out the channel with more coverage from Ushicon and other cons around Texas!
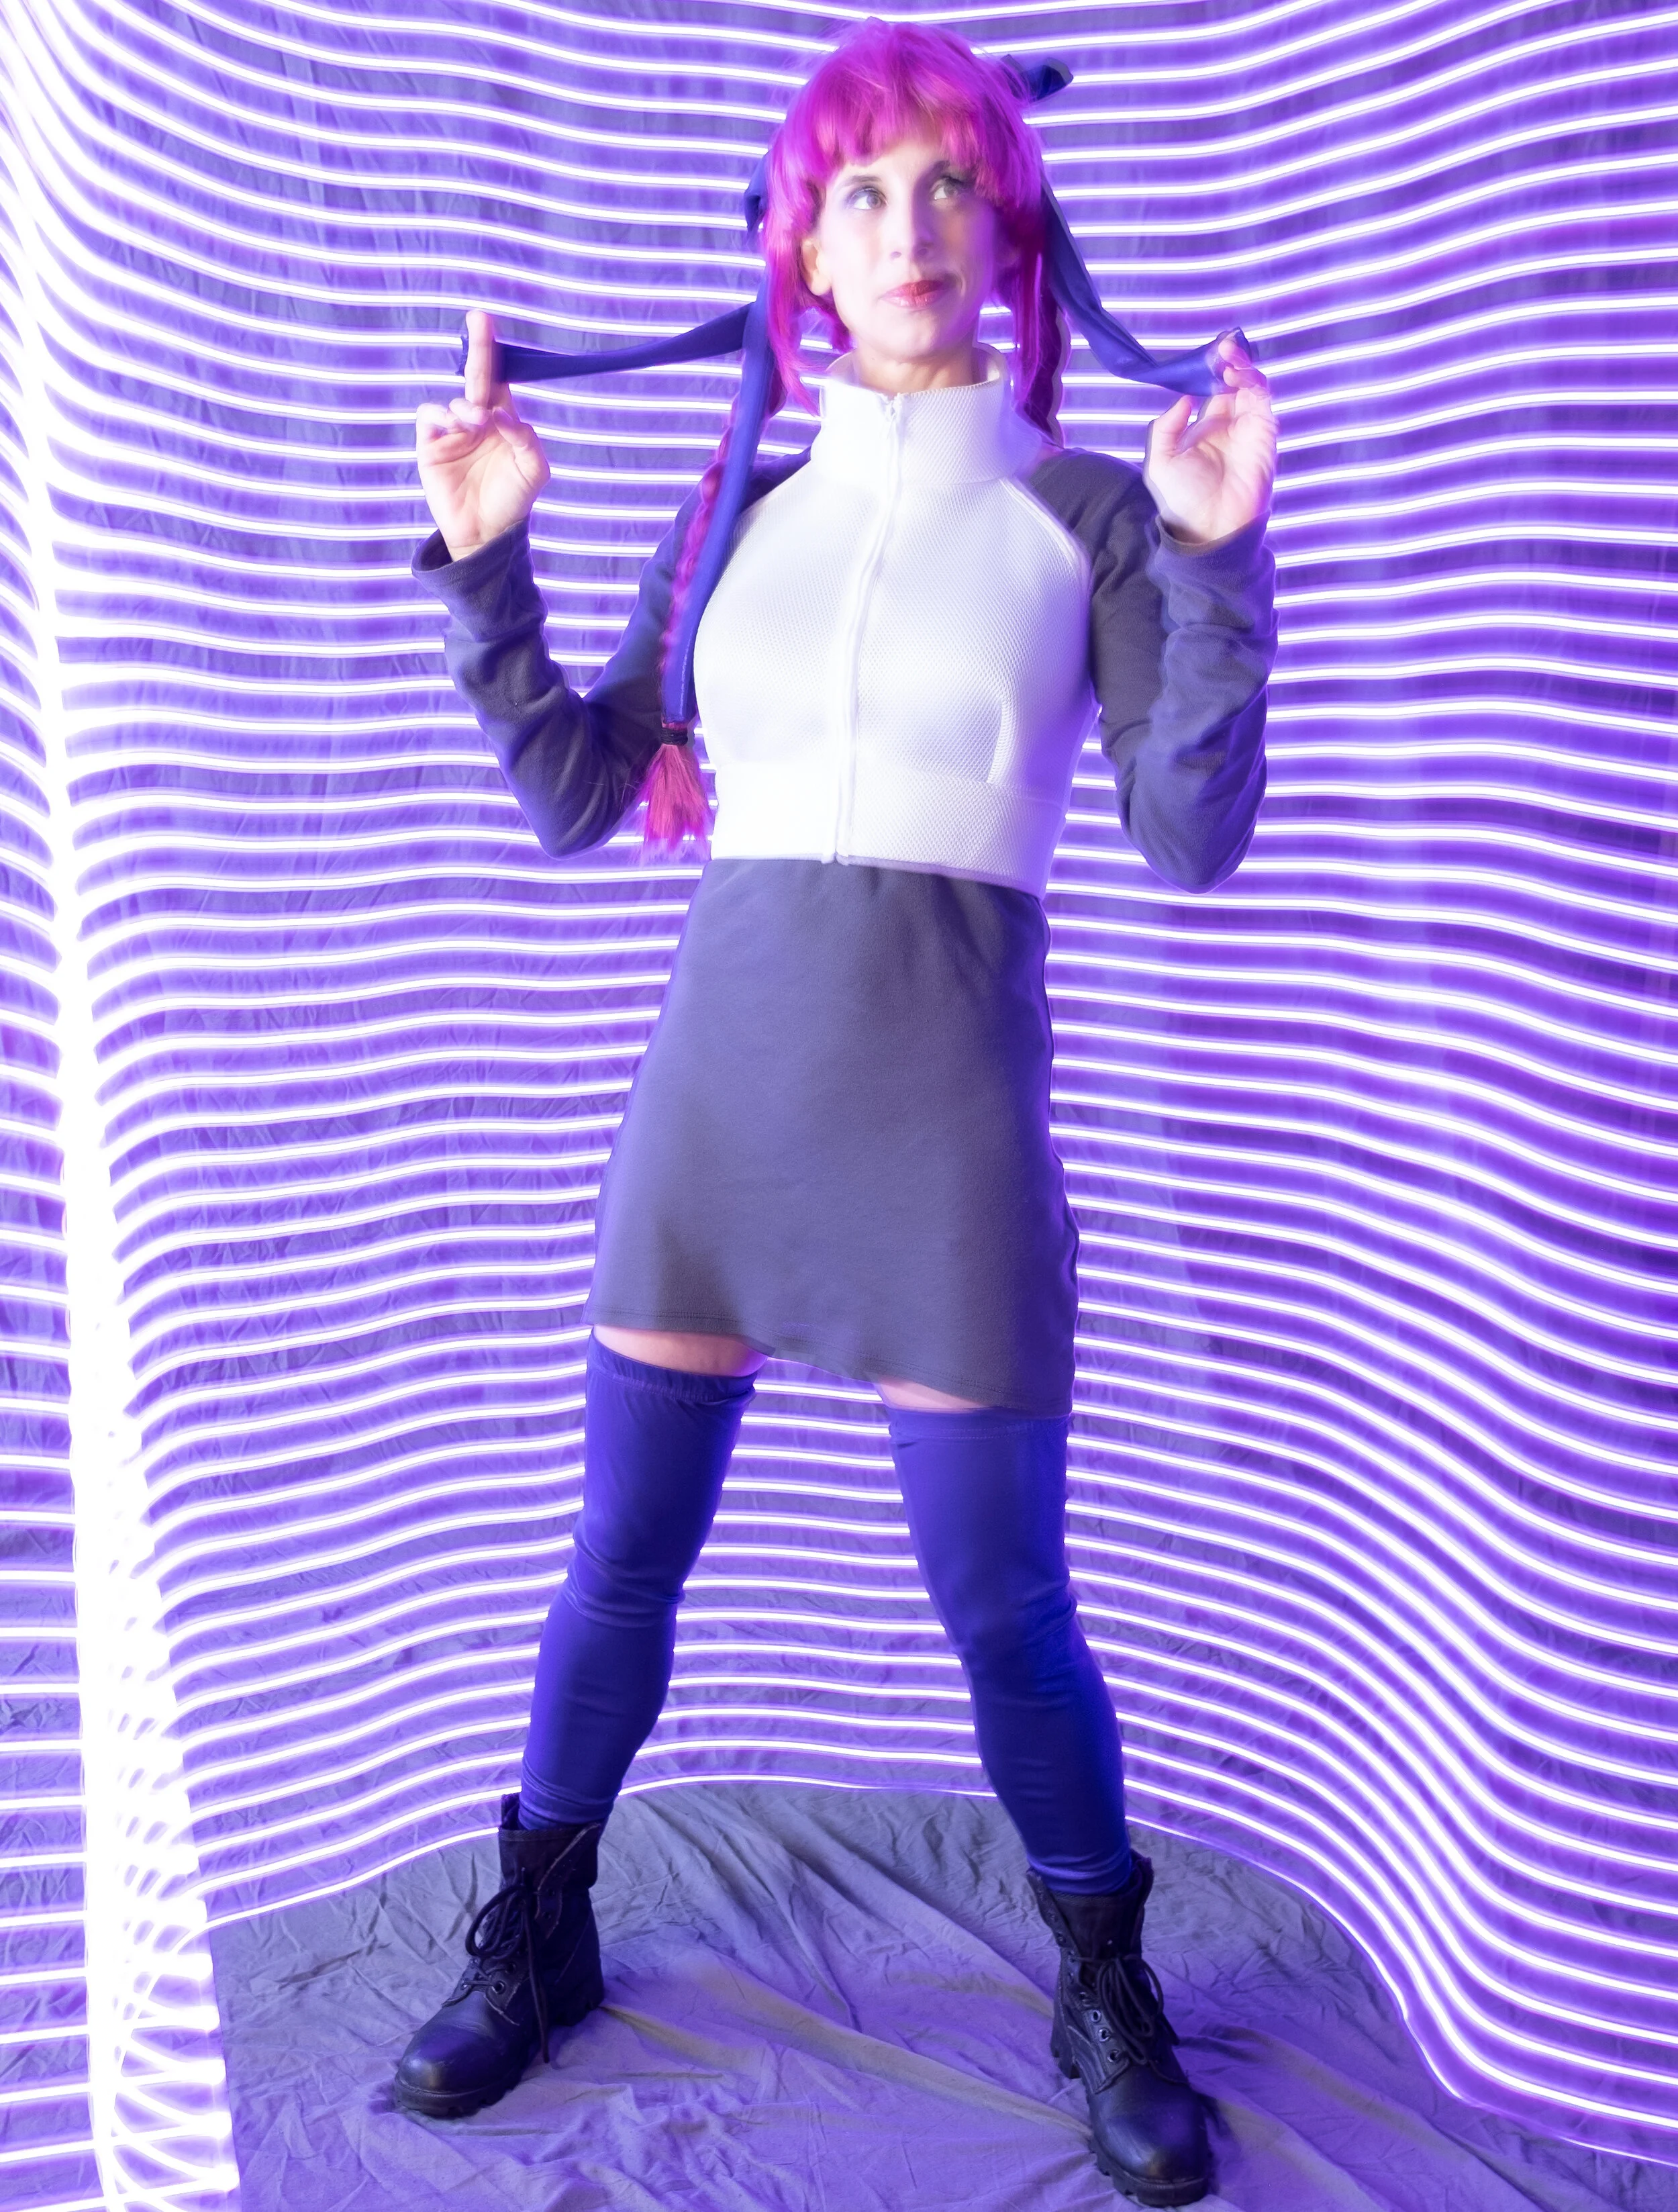
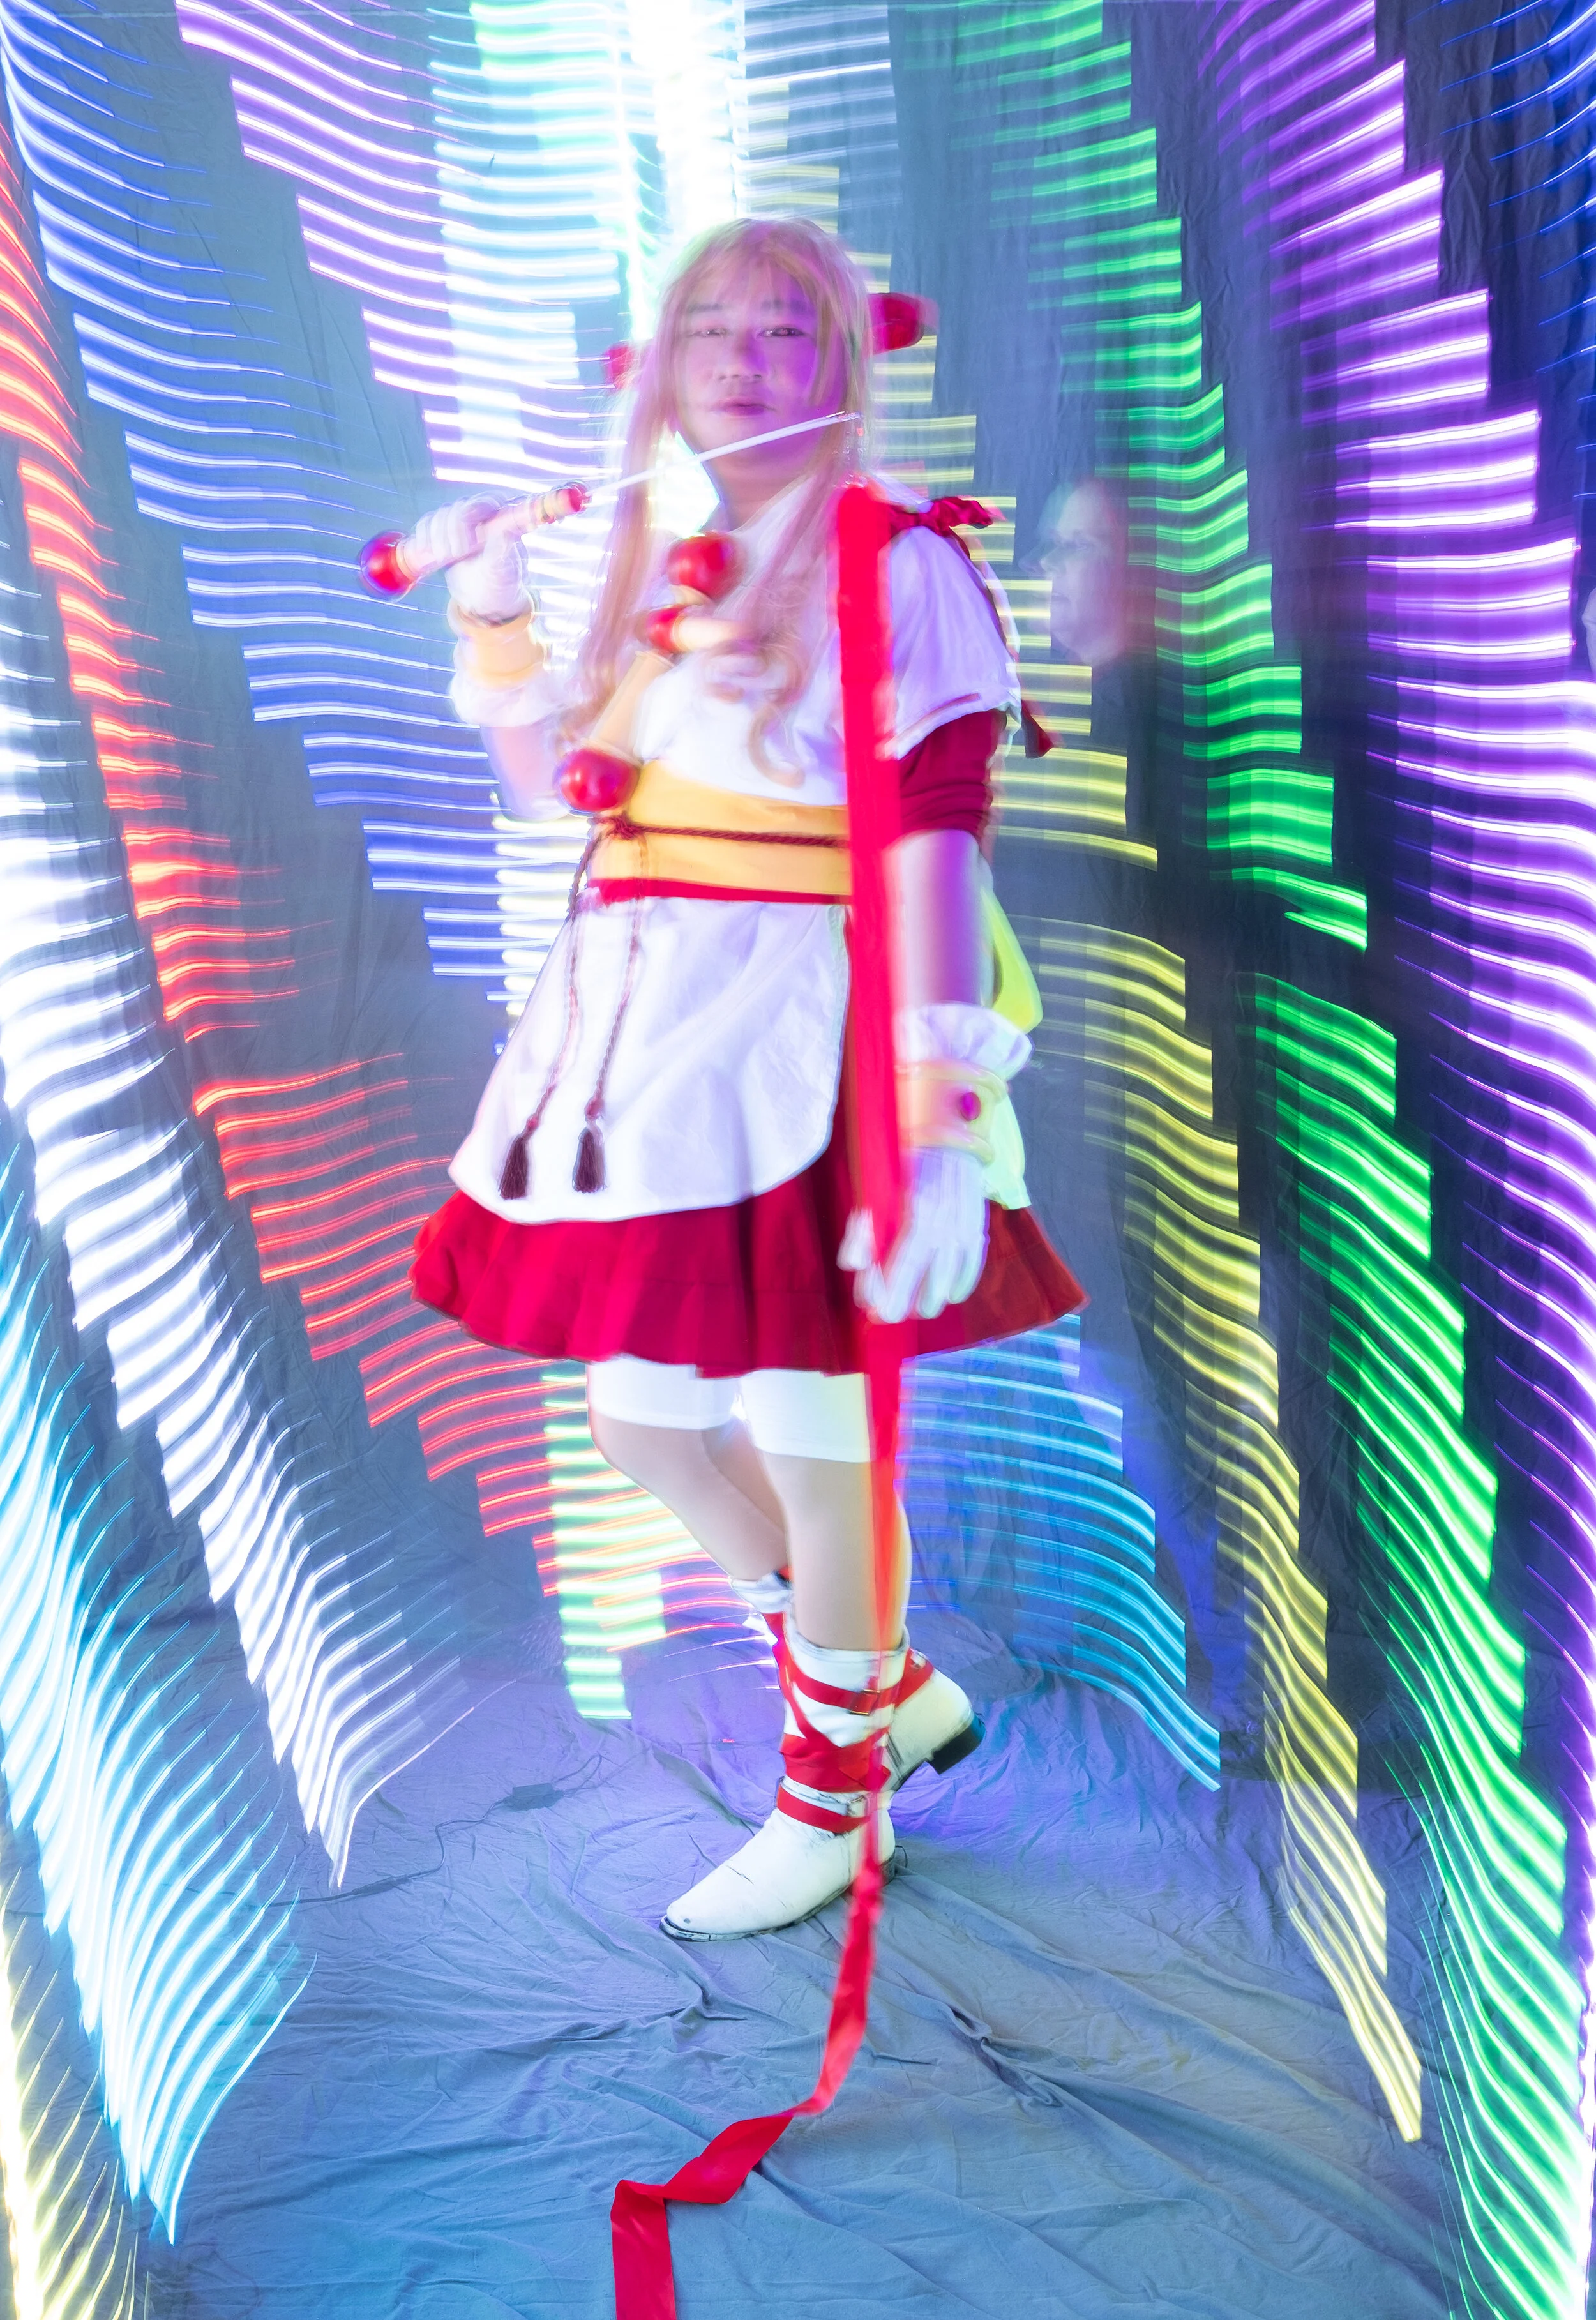
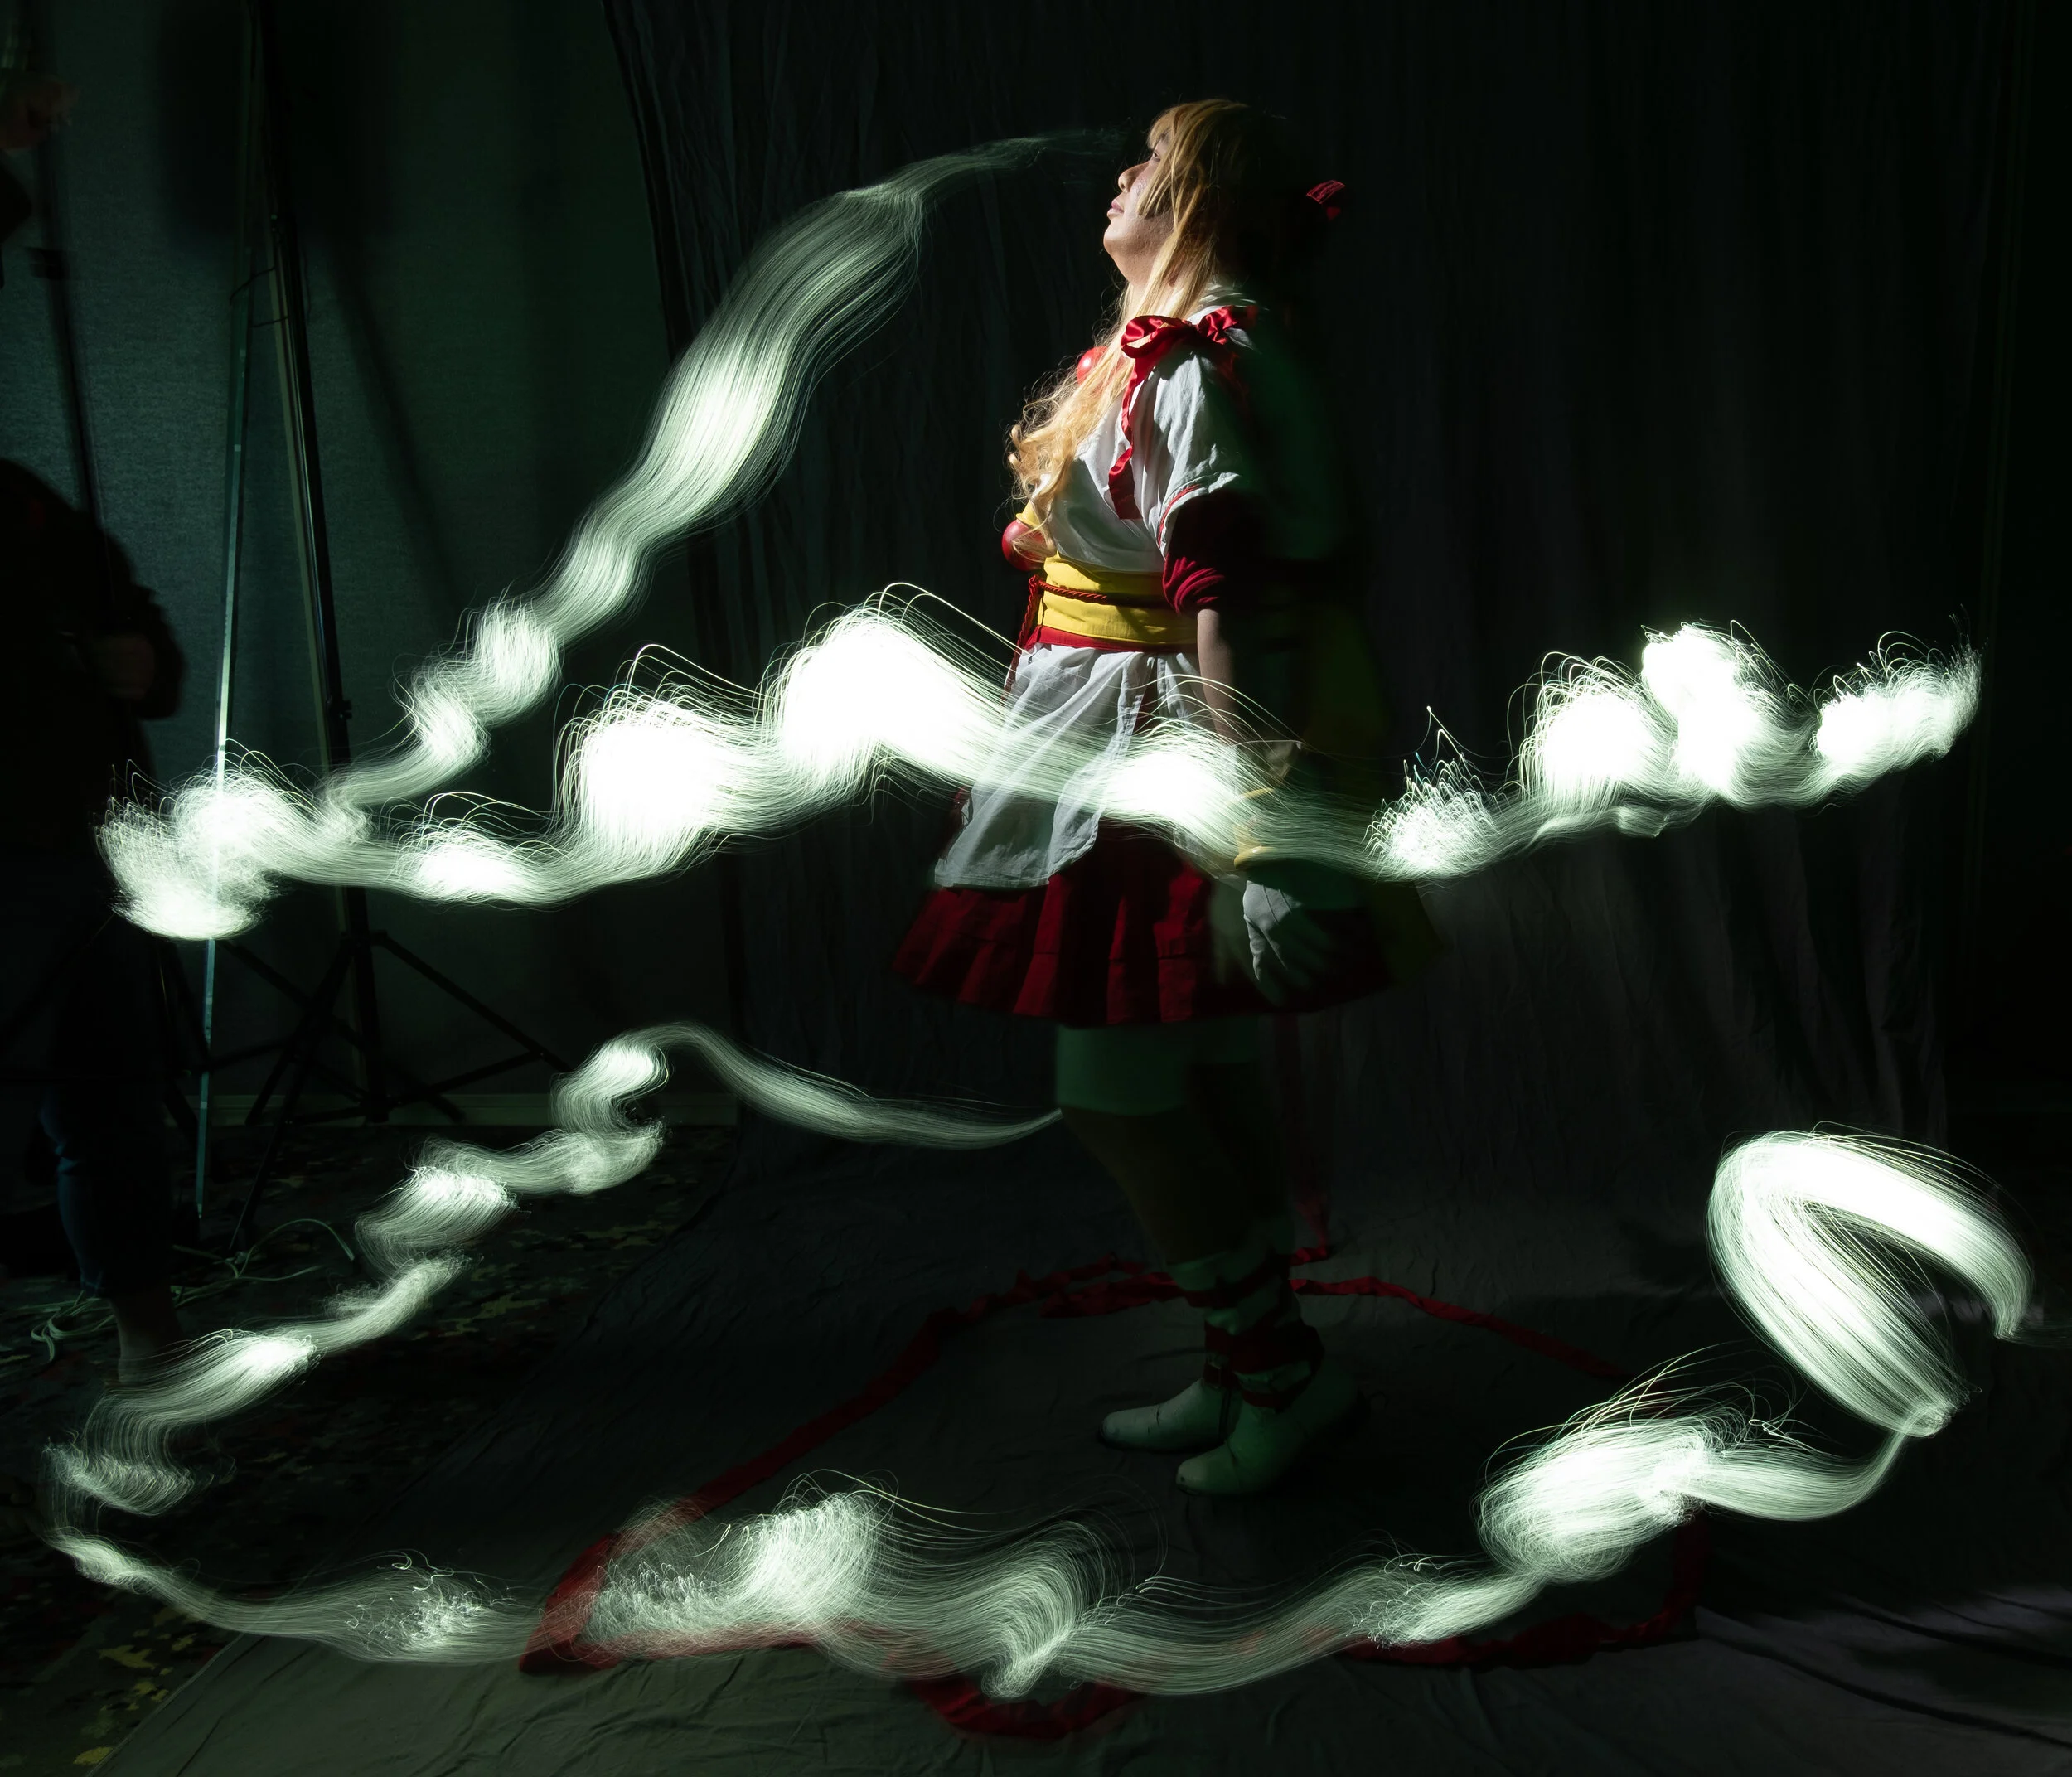
Since we had put on this demo twice I knew I wanted to change things up. With Ikkicon we had the 90 minute run time we wanted. But even with that there were still quite a few techniques we hadn't shared with the audience just due to time. Knowing that I wanted to make sure we could go cover those and bring something new to this crowd. One other big piece I wanted to explore was applying these techniques in more of a three dimensional space. In previous versions of this demo we applied them as purely background elements. But there was so much more than that to light painting we wanted to show that off.
We also changed up the intro. Before we'd do something dumb with fairy lights. This time around I had Tacocat wave around an old smartphone I had with a rainbow gradient displayed. It helped illustrate the initial concept. And also damned near everyone has a smartphone. So we introduced an easily accessible path with that.
We did use a different LED strip kit from PPA International for this demo. I had been wanting to use it for a while since it was capable of more colors and different display modes compared to the Tzumi kits we've used in the past. The fun part was that the strips are eight feet long. With the Tzumi strips only being six feet I could easily tape it to a monopole. But not with the PPA kit. Using something like wood or PVC pipe wouldn't work since they'd wobble too much. I finally came across aluminum U-channel moulding... and it was a lot more stable for our purposes.
Also the PPA set was actually TWO eight foot strips with a connecting wire in between. With that along with some of the display modes I thought it could lead to some interesting results. Especially with trying to apply them within a 3D space.
One thing that didn't come to mind with the PPA set versus the Tzumi sets was the difference in default brightness power. The Tzumi gear would run off of five volts. The PPA kit needed twelve volts. So default brightness was a lot higher. That will be something to keep in mind especially with cosplayer posing since it could highlight possible slight movements. Having way more options for colors and display certainly offers opportunity though.
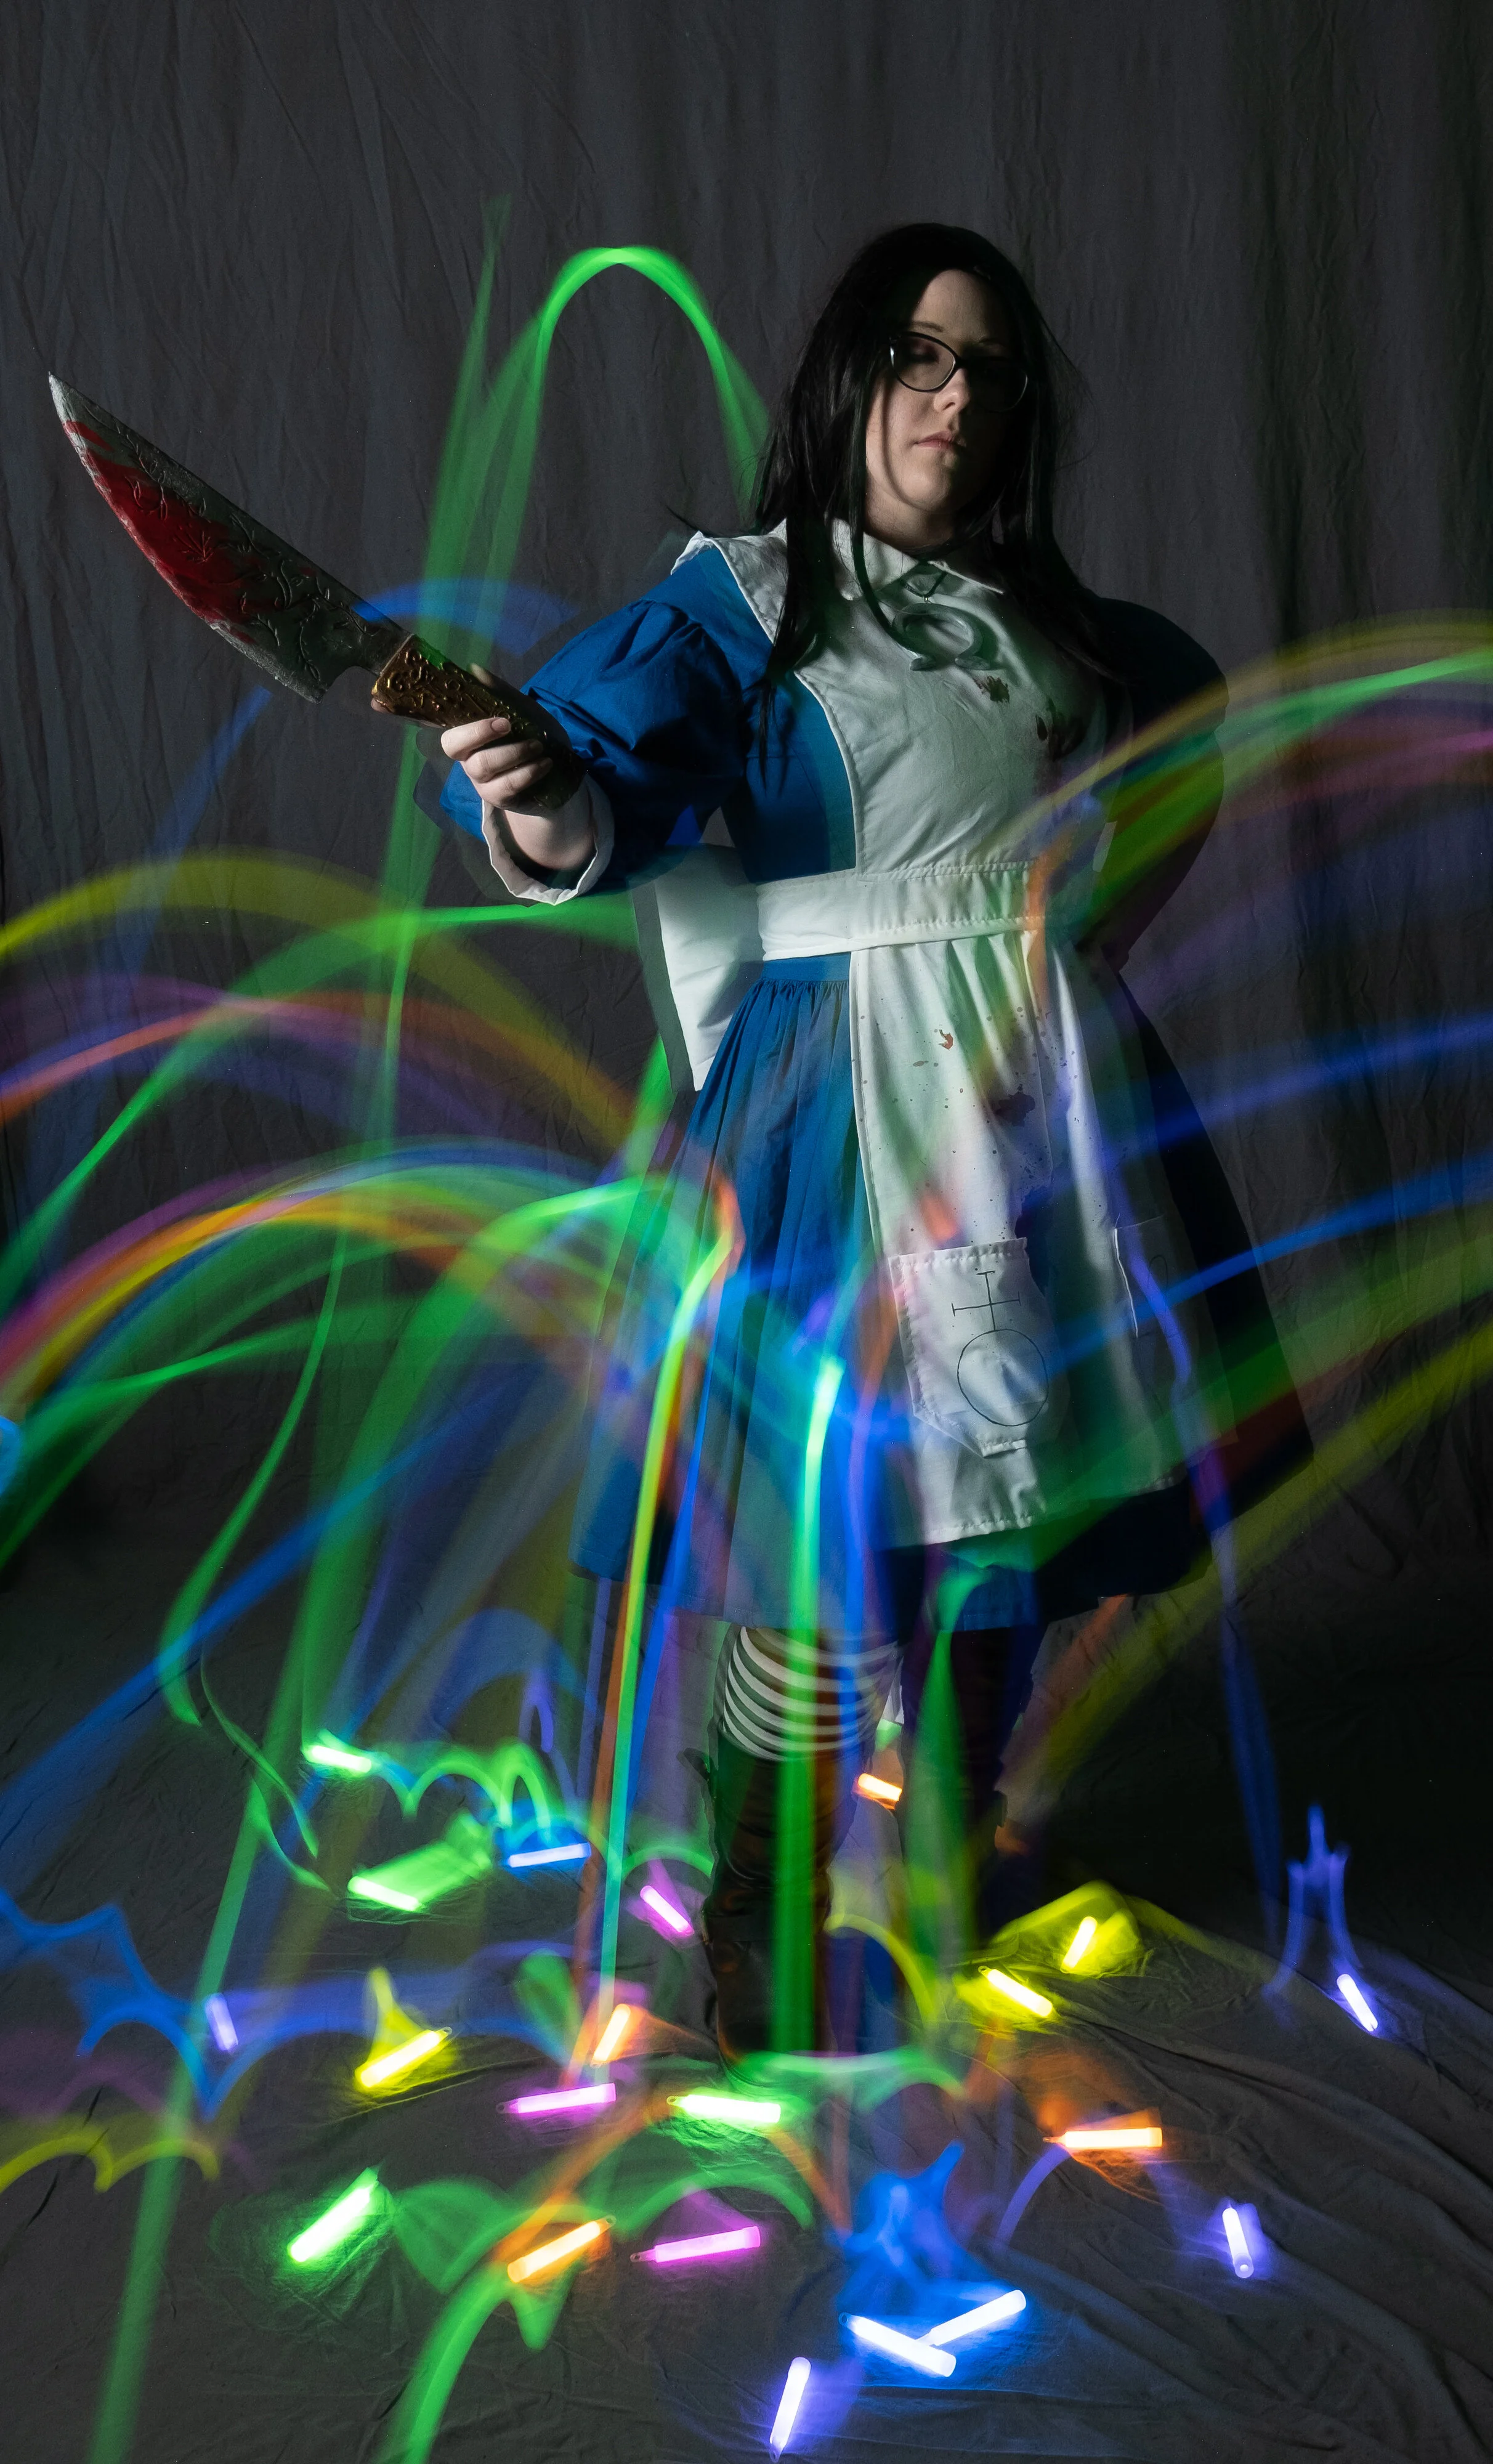
This time around we also used tools from Light Painting Brushes. We've had them for a while and I've done some experimenting at home. But this was the first time we've finally been able to use them for a demo. People were really interested in the black fiber optic brush. Even if the resulting shot did look like someone getting possessed.
Lastly, we did have people throw glow sticks again. The ones we had this time around were much smaller. So some photo ideas didn't quite work while working with the person dressed as Alice. But somewhere in chatting with the audience during that part there came about a joke about throwing them at her. So I was just like "Fuck it, why not?" There was something about the smaller glow sticks bouncing across or laying on the floor that gave a neat effect though. So that's something to keep in mind.
How To Build A Cosplay Shot
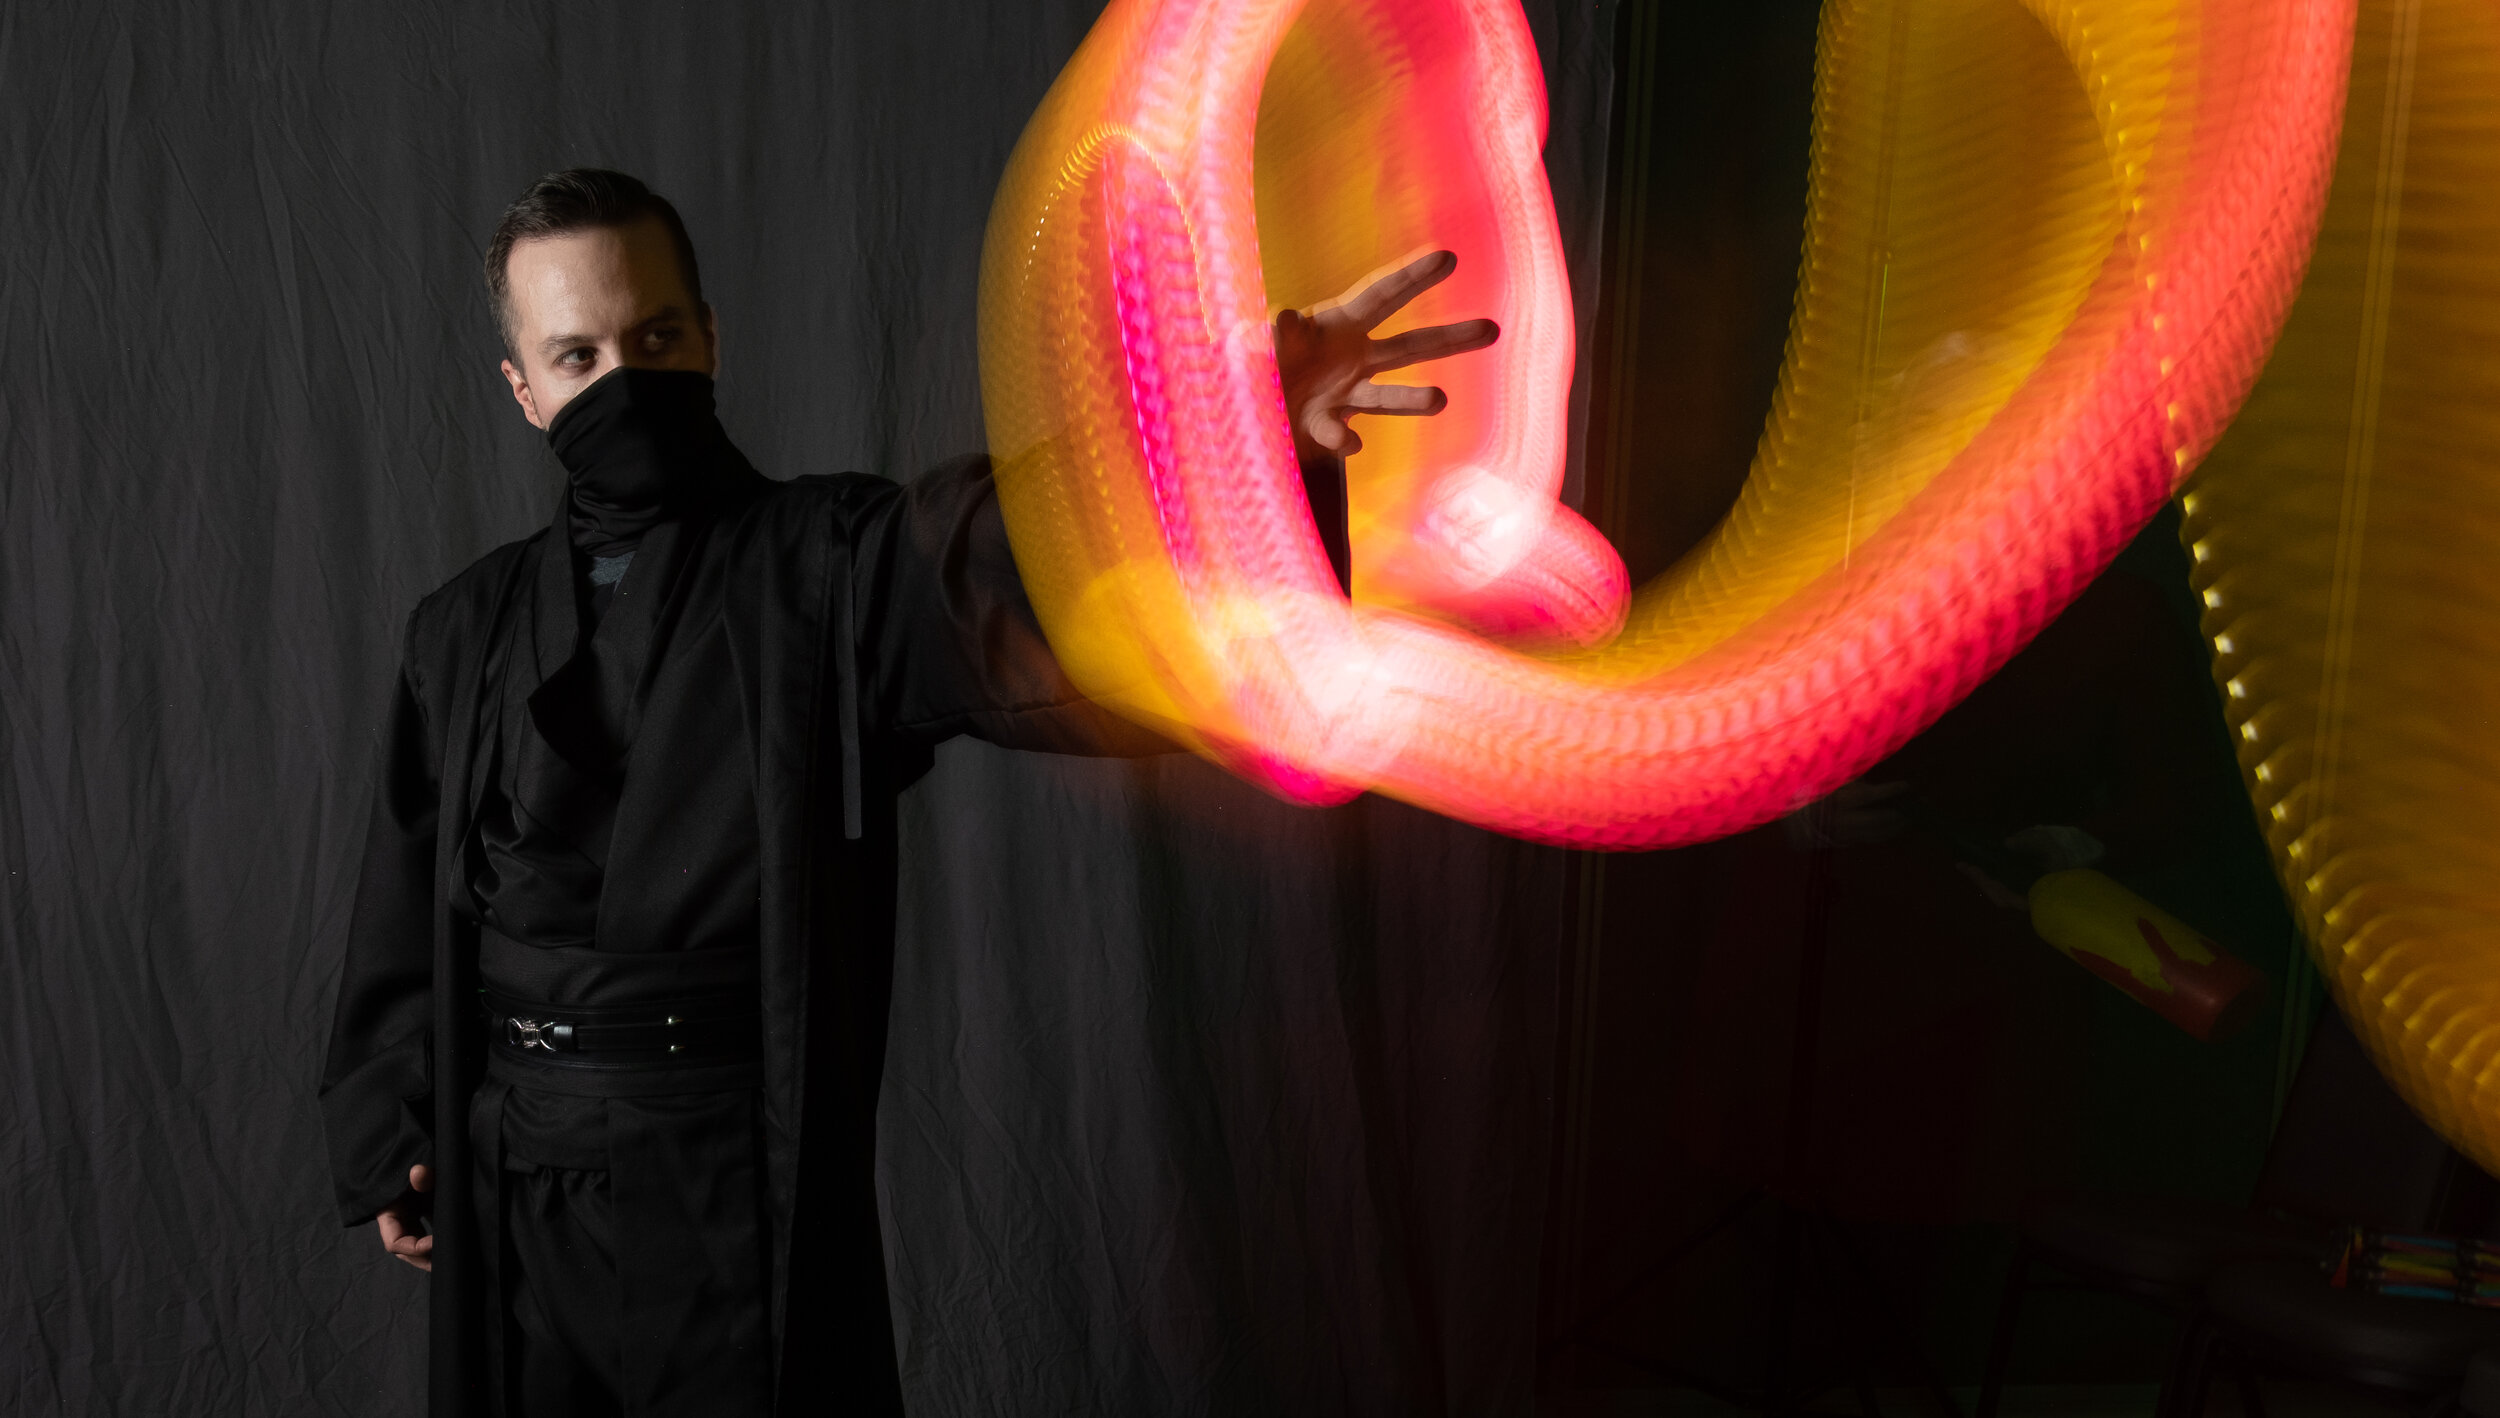
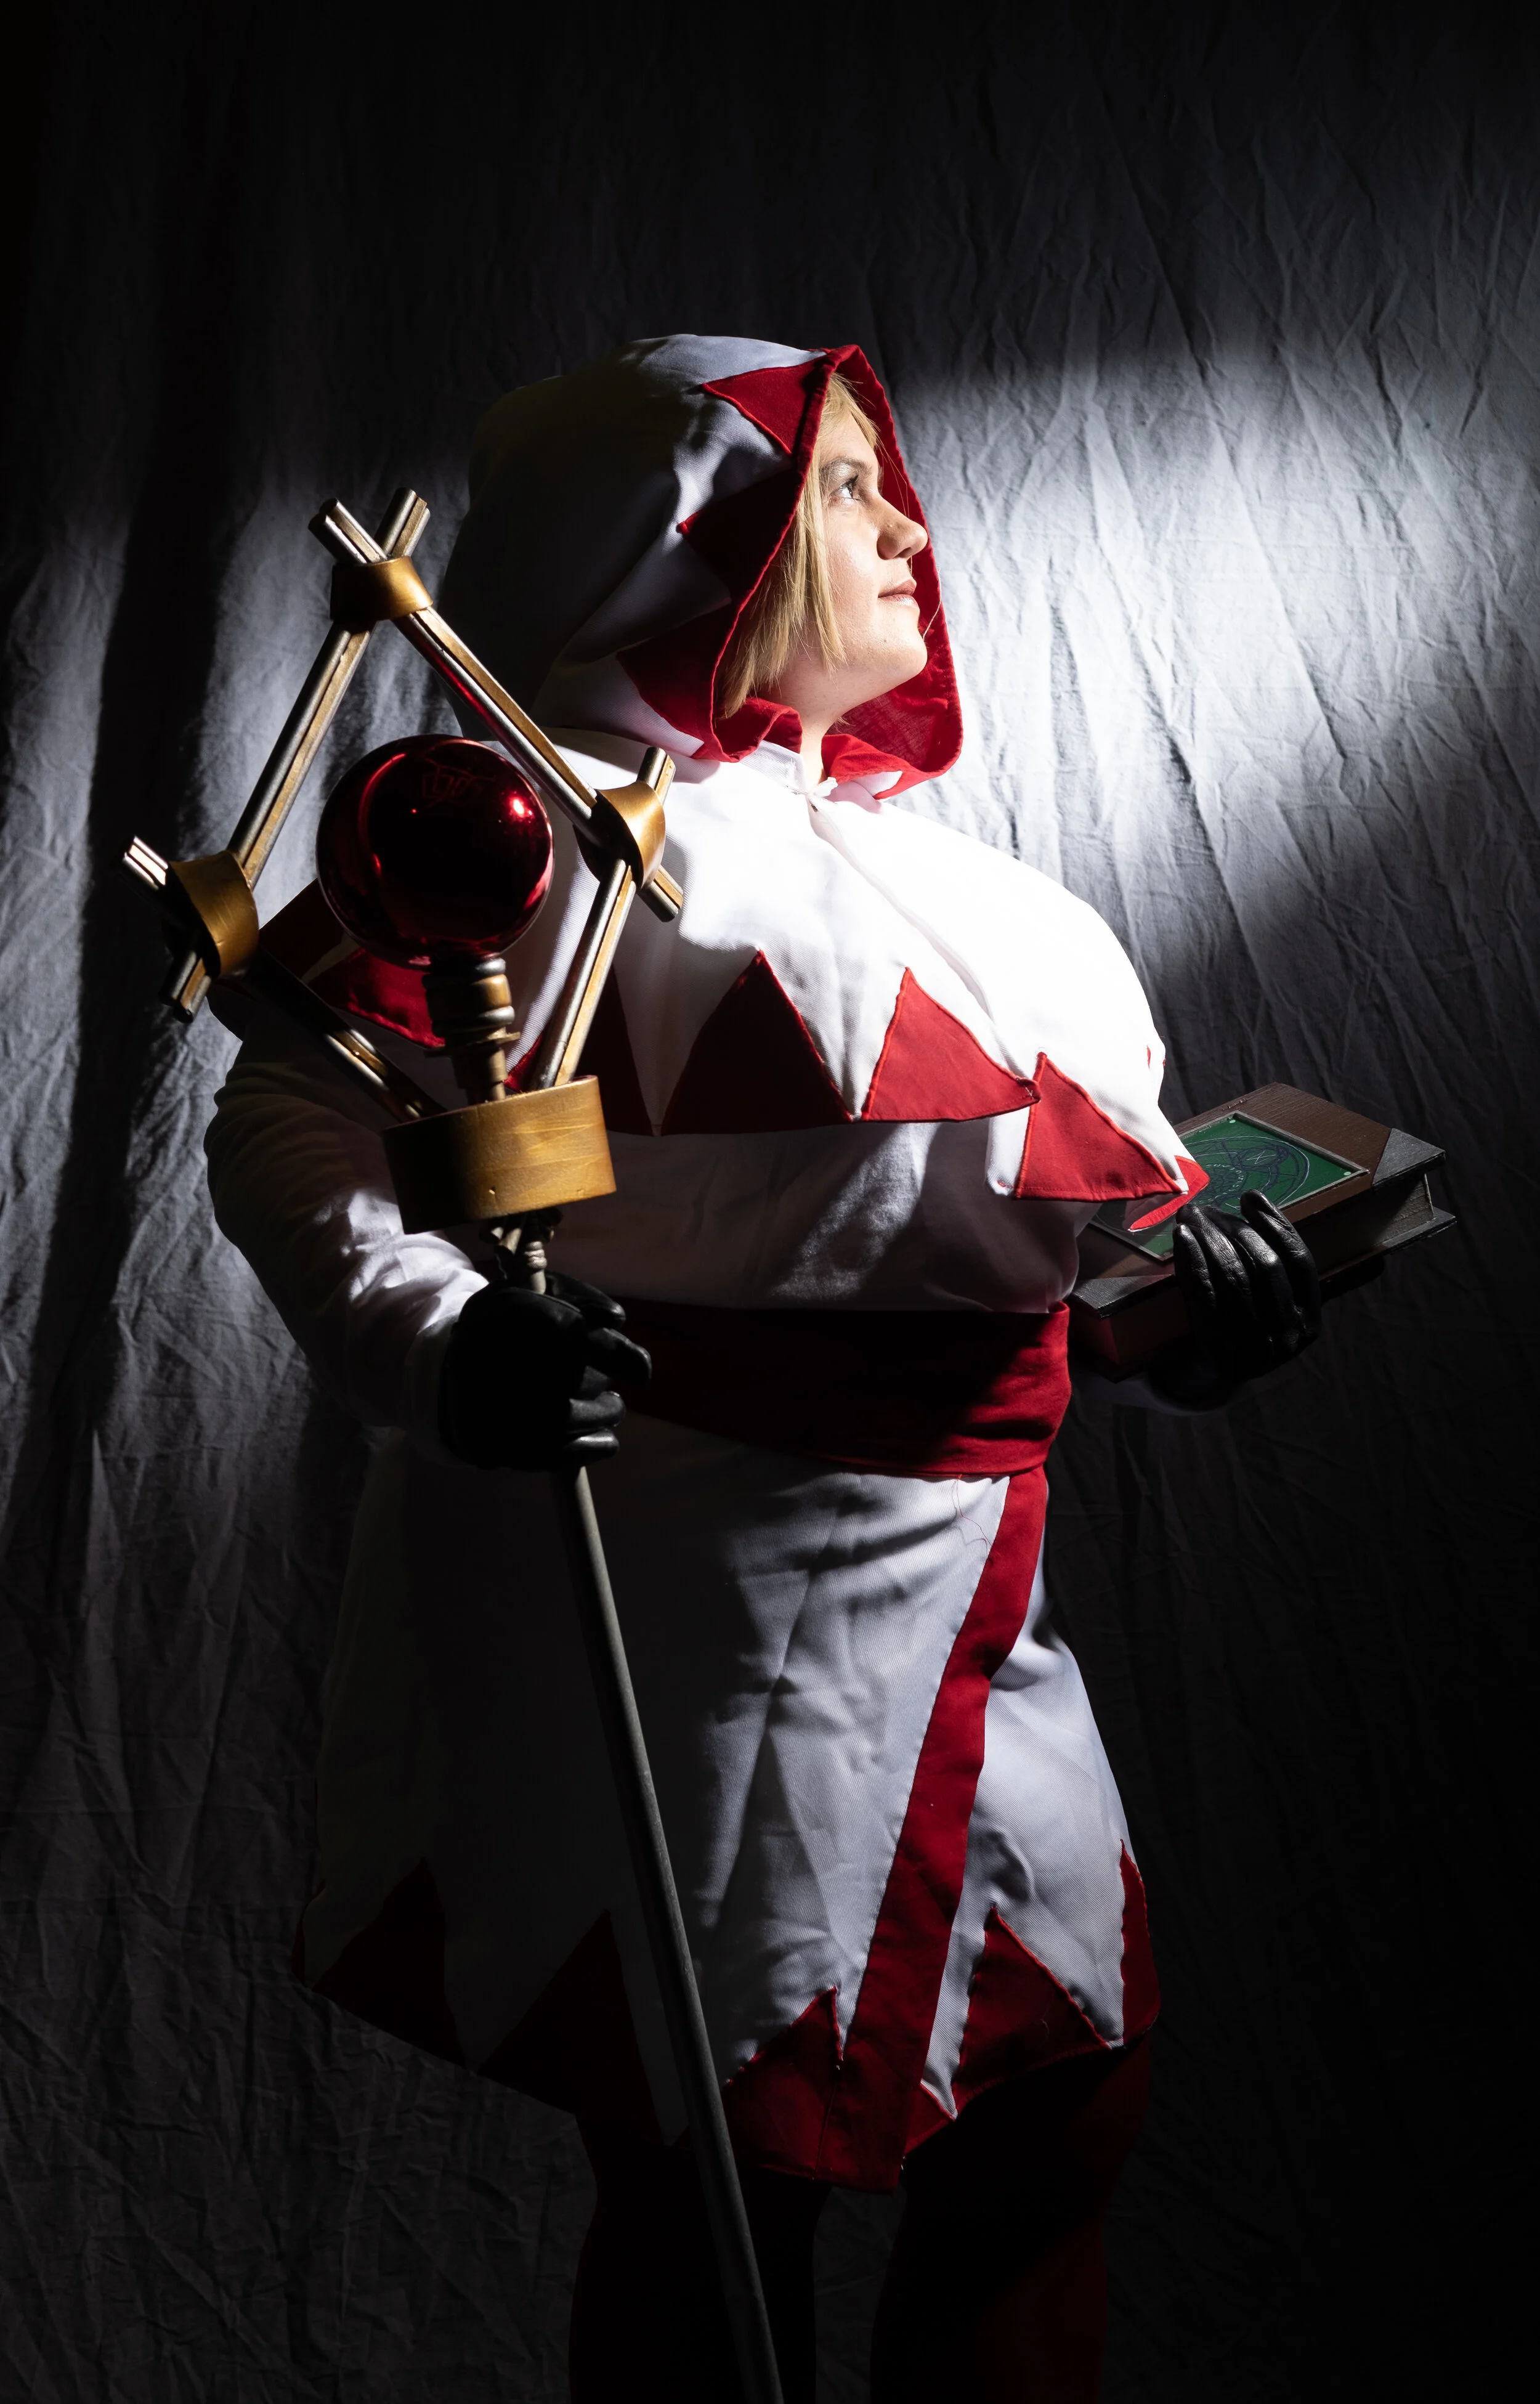
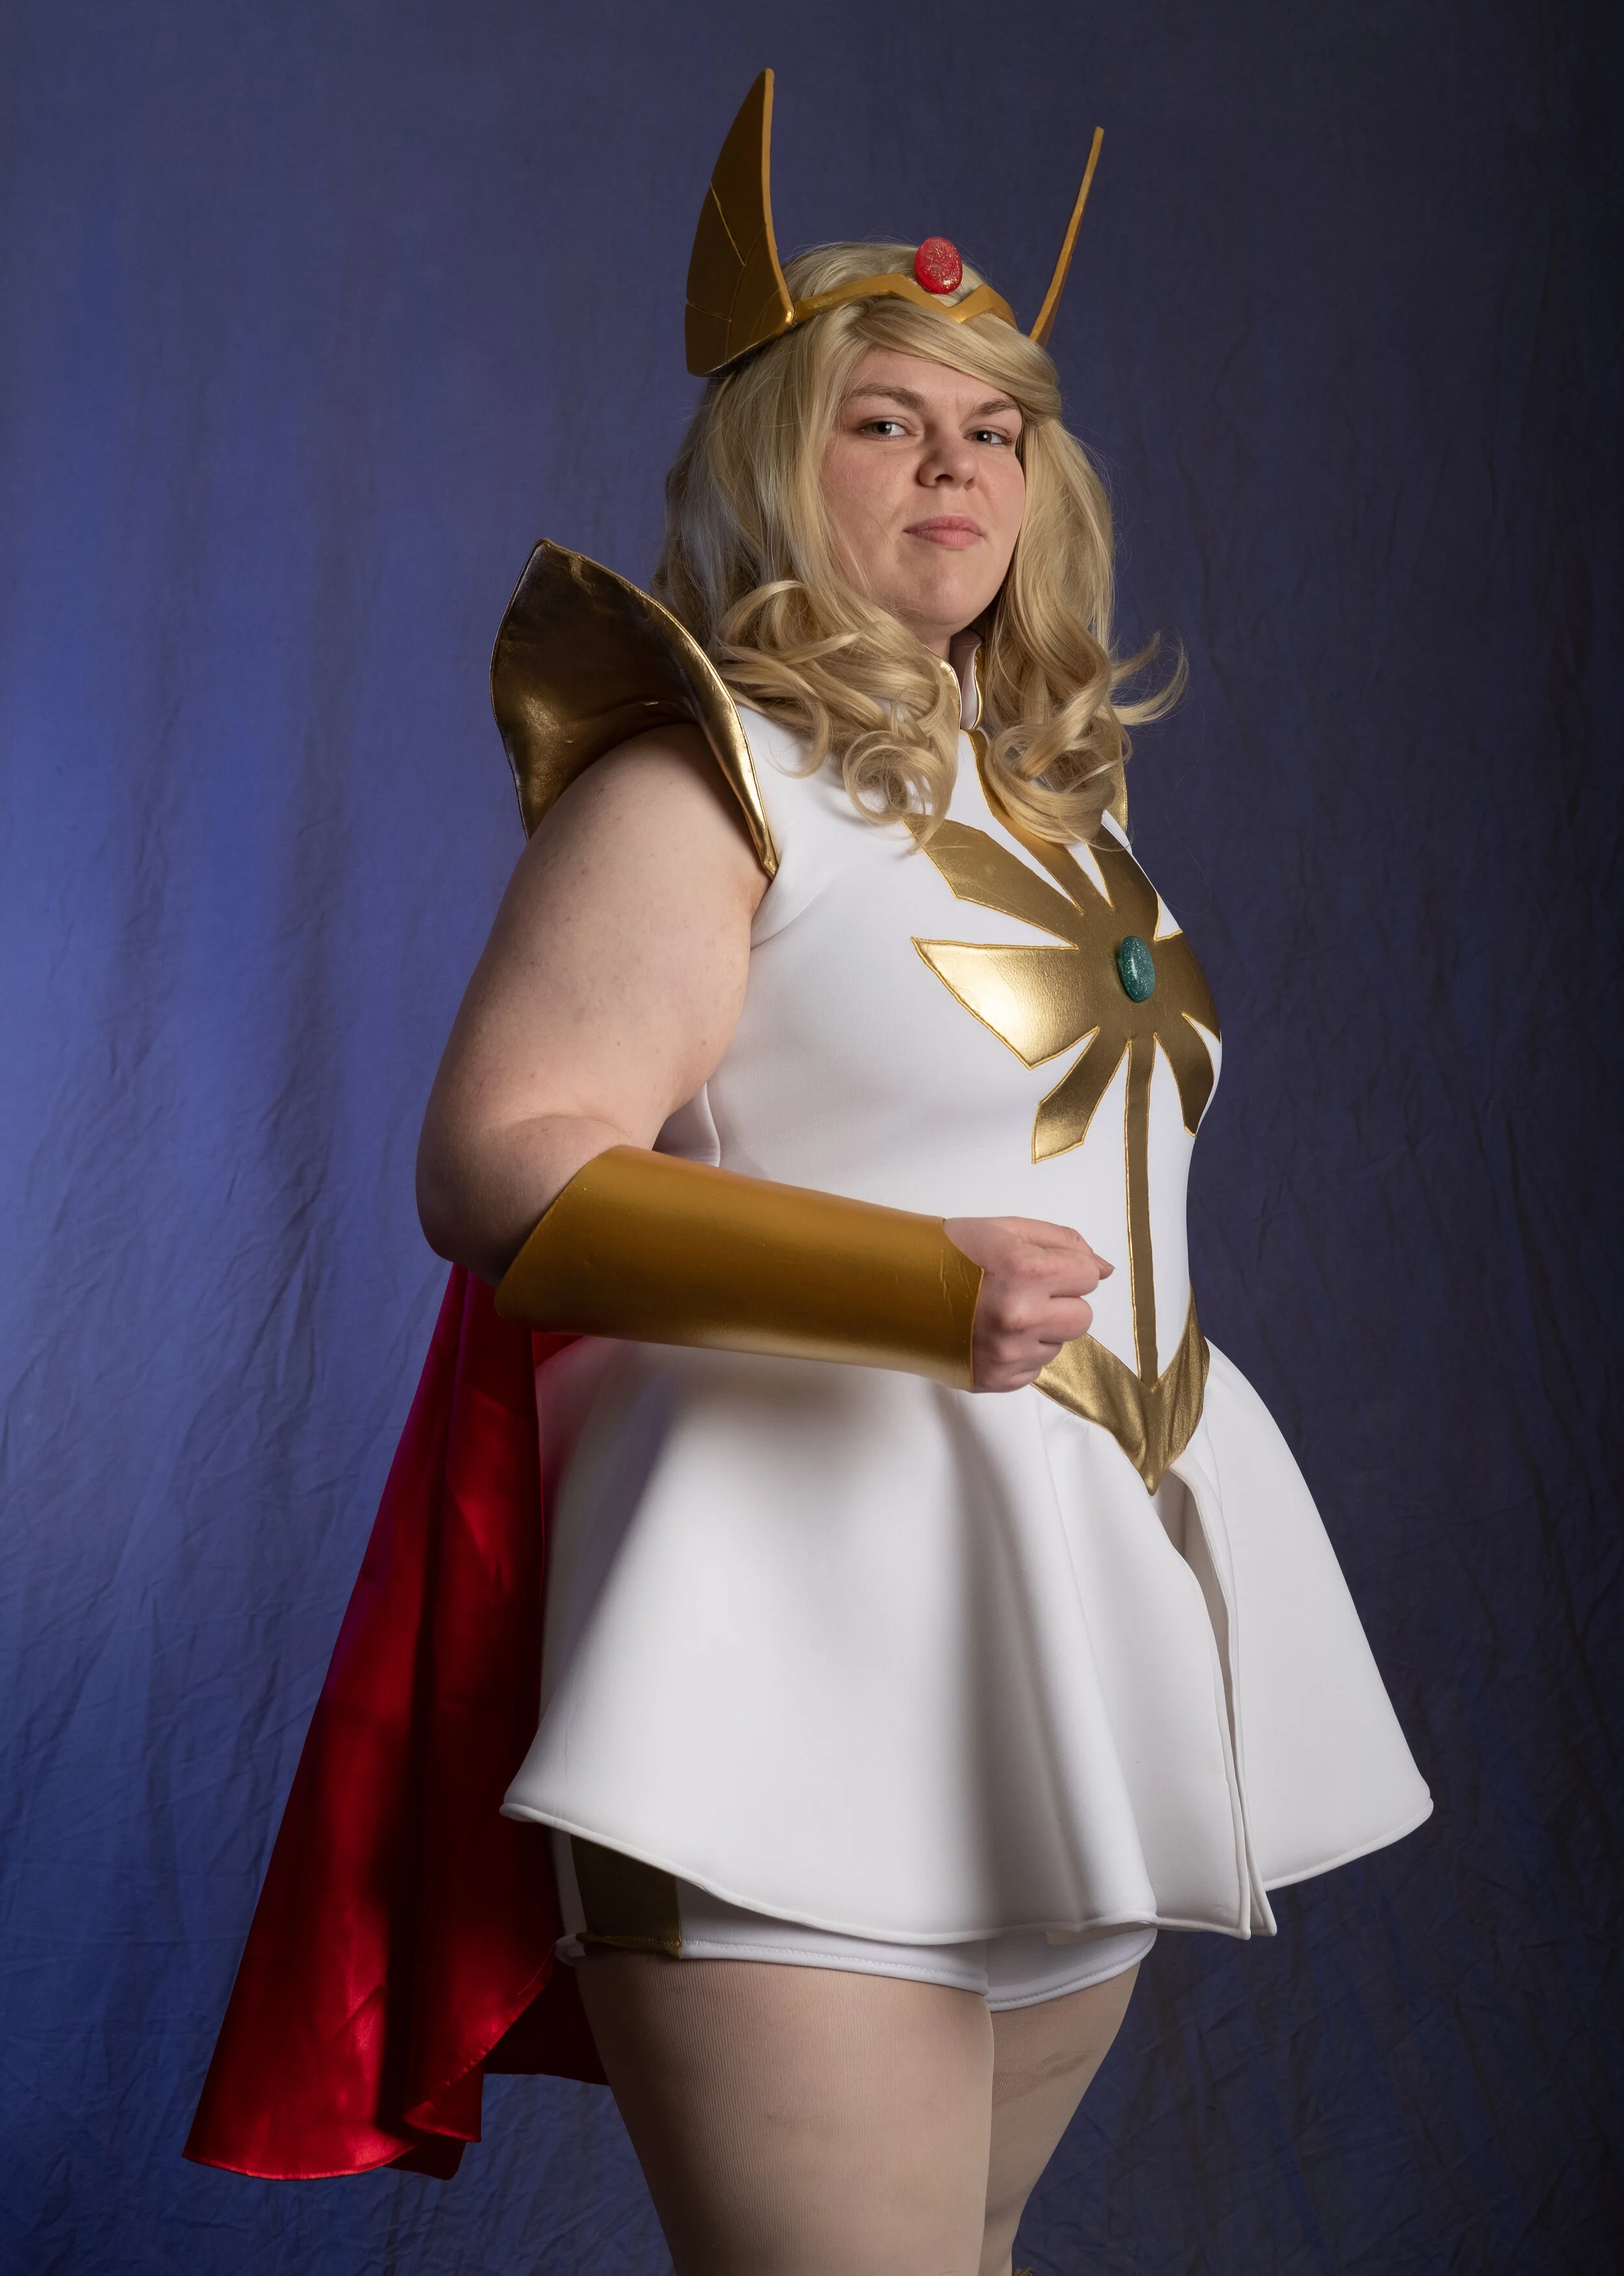
We brought in new pieces for this demo as well. A lot of what we applied here came from us running the photo booth at Anime On Ice along with bits from the Dark Elegance set. We wanted to play with ideas with shaping light and also in applying color. This gave us a chance to use a few new tools and techniques. One was using a Godox snoot with a honeycomb grid to apply a background element with the Final Fantasy White Mage. We used the Interfit 11" by 60" softbox to apply a neat color gradient for Tacocat as She-Ra. And for Misa from Death Note that was a gridded and diffused Phottix Raja 60 cm by 90 cm softbox feathered slightly off axis to give some neat shadow drama.
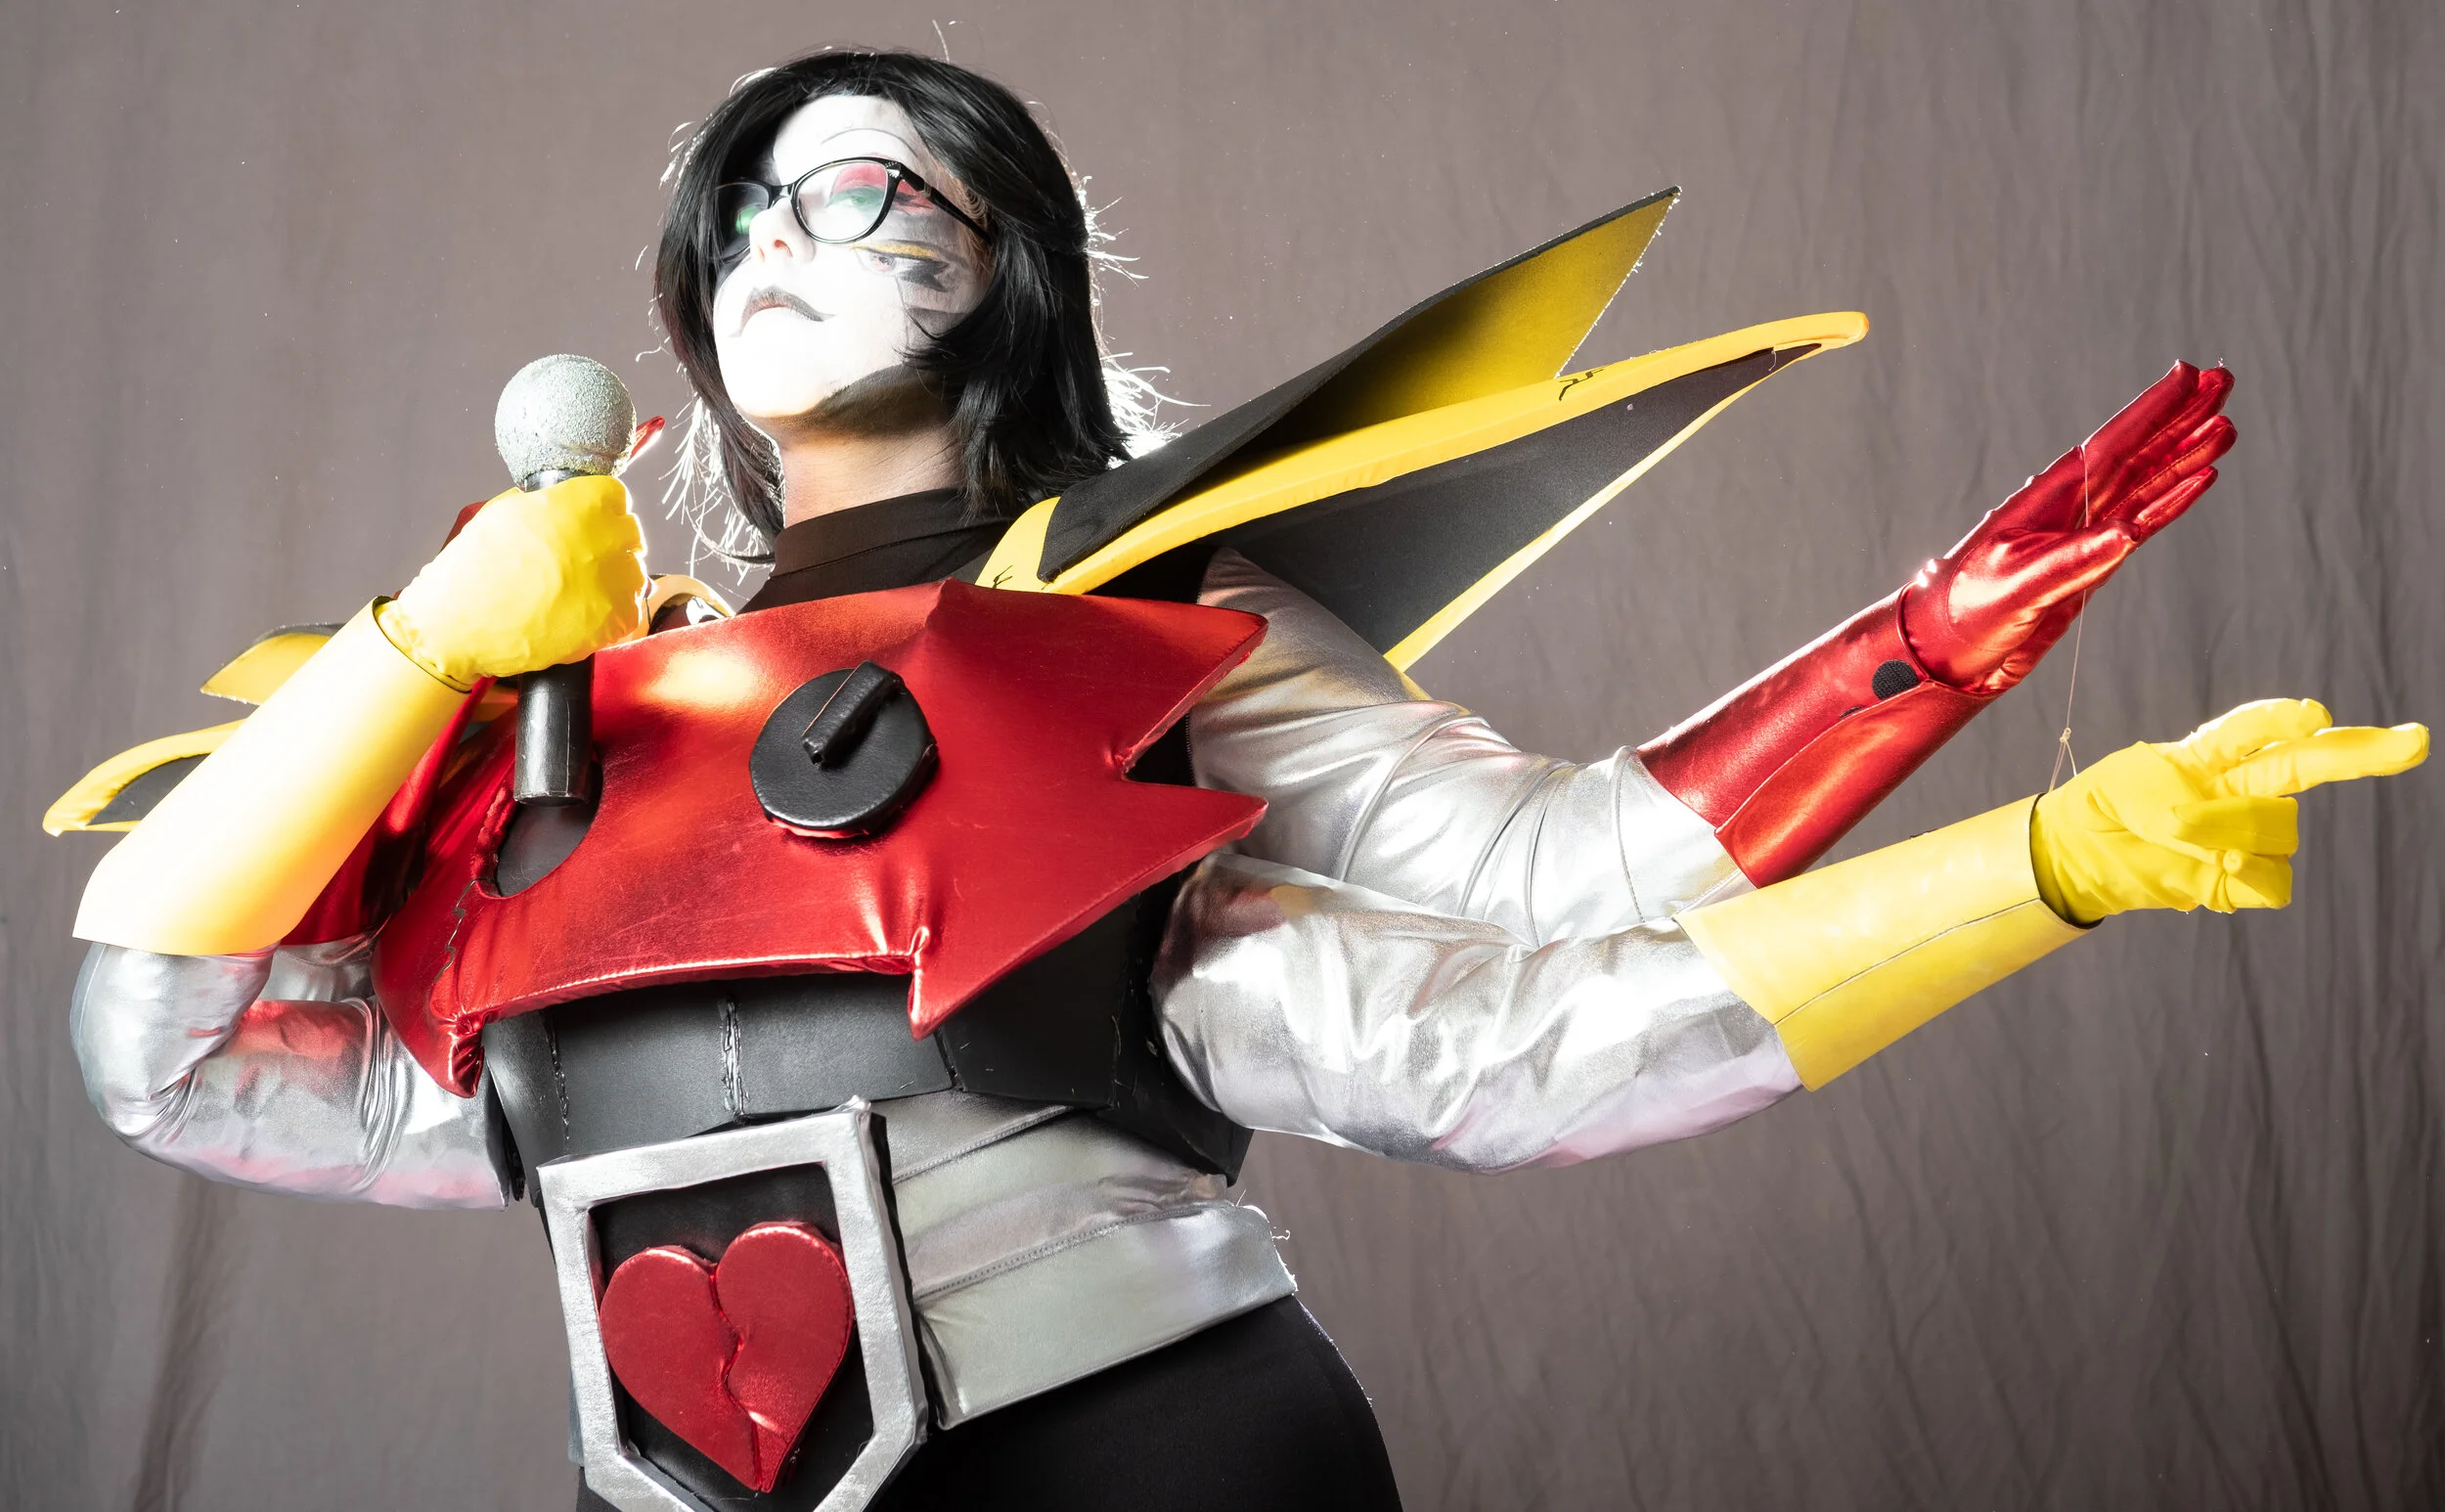
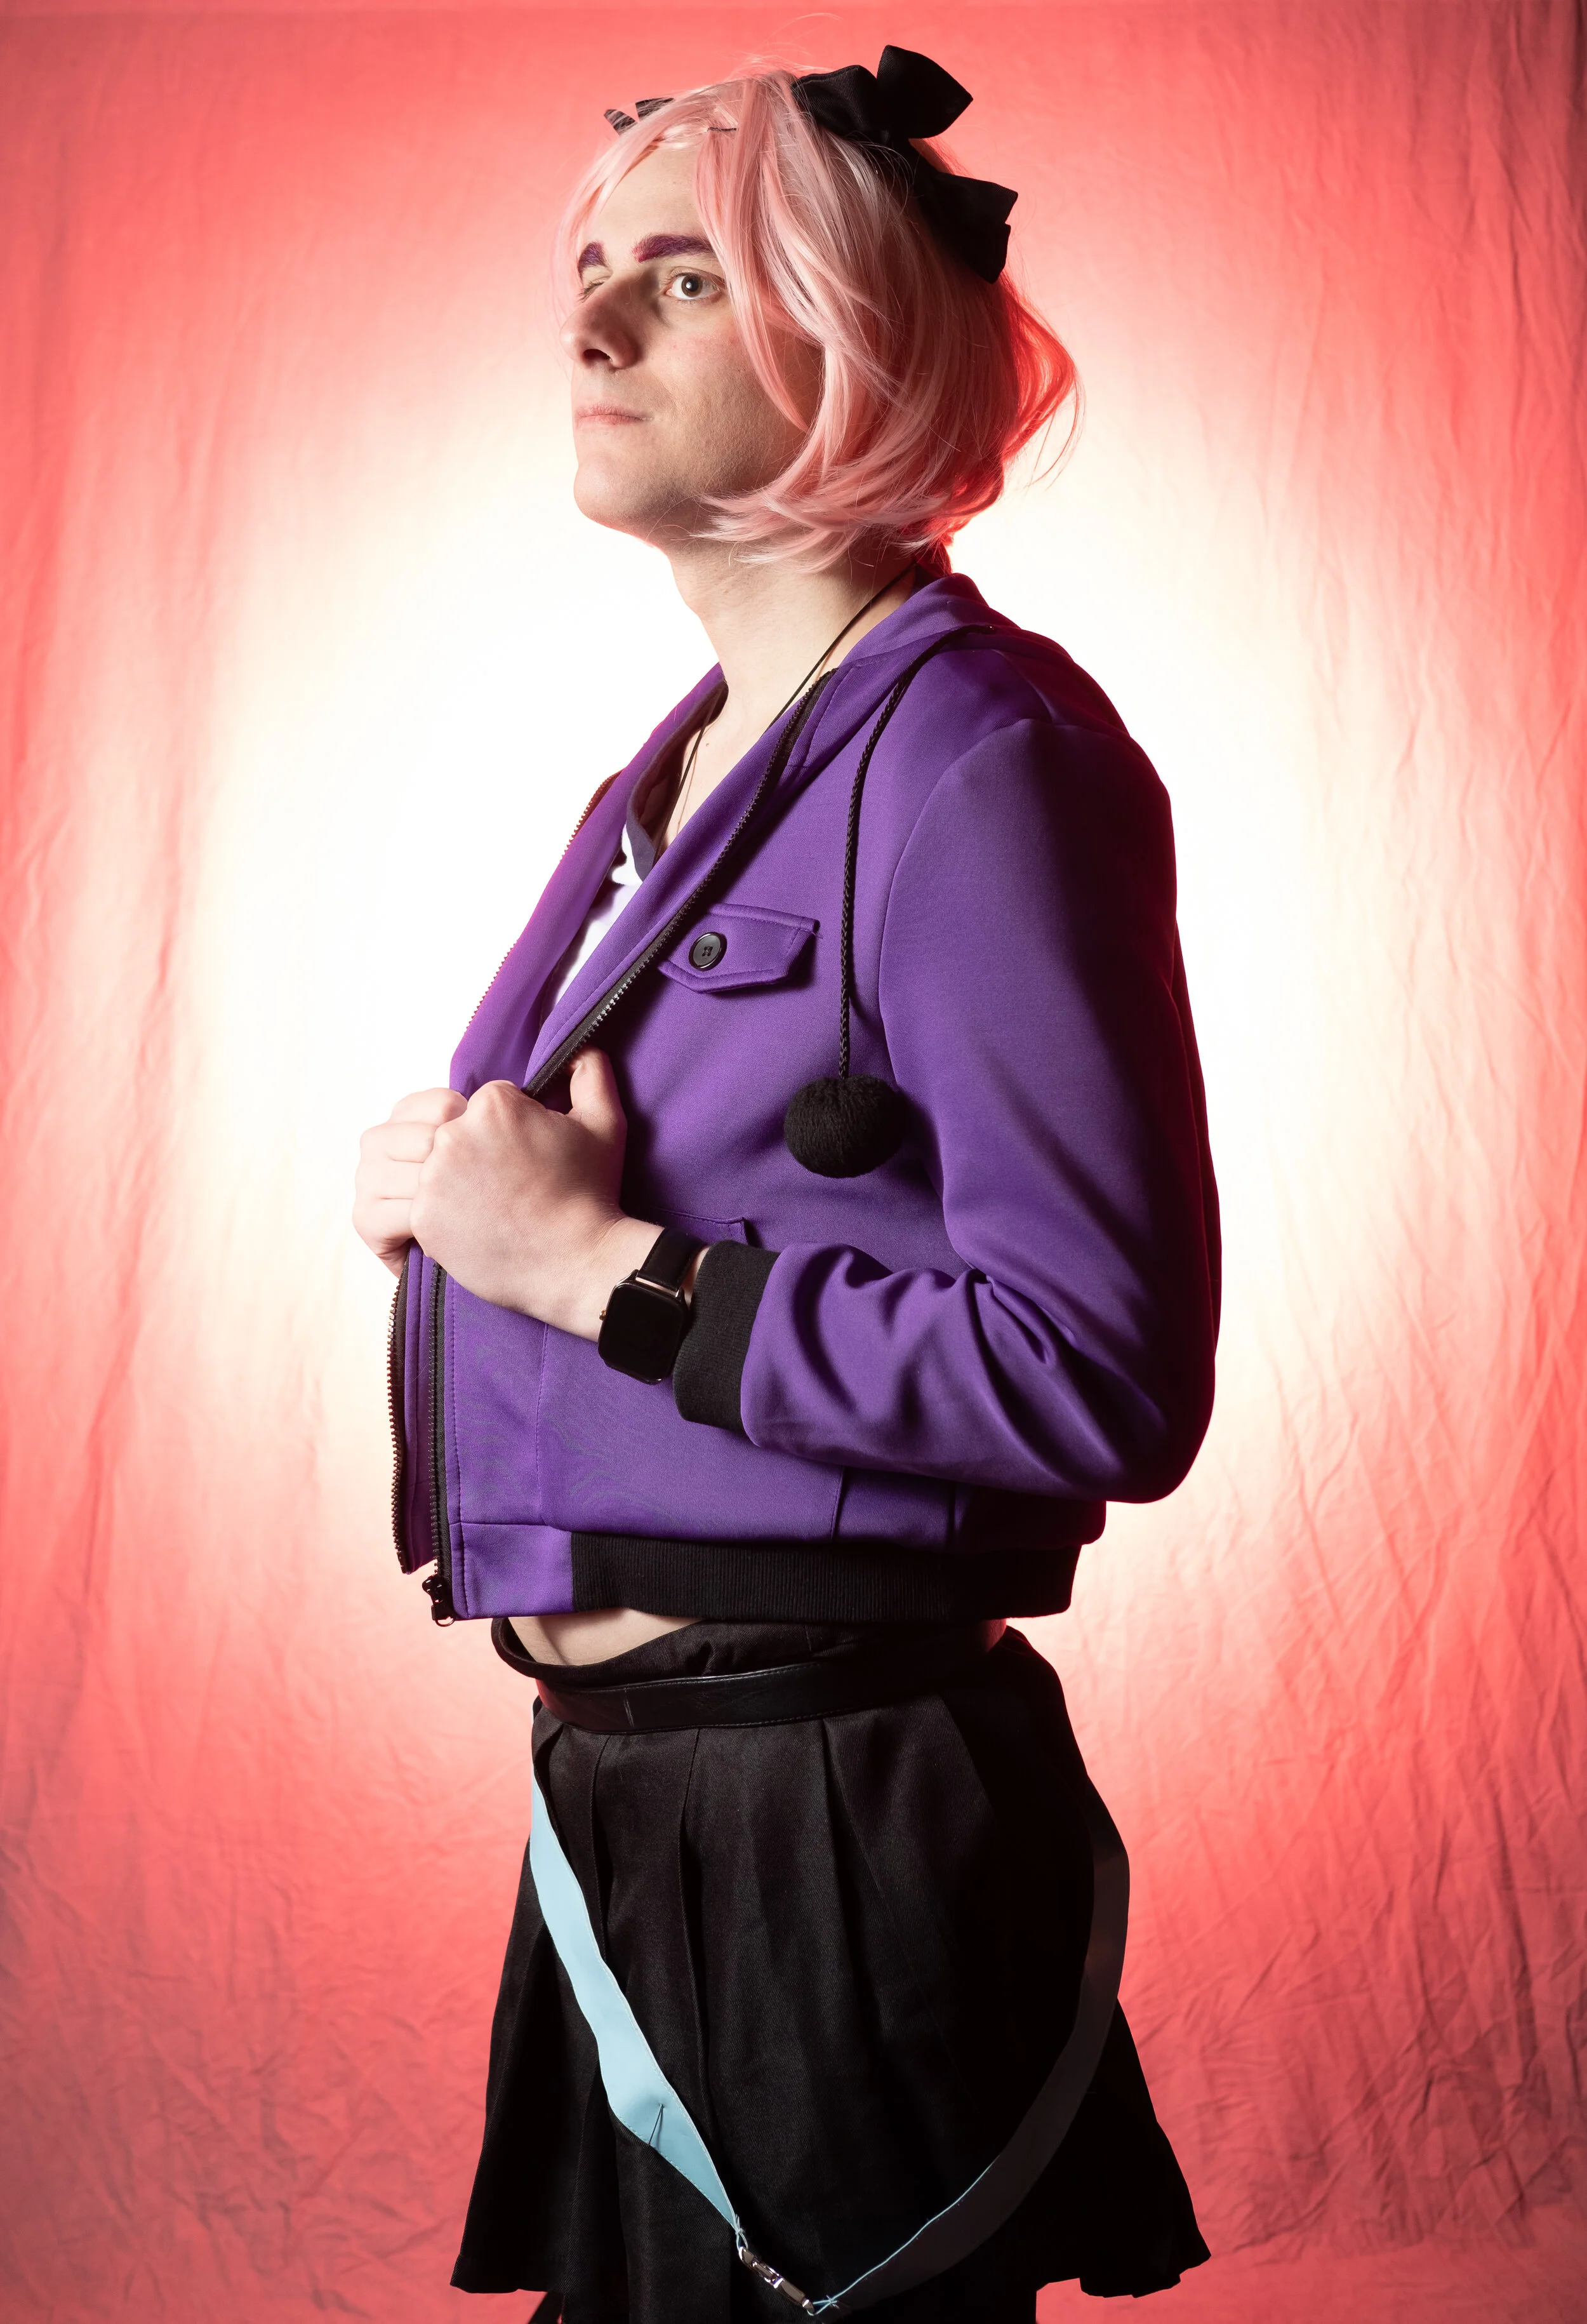
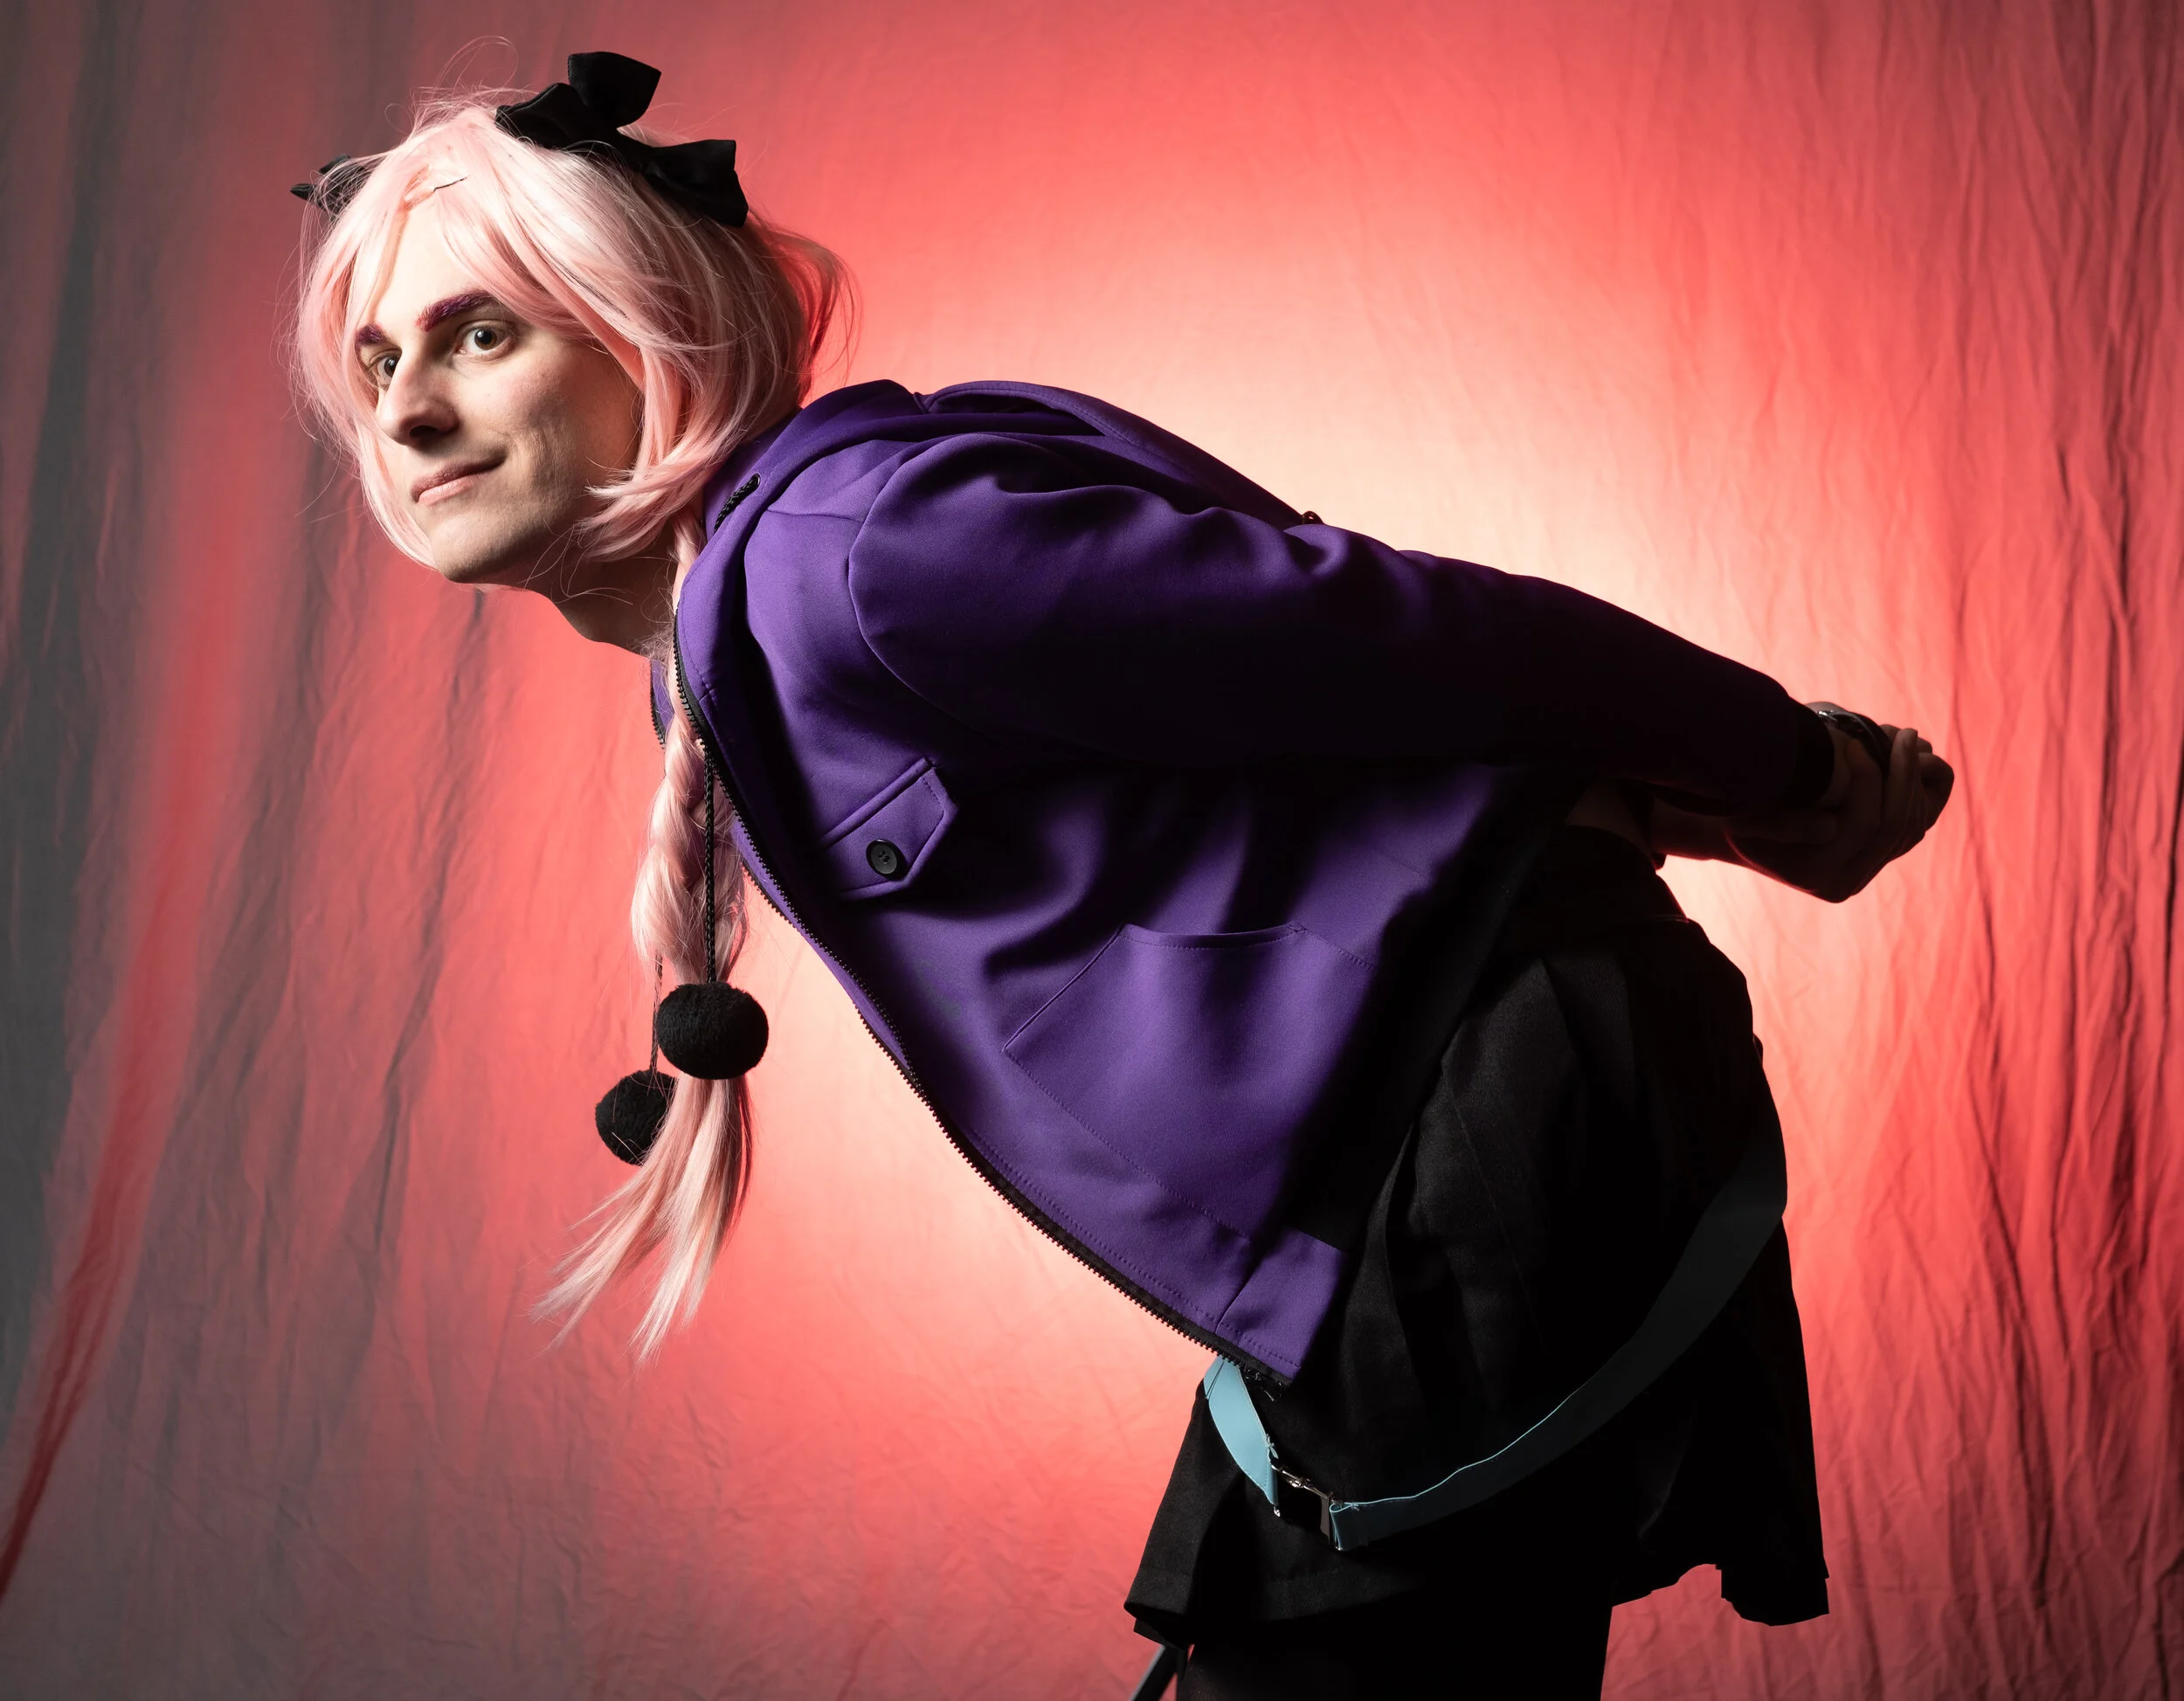
The Art of Paying Attention certainly came into play here. While we were working with the cosplayer dressed as Astolfo from Fate/Apocrypha (also known as Best Boy) there was an idea I wanted to initially to show off. Due to me actually having the power on one strobe up too high it didn't quite fit. But it did lead into a discussion on how to use high key backgrounds as a photo technique. There was a good back-and-forth with the audience about how to use both techniques.

Final Thoughts
What I didn't expect from this weekend was some returning visitors from demos and panels we had put on at Okashicon, Seguin MiniCon, and Ikkicon. One trio showed up for both demos and they all asked a bunch of really good questions. We also did rope in our friend Lorelei from Colony Drop Cosplay for the Light Painting demo (especially since she didn't get to experience it before). So having that mix of people we did know and people we had yet to meet worked well.
One part that I think is going in our favor with this kind of presence is talking more to the creative aspects of photography. One complaint point I have with photography information that's on the internet is that a lot of it is about the technical pieces. They are important to know but why just that? For us as artists explaining why certain things were done to fulfill a creative vision goes pretty far. That's part of the reason why we show off what happens from these demos in an imperfect state. It's all about "Hey these are the ideas. Here's the results. Here's some ways to possibly make them better. And all of this is accessible to YOU."
And it seems like people are getting that.
