
If you’ve read through the articles that come along with our photo sets you may have noticed that I’ll mention certain pieces of equipment that were used. But I never talk about why specifically I use them. Or why I even have them in the first place.
The Camera and Lenses
FujiFilm X-T2
I had originally purchased this camera for the excellent low light performance. Which was great when I used to do music coverage. Plus the image quality was phenomenal. But the main thing I’ve come to appreciate about this camera is how it just gets out of the way of what I’m doing. A lot of the controls I most commonly need are right there on the body. I barely even have to think about how I need to make a certain adjustment. Just make my change and keep going. And Fuji has kept with this for other cameras in the X line. So I’ll most likely stick with them for some time.
XF 16mm f/2.8, 35mm f/2, and 50mm f/2
Originally when I had purchased the X-T2 I also picked up the XF 18-55mm F/2.8-4 zoom lens. To be honest I wasn’t super happy with that lens. Mostly because it had a tendency to miss focus more often than I liked. Especially in low light situations. Since I was pivoting away from covering music where low light is a common thing I started wondering if I needed to invest in lenses. With the move to portrait work looking at prime lenses made sense. And eventually I picked up the ones you see here.
I just want to say I swear that all of these are little tubes of magic. Amazingly sharp and fast to focus. I use the 35mm a lot since it will cover the classic ‘50mm portrait look’ since the X-T2 uses a 1.5x crop sensor. The 50mm also has utility for portraits. And the 16mm is great for when we’re doing outdoor work and want to capture more of the scene.
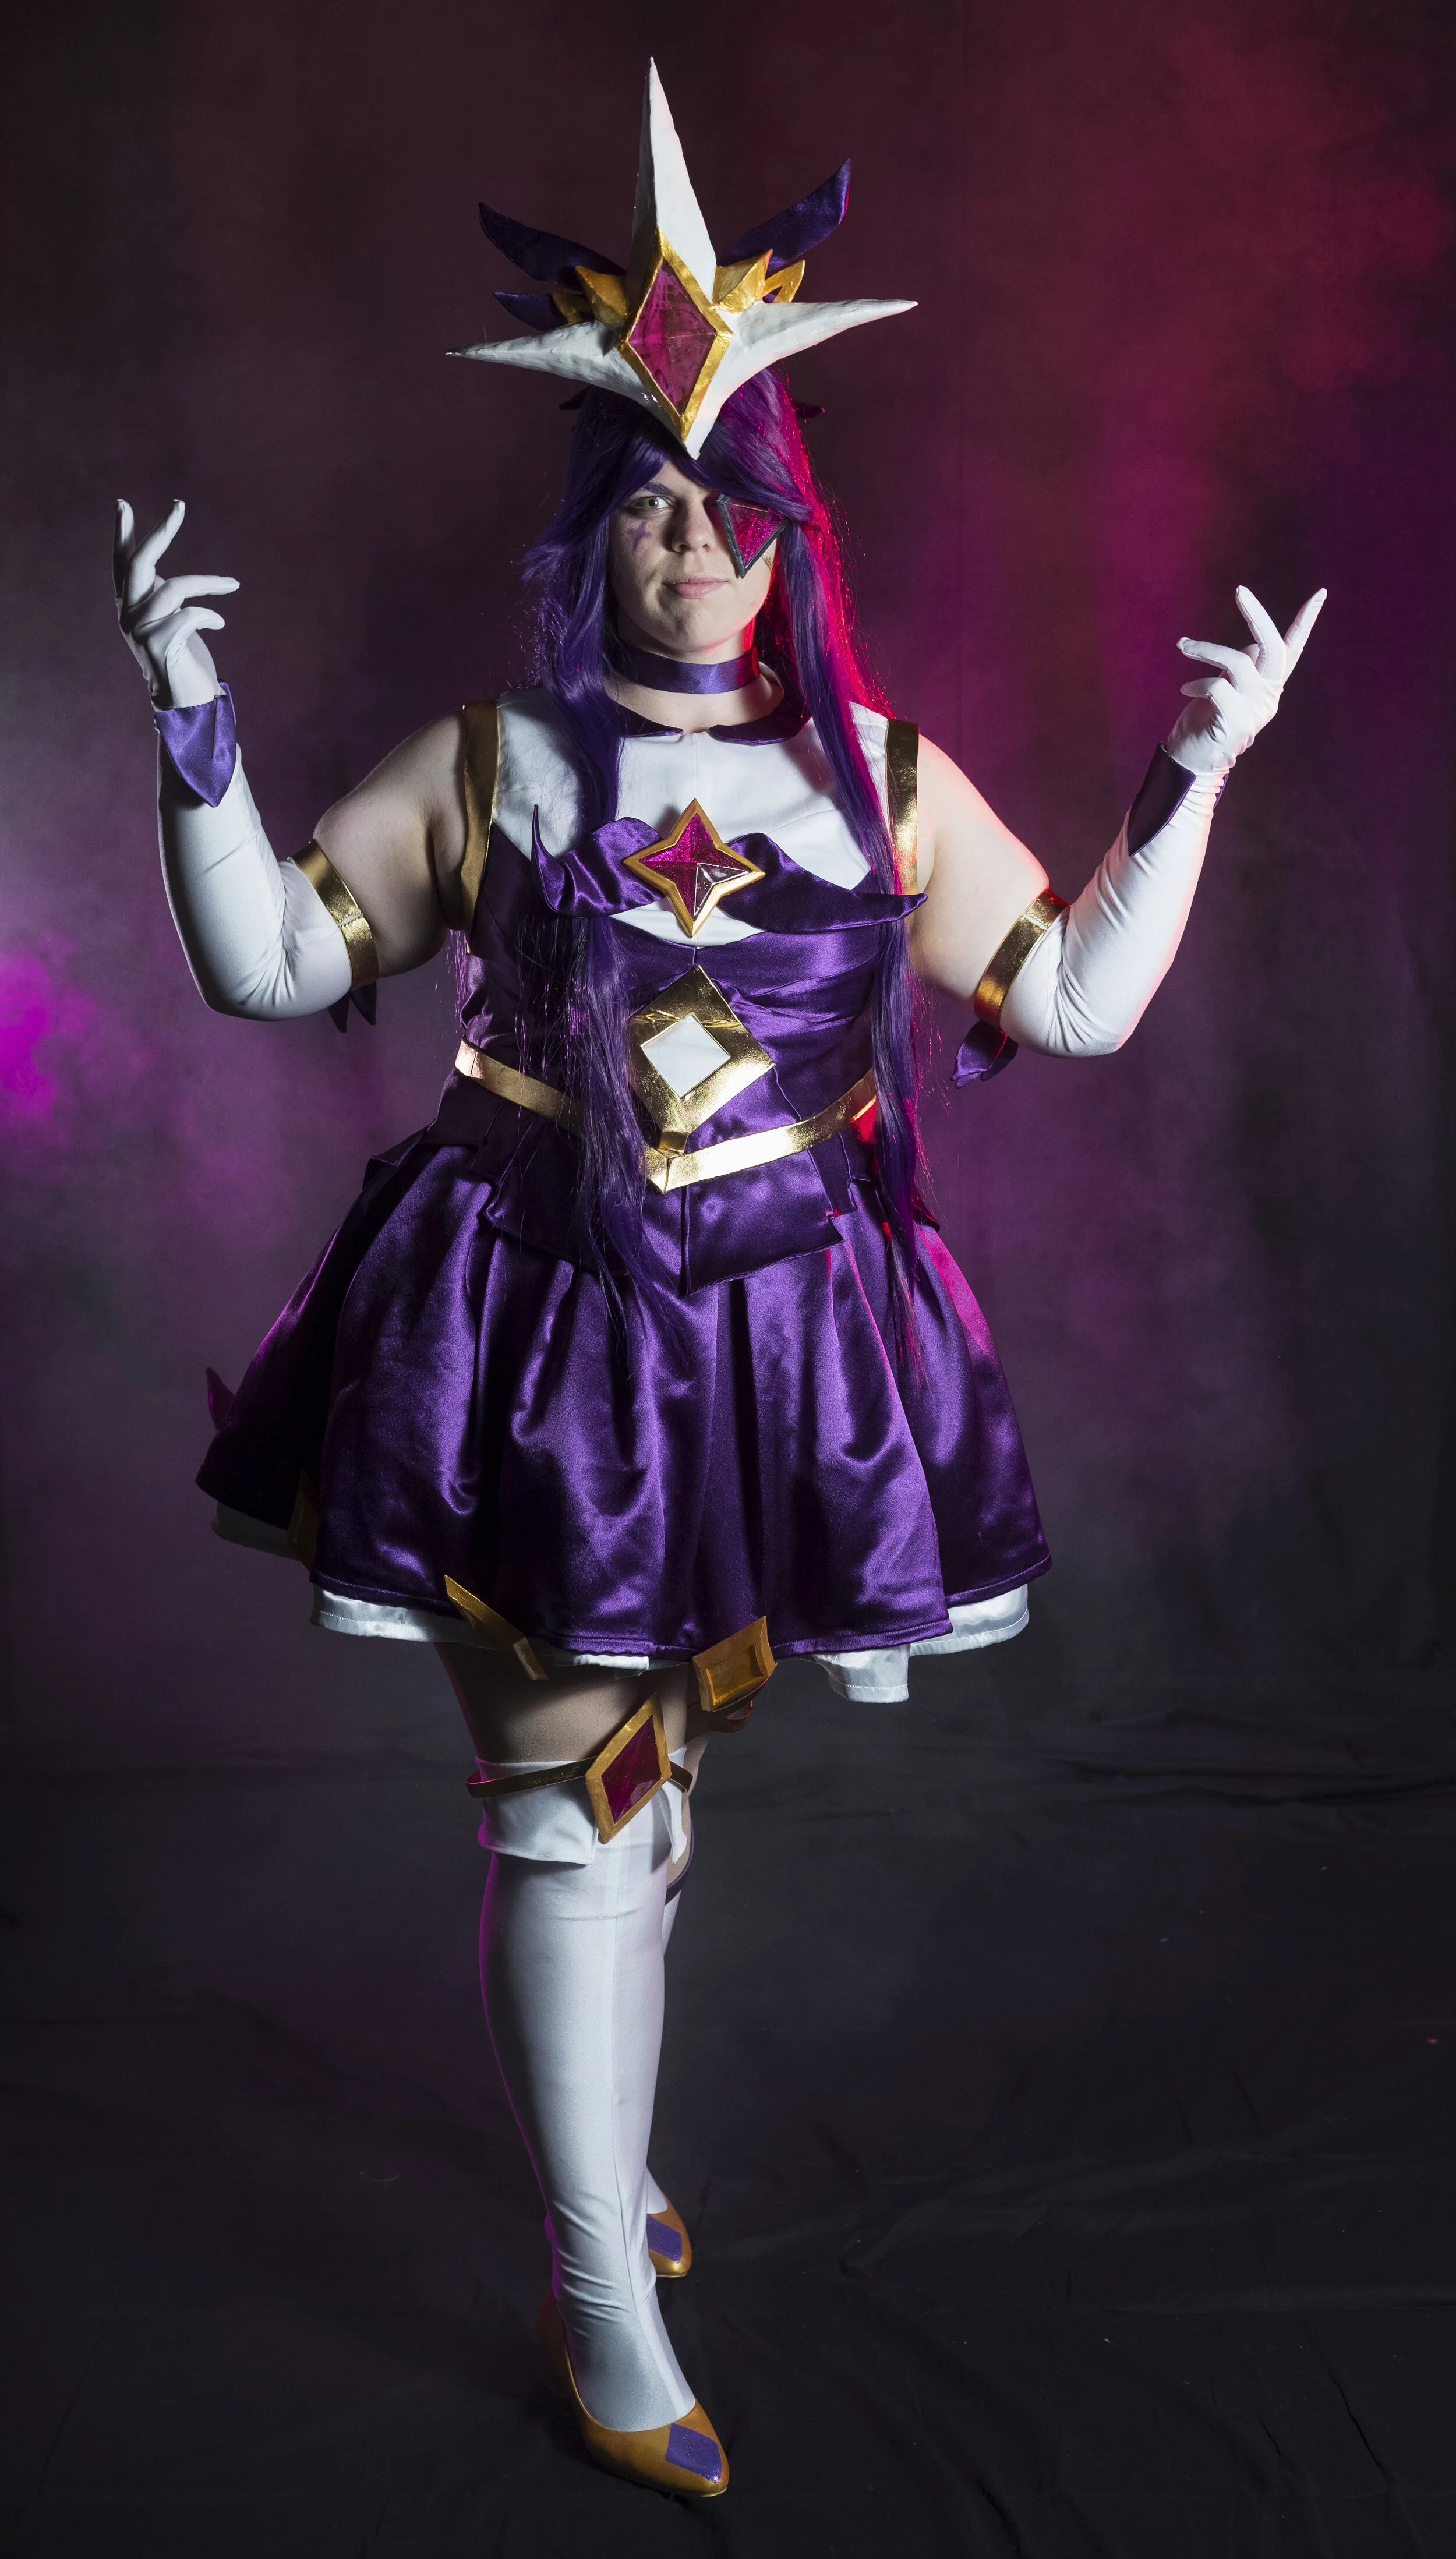
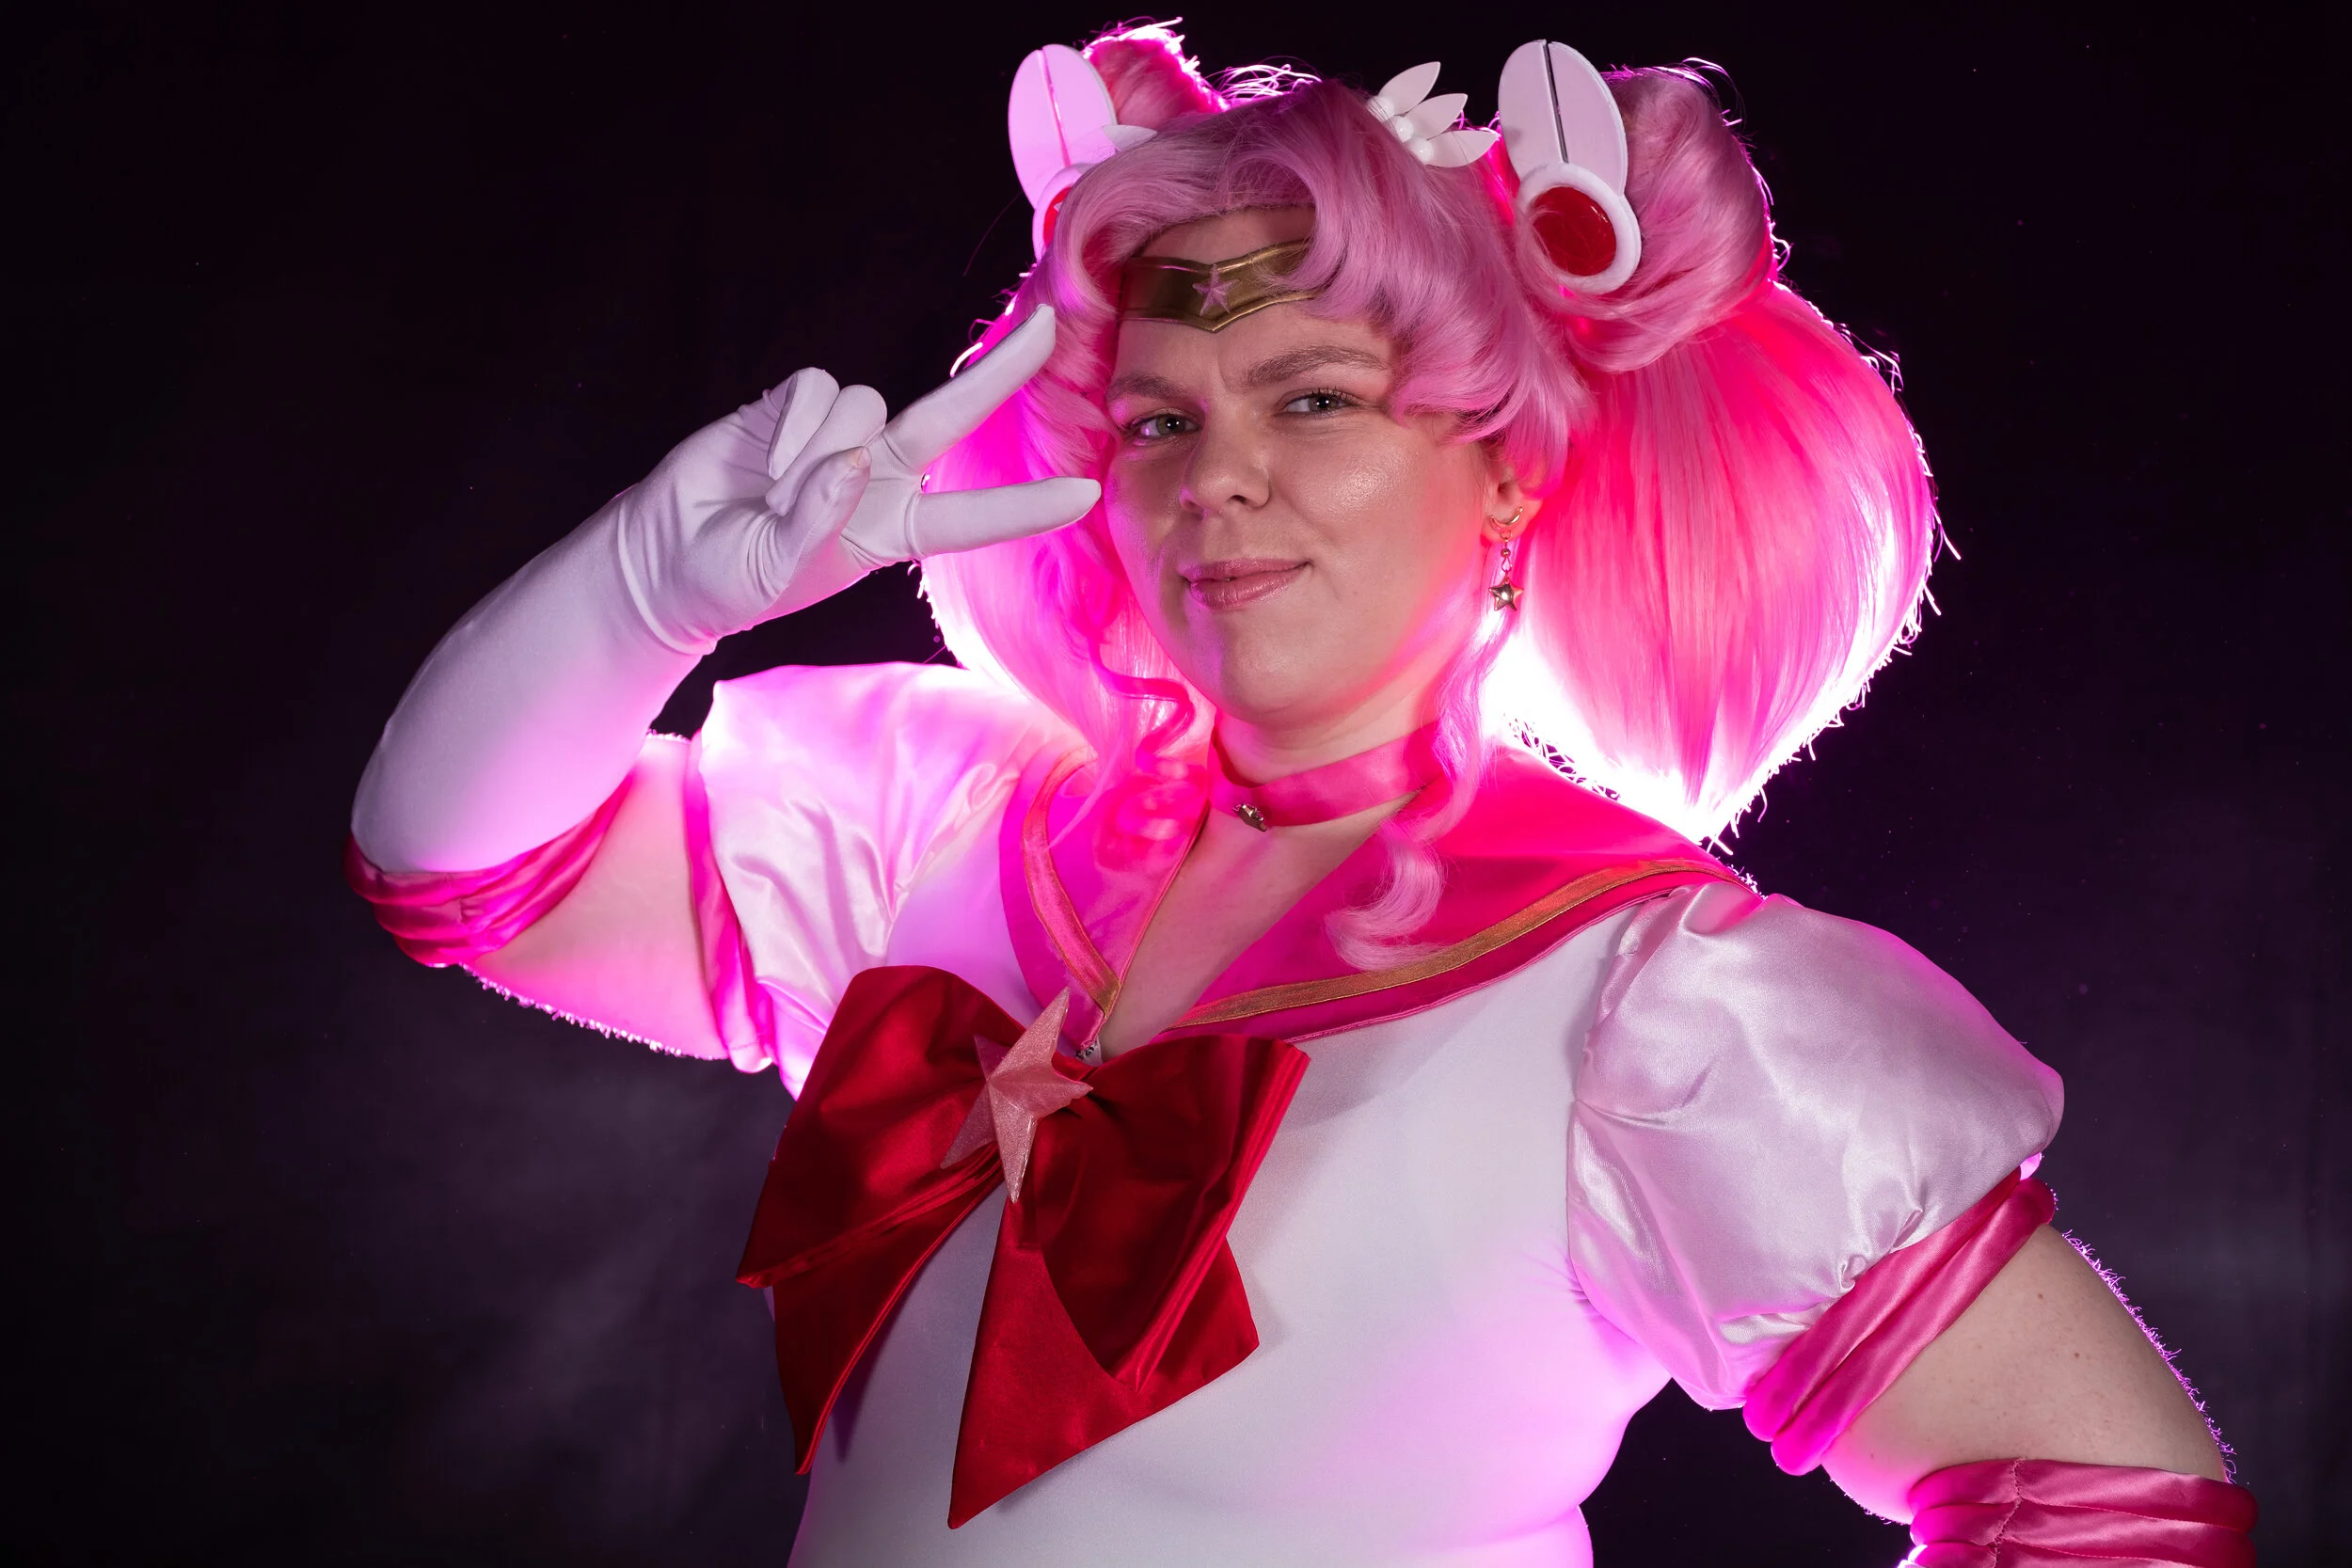
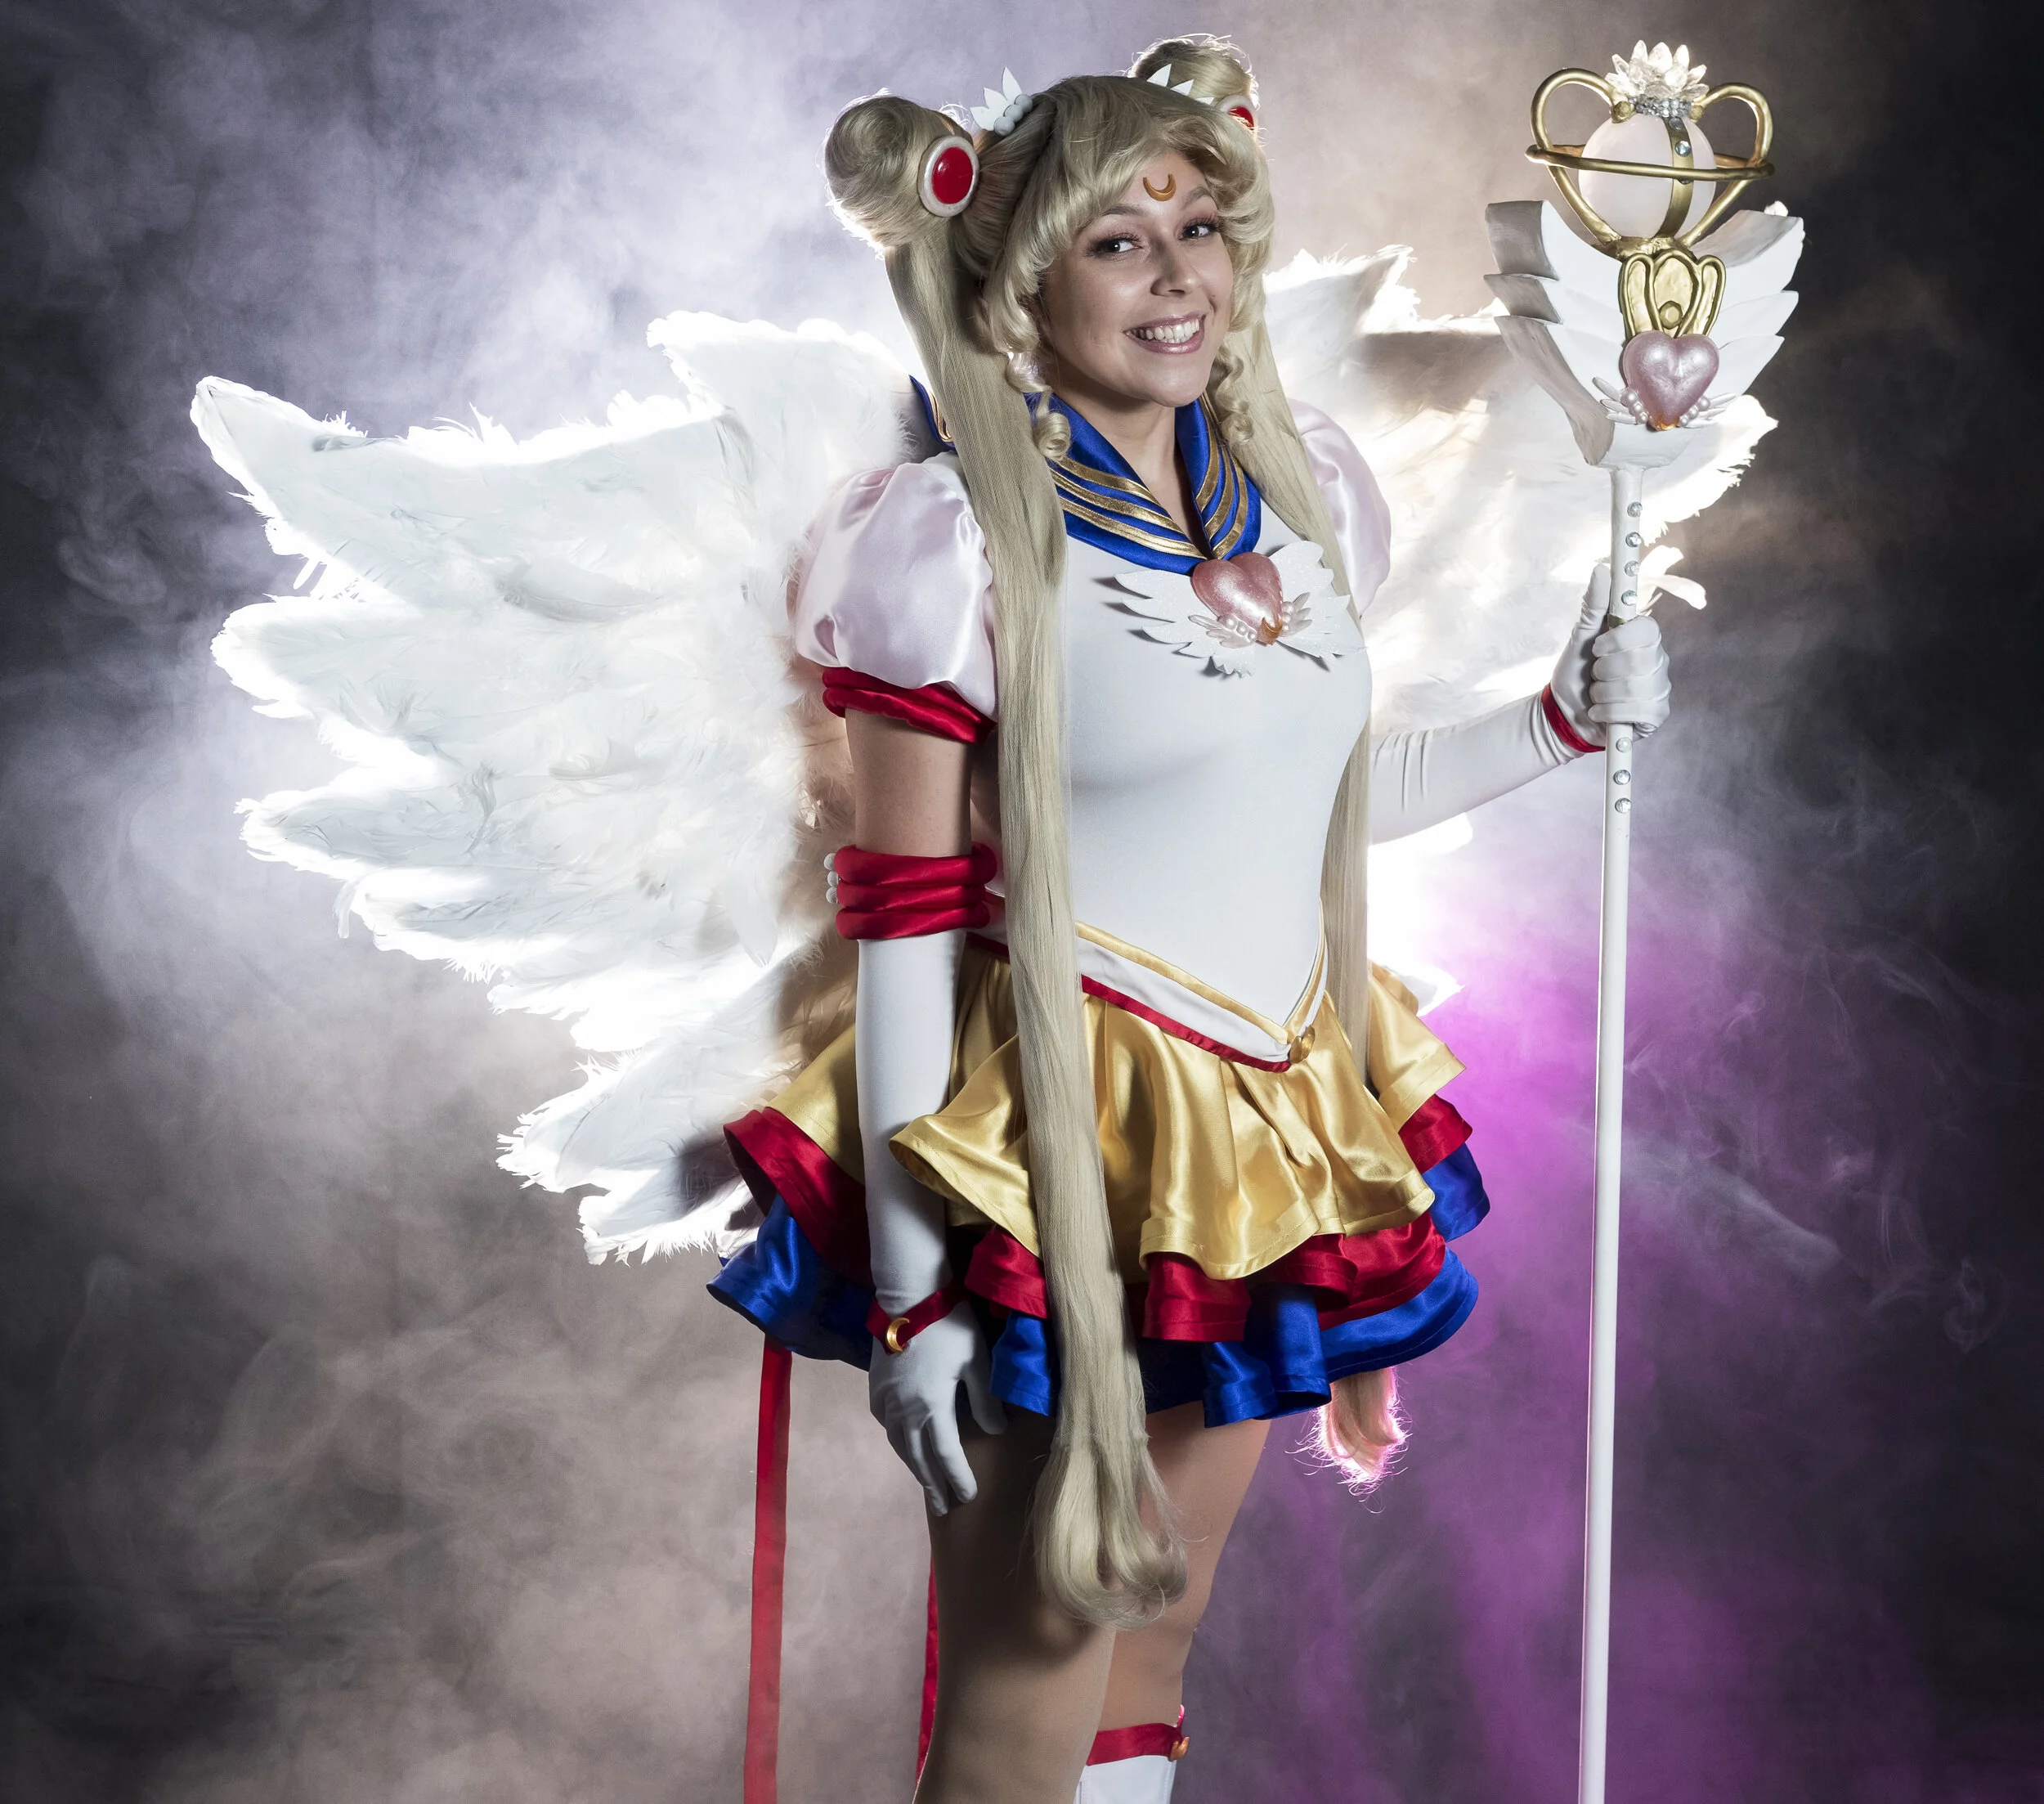
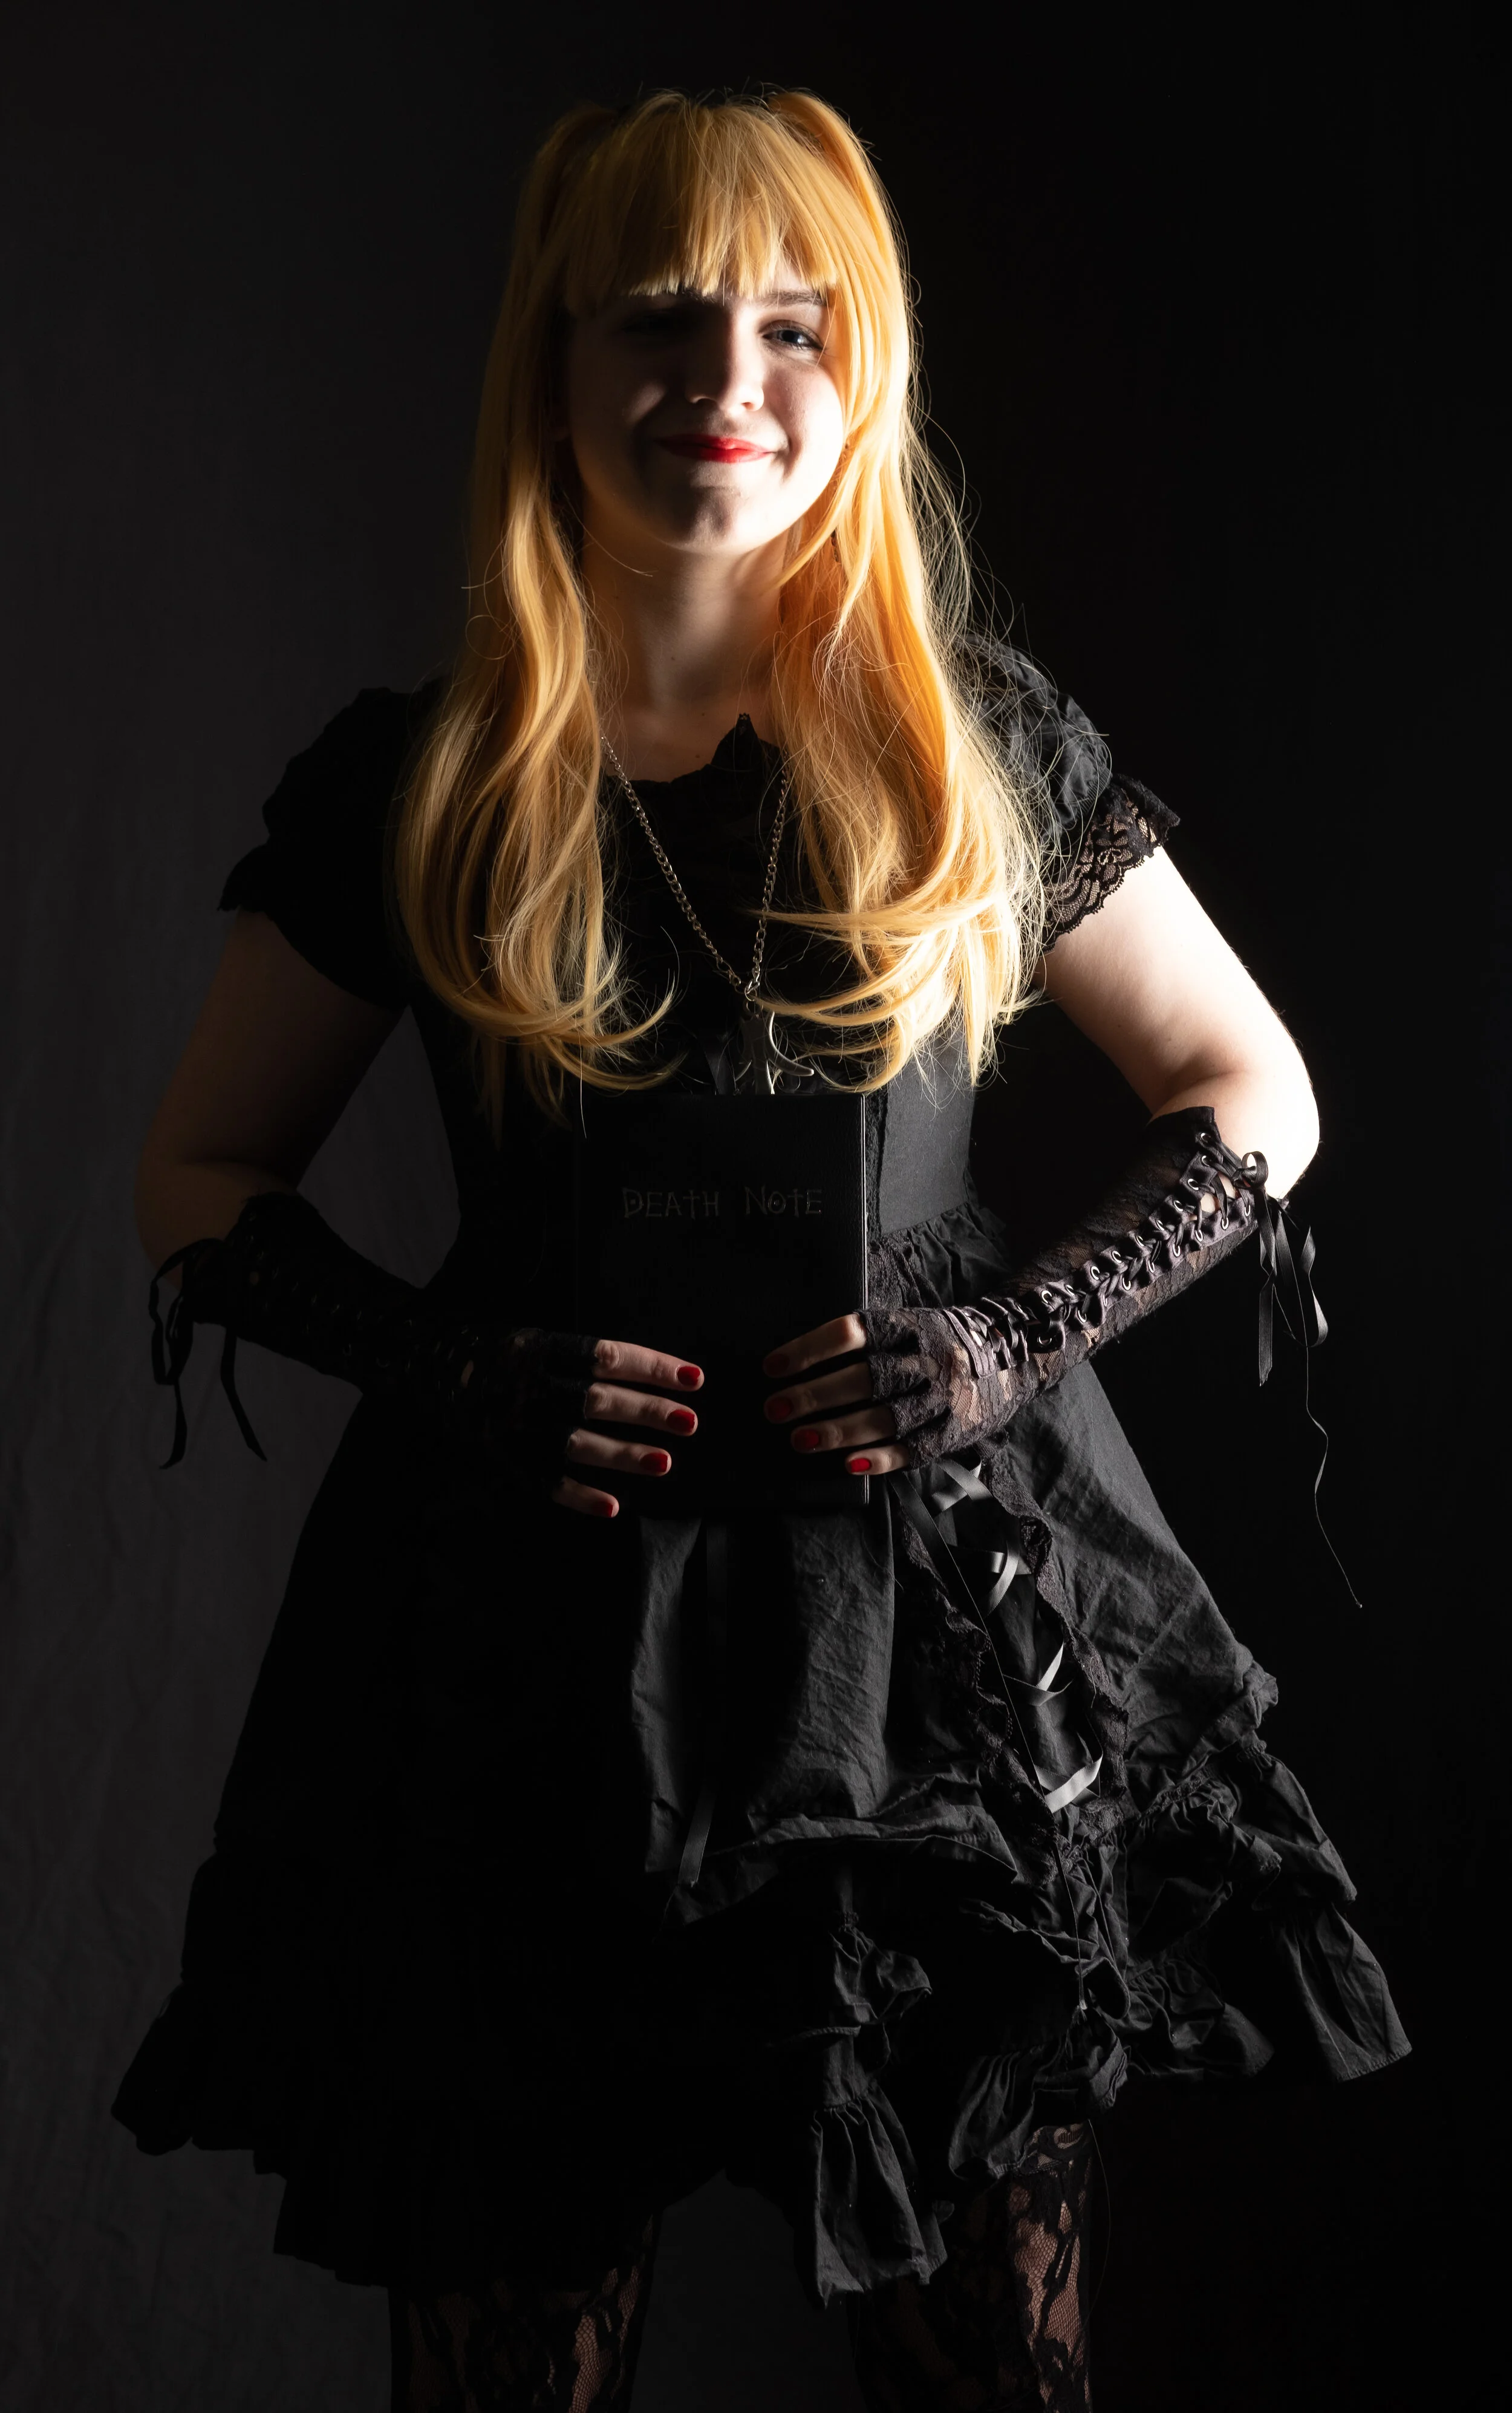
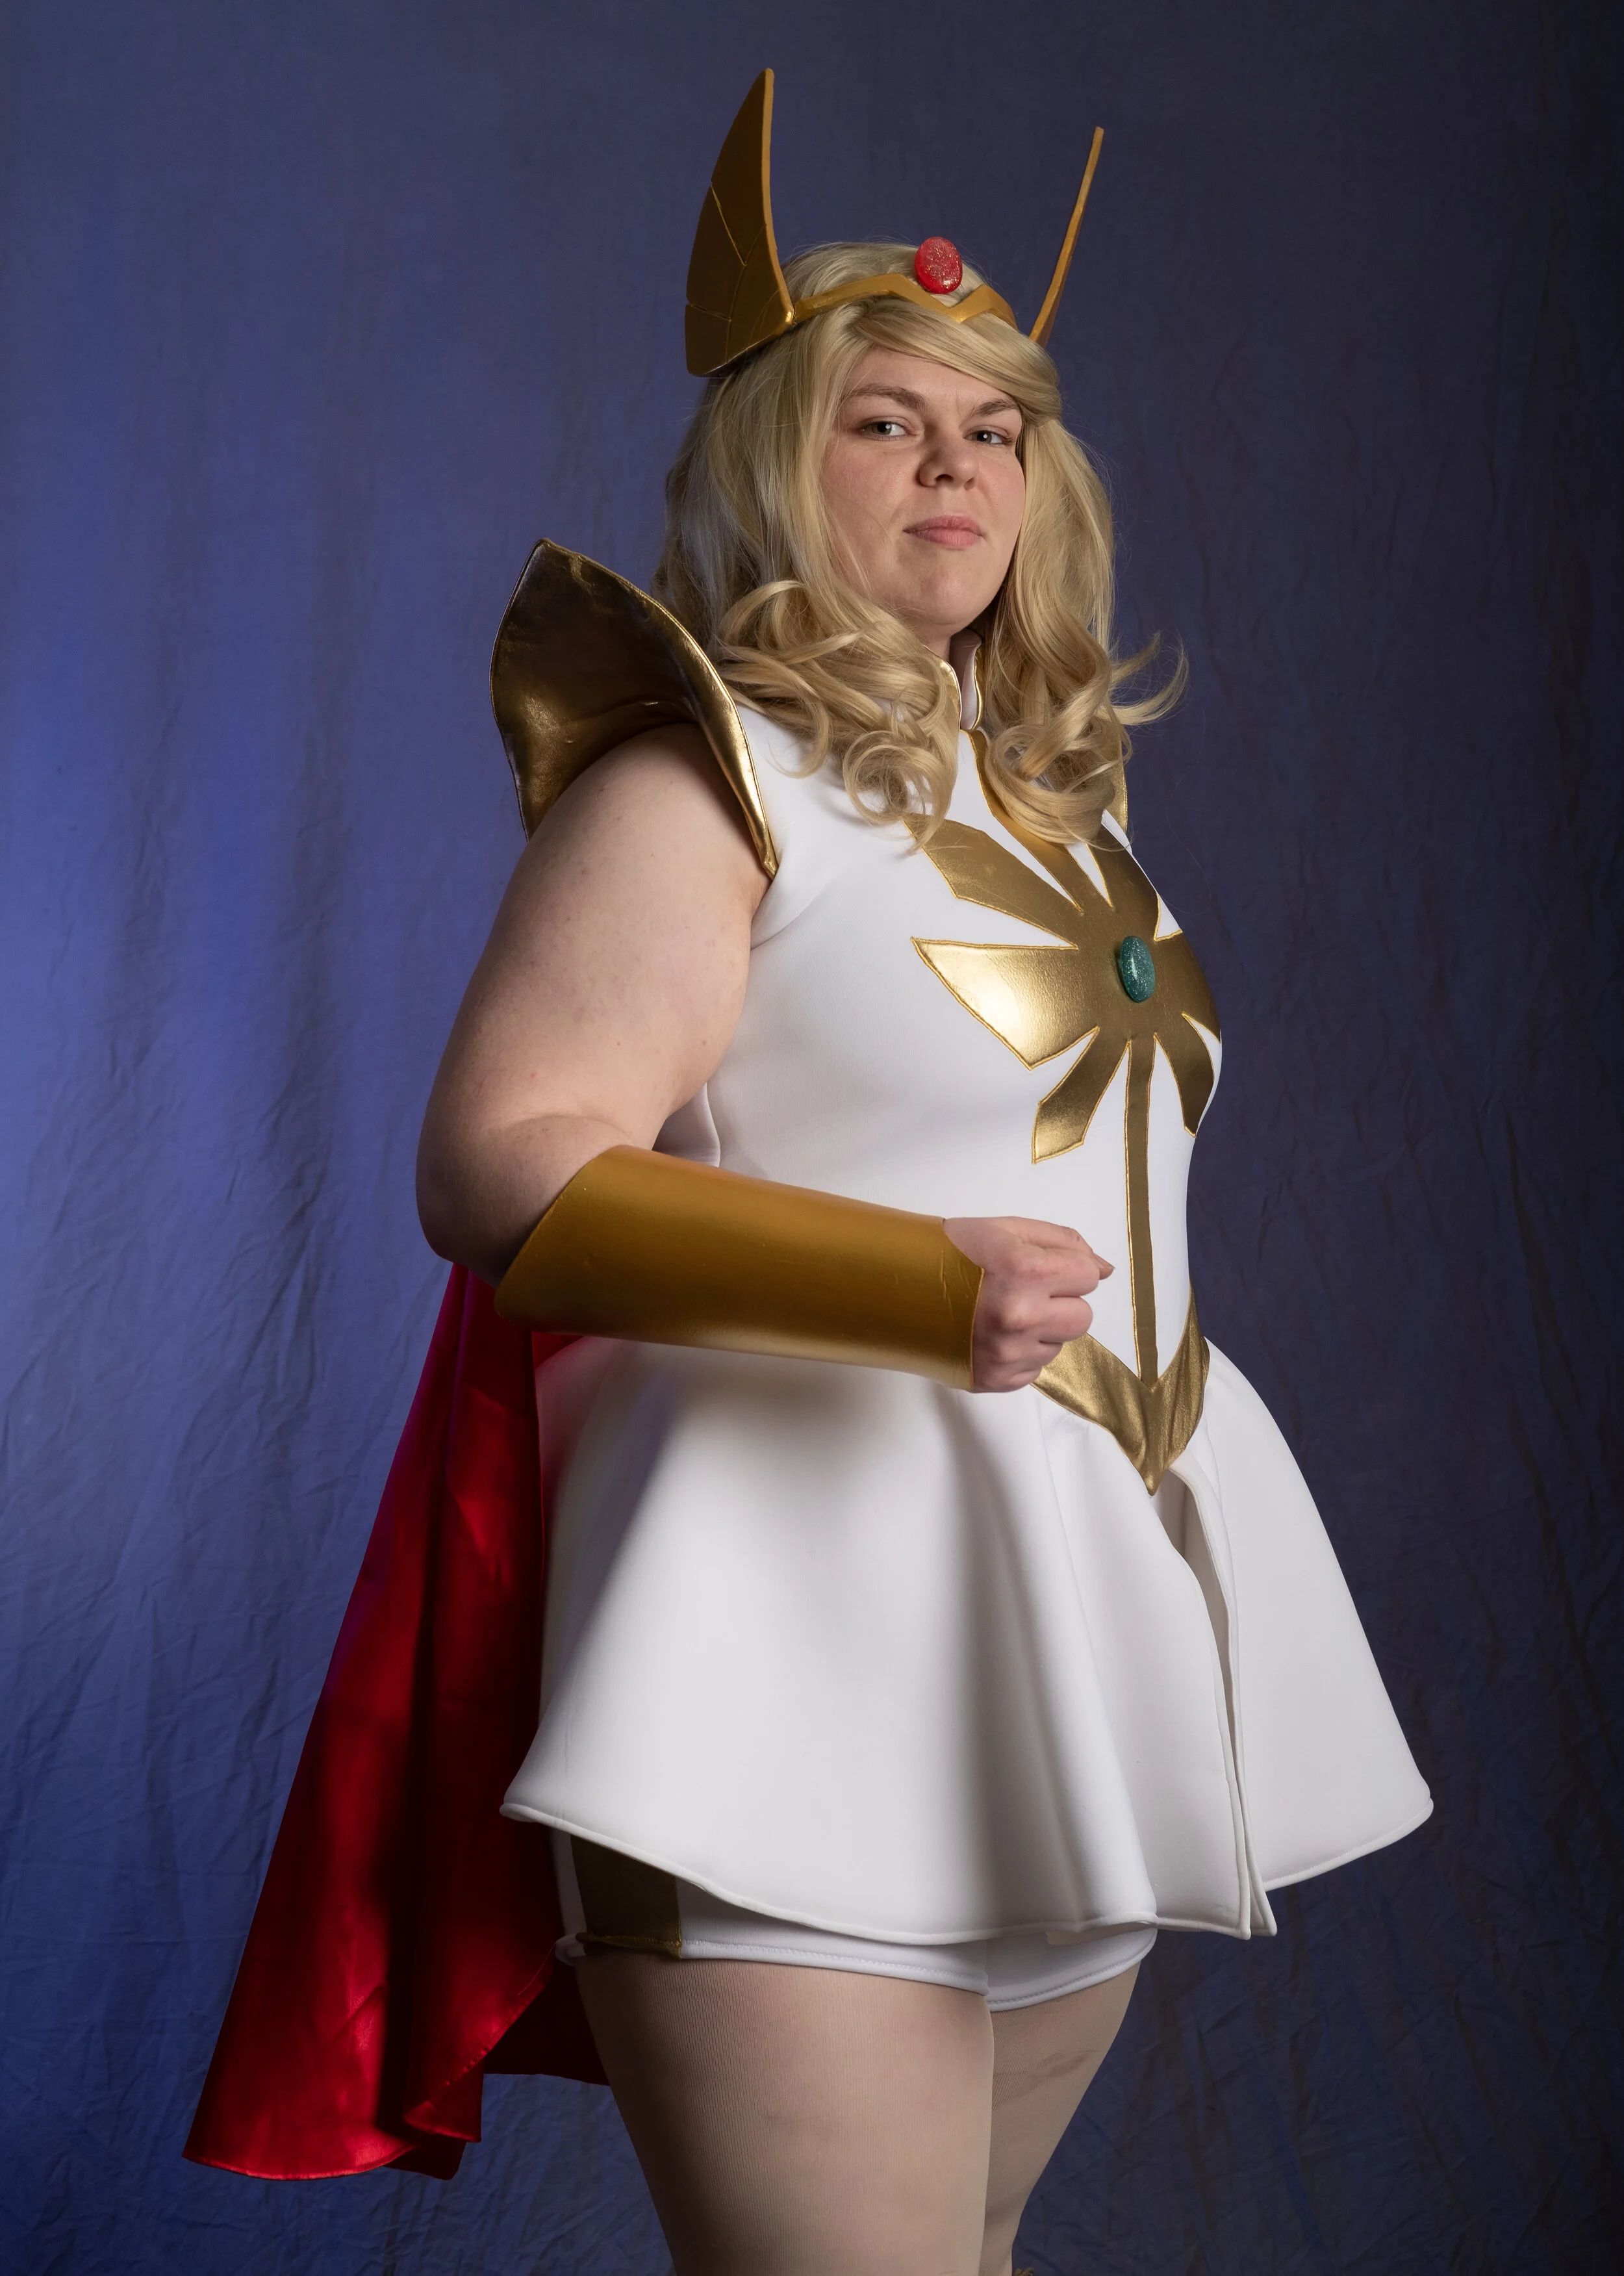
One thing I do want to point out: I hardly ever use these wide open. Most often I’m shooting at either f/4 or f/5.6. For one I’ve never been about ‘THE BOKEH’. Second, when a subject is not ‘front on’ to the camera the idea of having one eye in focus and the other out of focus I find really distracting. When we fold into that the size of some anime wigs… yeah. I mean have you seen just how big the Sailor Moon or Chibi Moon wigs are? There you go.
I know the XF 16-55mm f/2.8 zoom lens is out there. And people have spoken highly of it’s quality. So I could possibly work with one lens once again. But going back to my bit of ‘not having to think about it’ mentality with regards to the X-T2 overall… I think using primes really helps with that. If I feel like another focal length will work better then I just change the lens out. Plus I always know there’s focal length consistency. One less thing to worry about.
Lighting and Modifiers
Bowens Mount Strobe Adapter
There’s a very good reason why I’m starting off this section with this. These adapters have probably been the most useful lighting tool I have. With Bowens mount being such a highly adopted standard for modifiers I have many options available. Plus they also have umbrella mounts. So I can easily use any modifier I have with me. And if we wanted to get really Plus Extra: one of the adapters has four cold shoe mounts for attaching strobes. Which we have used in that way before.
Godox AD200
Before getting into Godox I had used a number of different lighting systems like Yongnuo and Paul C. Buff. But when I found out that Godox was putting together a lighting system that would work directly with Fuji cameras I was very intrigued. And the price points didn’t hurt either.
Getting into the Godox X system was definitely a good choice. Their products are super solid. And the battery tech they have is stupid good. I’ve been able to shoot a whole day without changing the batteries. Really good recharge rates and the ability to either do High Speed Sync or Through The Lens metering is super helpful. Specific to the AD200 itself, being able to swap out the flash head for different light types is also useful.
I used to have two of these… but sadly one decided to go for a swim during When The Sun Is Down I Feel Alive. At some point I’ll replace it.

Godox QS400II
This one I picked up because I wanted to do more with ‘high key background’ styles of photos along with ‘overpowered highlights’. But I didn’t think that the AD200 would be powerful enough. So I knew I needed something stronger. Since such work would typically mean we’re in a studio setting going with something that was AC powered was fine. And it has filled that role really well. If you’ve seen our Cosplay Shot photo demos or the photo booth at Anime On Ice we used a combo of the AD200 and QS400II.
I would like to eventually replace this with the AD400 for portability and control reasons. But for now it works.
Yongnuo YN-560 series
These were actually a holdover from my days of shooting on a Canon Rebel T3i. But they certainly have had some utility in the form of effect lights. Since we’re typically shooting at 1/250th second shutter speed anyway sync speed isn’t an issue. Set them for optical response, throw them somewhere, and we’re good to go. Plus at their typical price points if one dies, it dies.
I’ve thought about replacing these with the Godox Ving V850 series to take advantage of the battery tech and X System controls. But right now I haven’t had anything to push me in that direction yet.
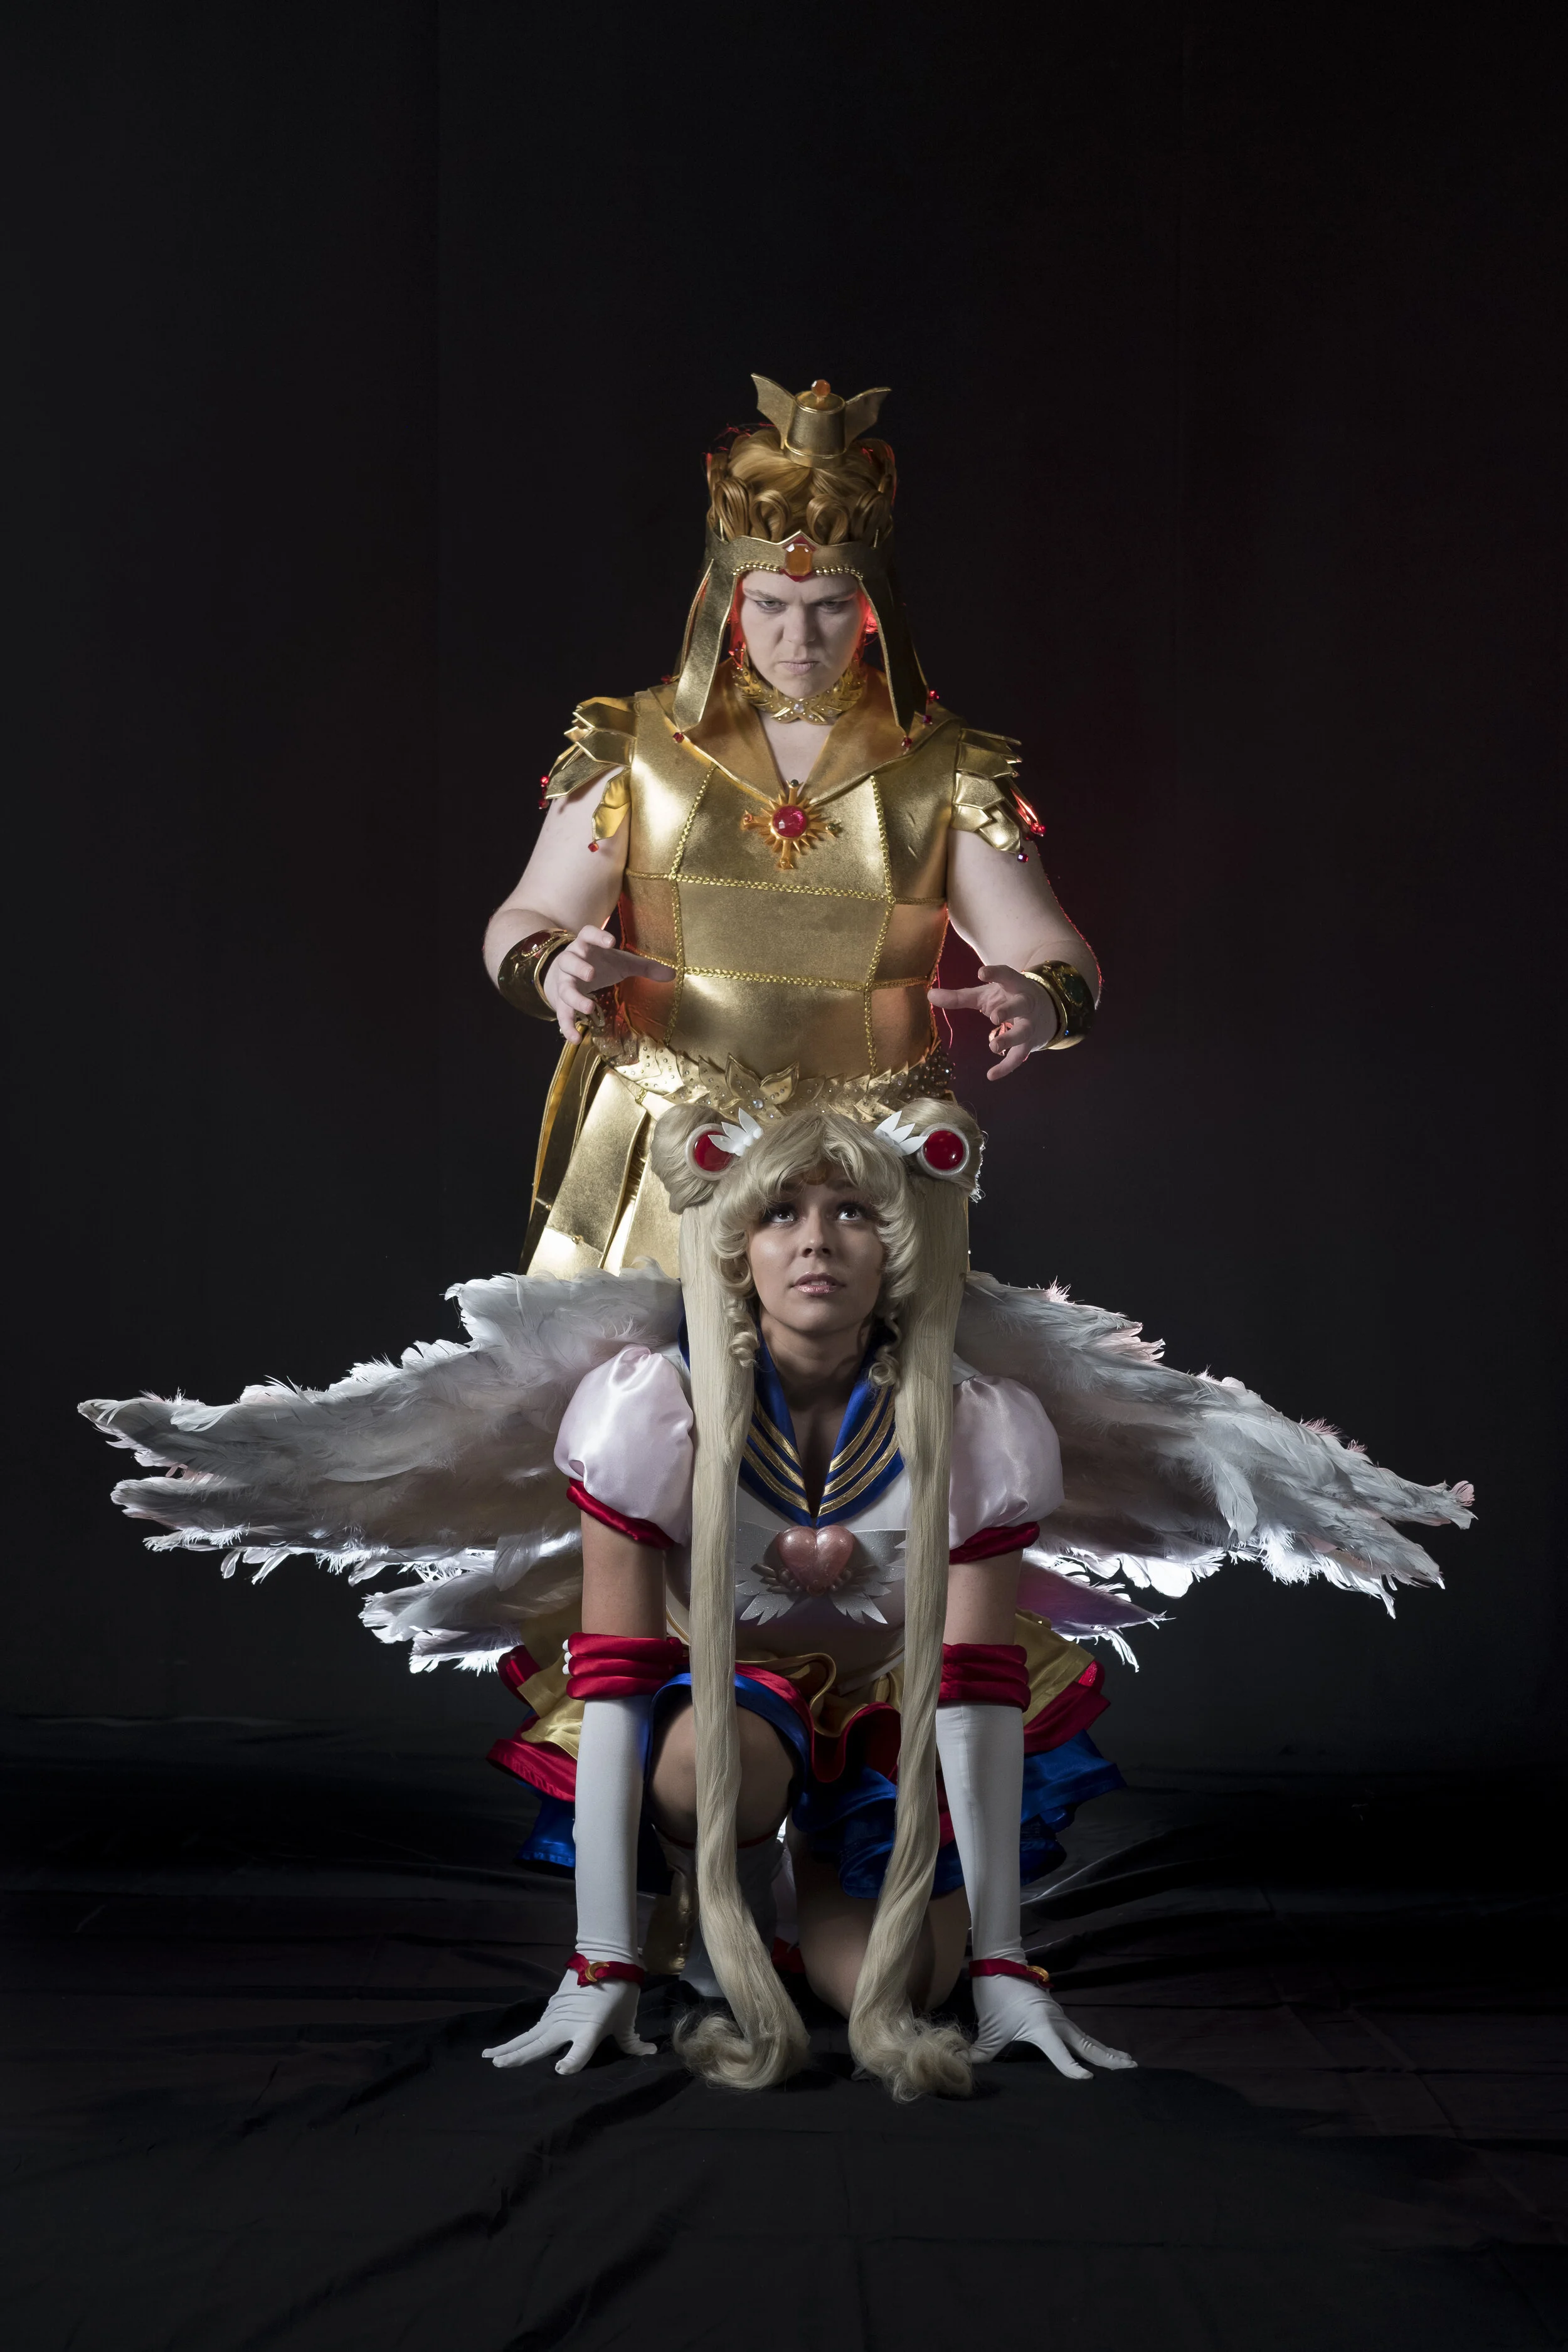
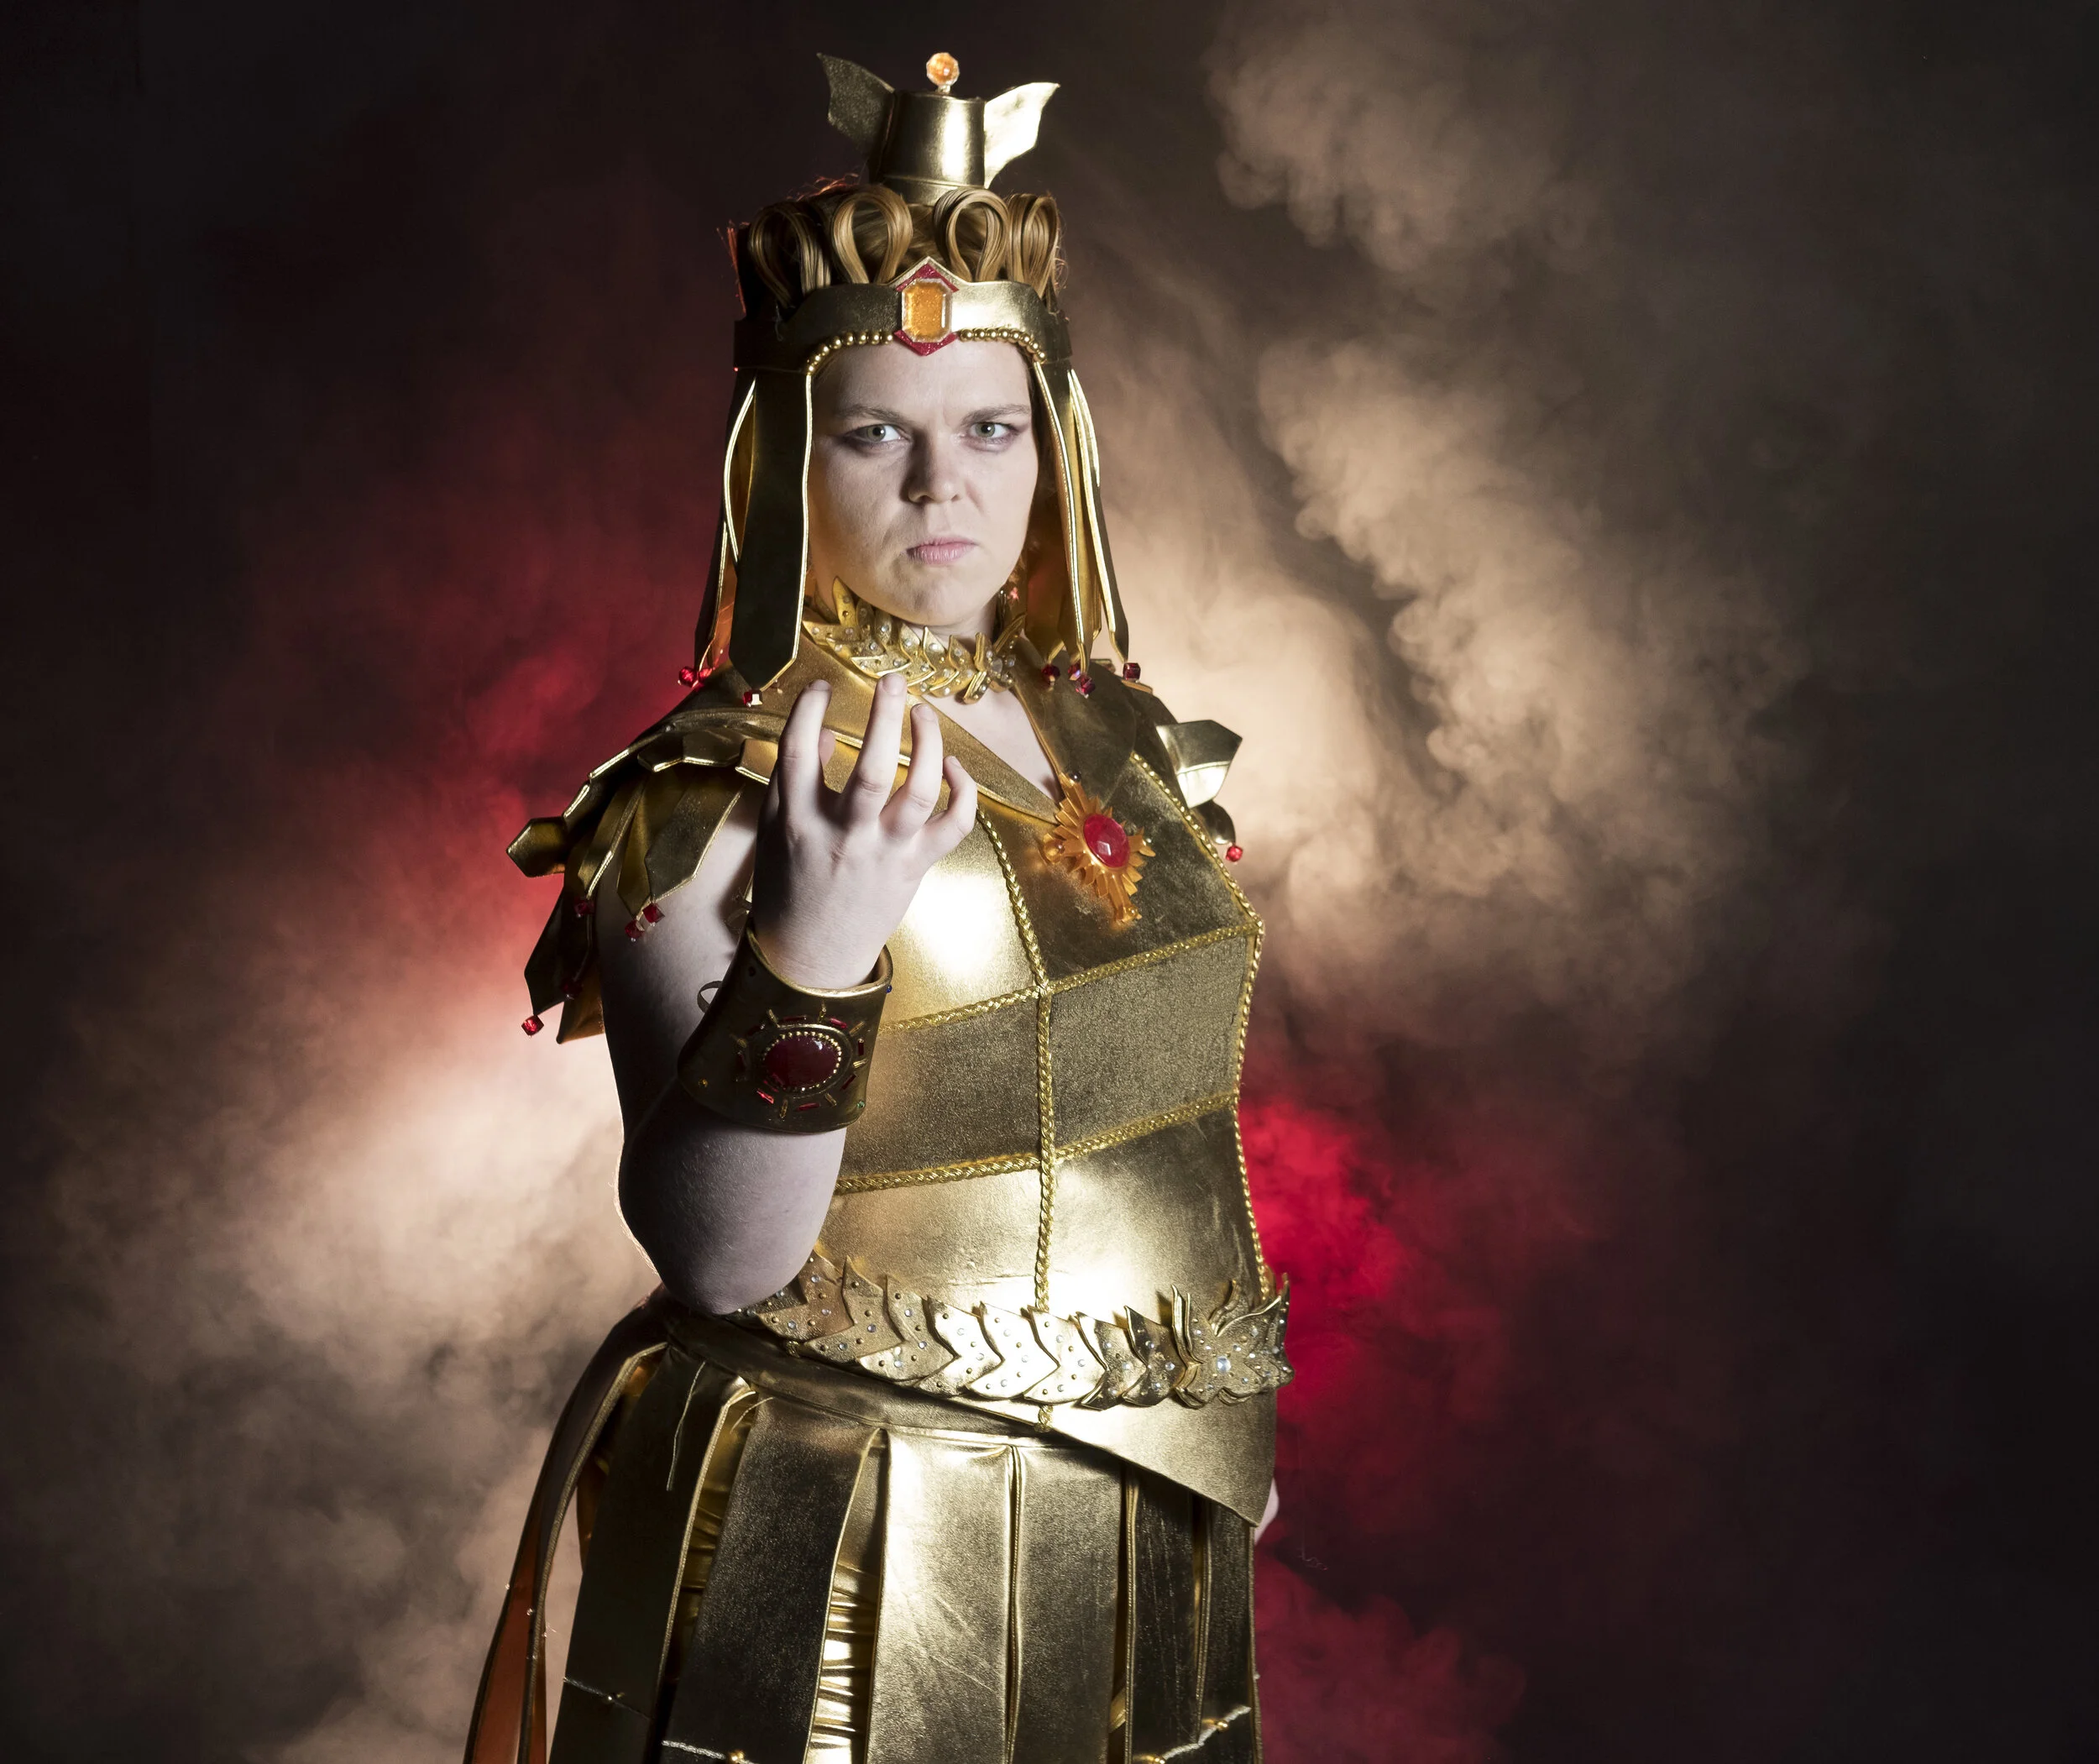
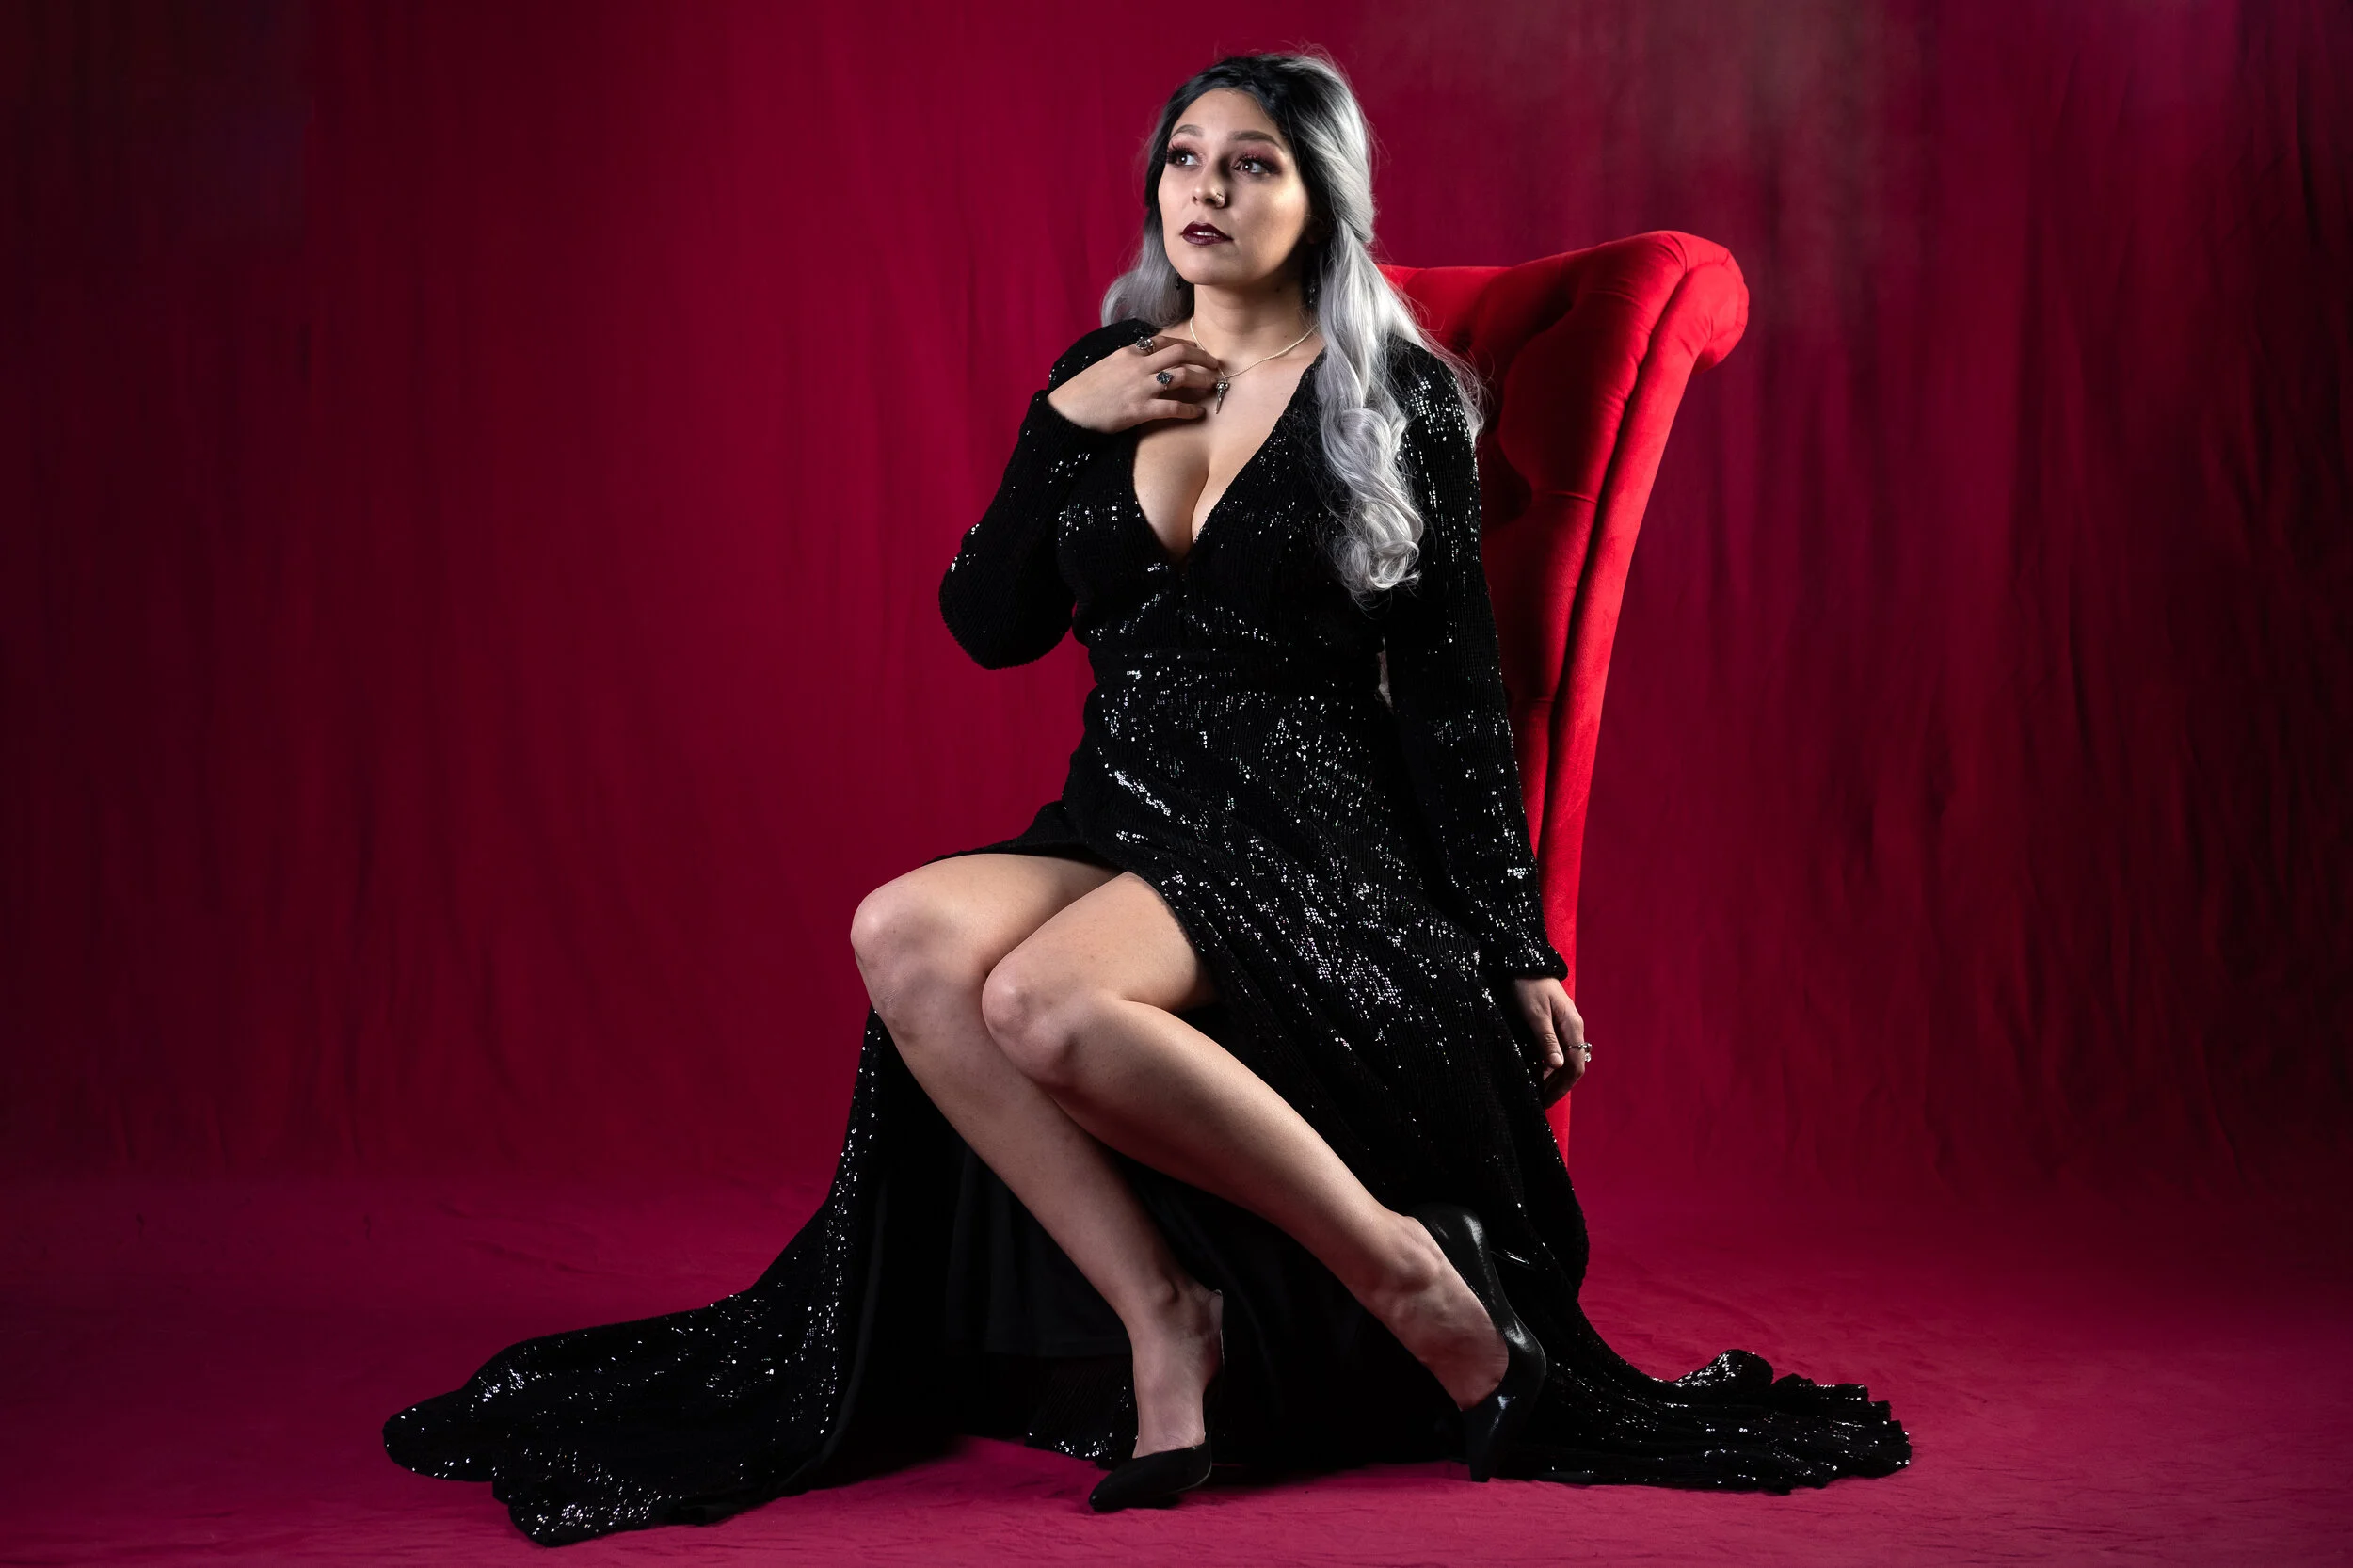
Remember what I said about the Bowens bracket that had cold shoes on it? That and the Yongnuo’s where used in the smoke images you see here.
Westcott Umbrellas
I own quite a few of these. My most commonly used one is the 60” white umbrella with black cover (which I just use as a shoot through modifier so the cover is never on). I also have the 45” silver umbrellas along with a couple of 32” white umbrellas in case space is at a premium. Westcott’s umbrellas are great. The umbrella rods are not cheap aluminum so they will last. And the pricing on these is very reasonable. When we want nice, large diffused light these are our go-to’s.
But only buy the basic umbrellas. The deep shape umbrellas… and pretty much any other modifier or anything else from Westcott is way overpriced for what they are.
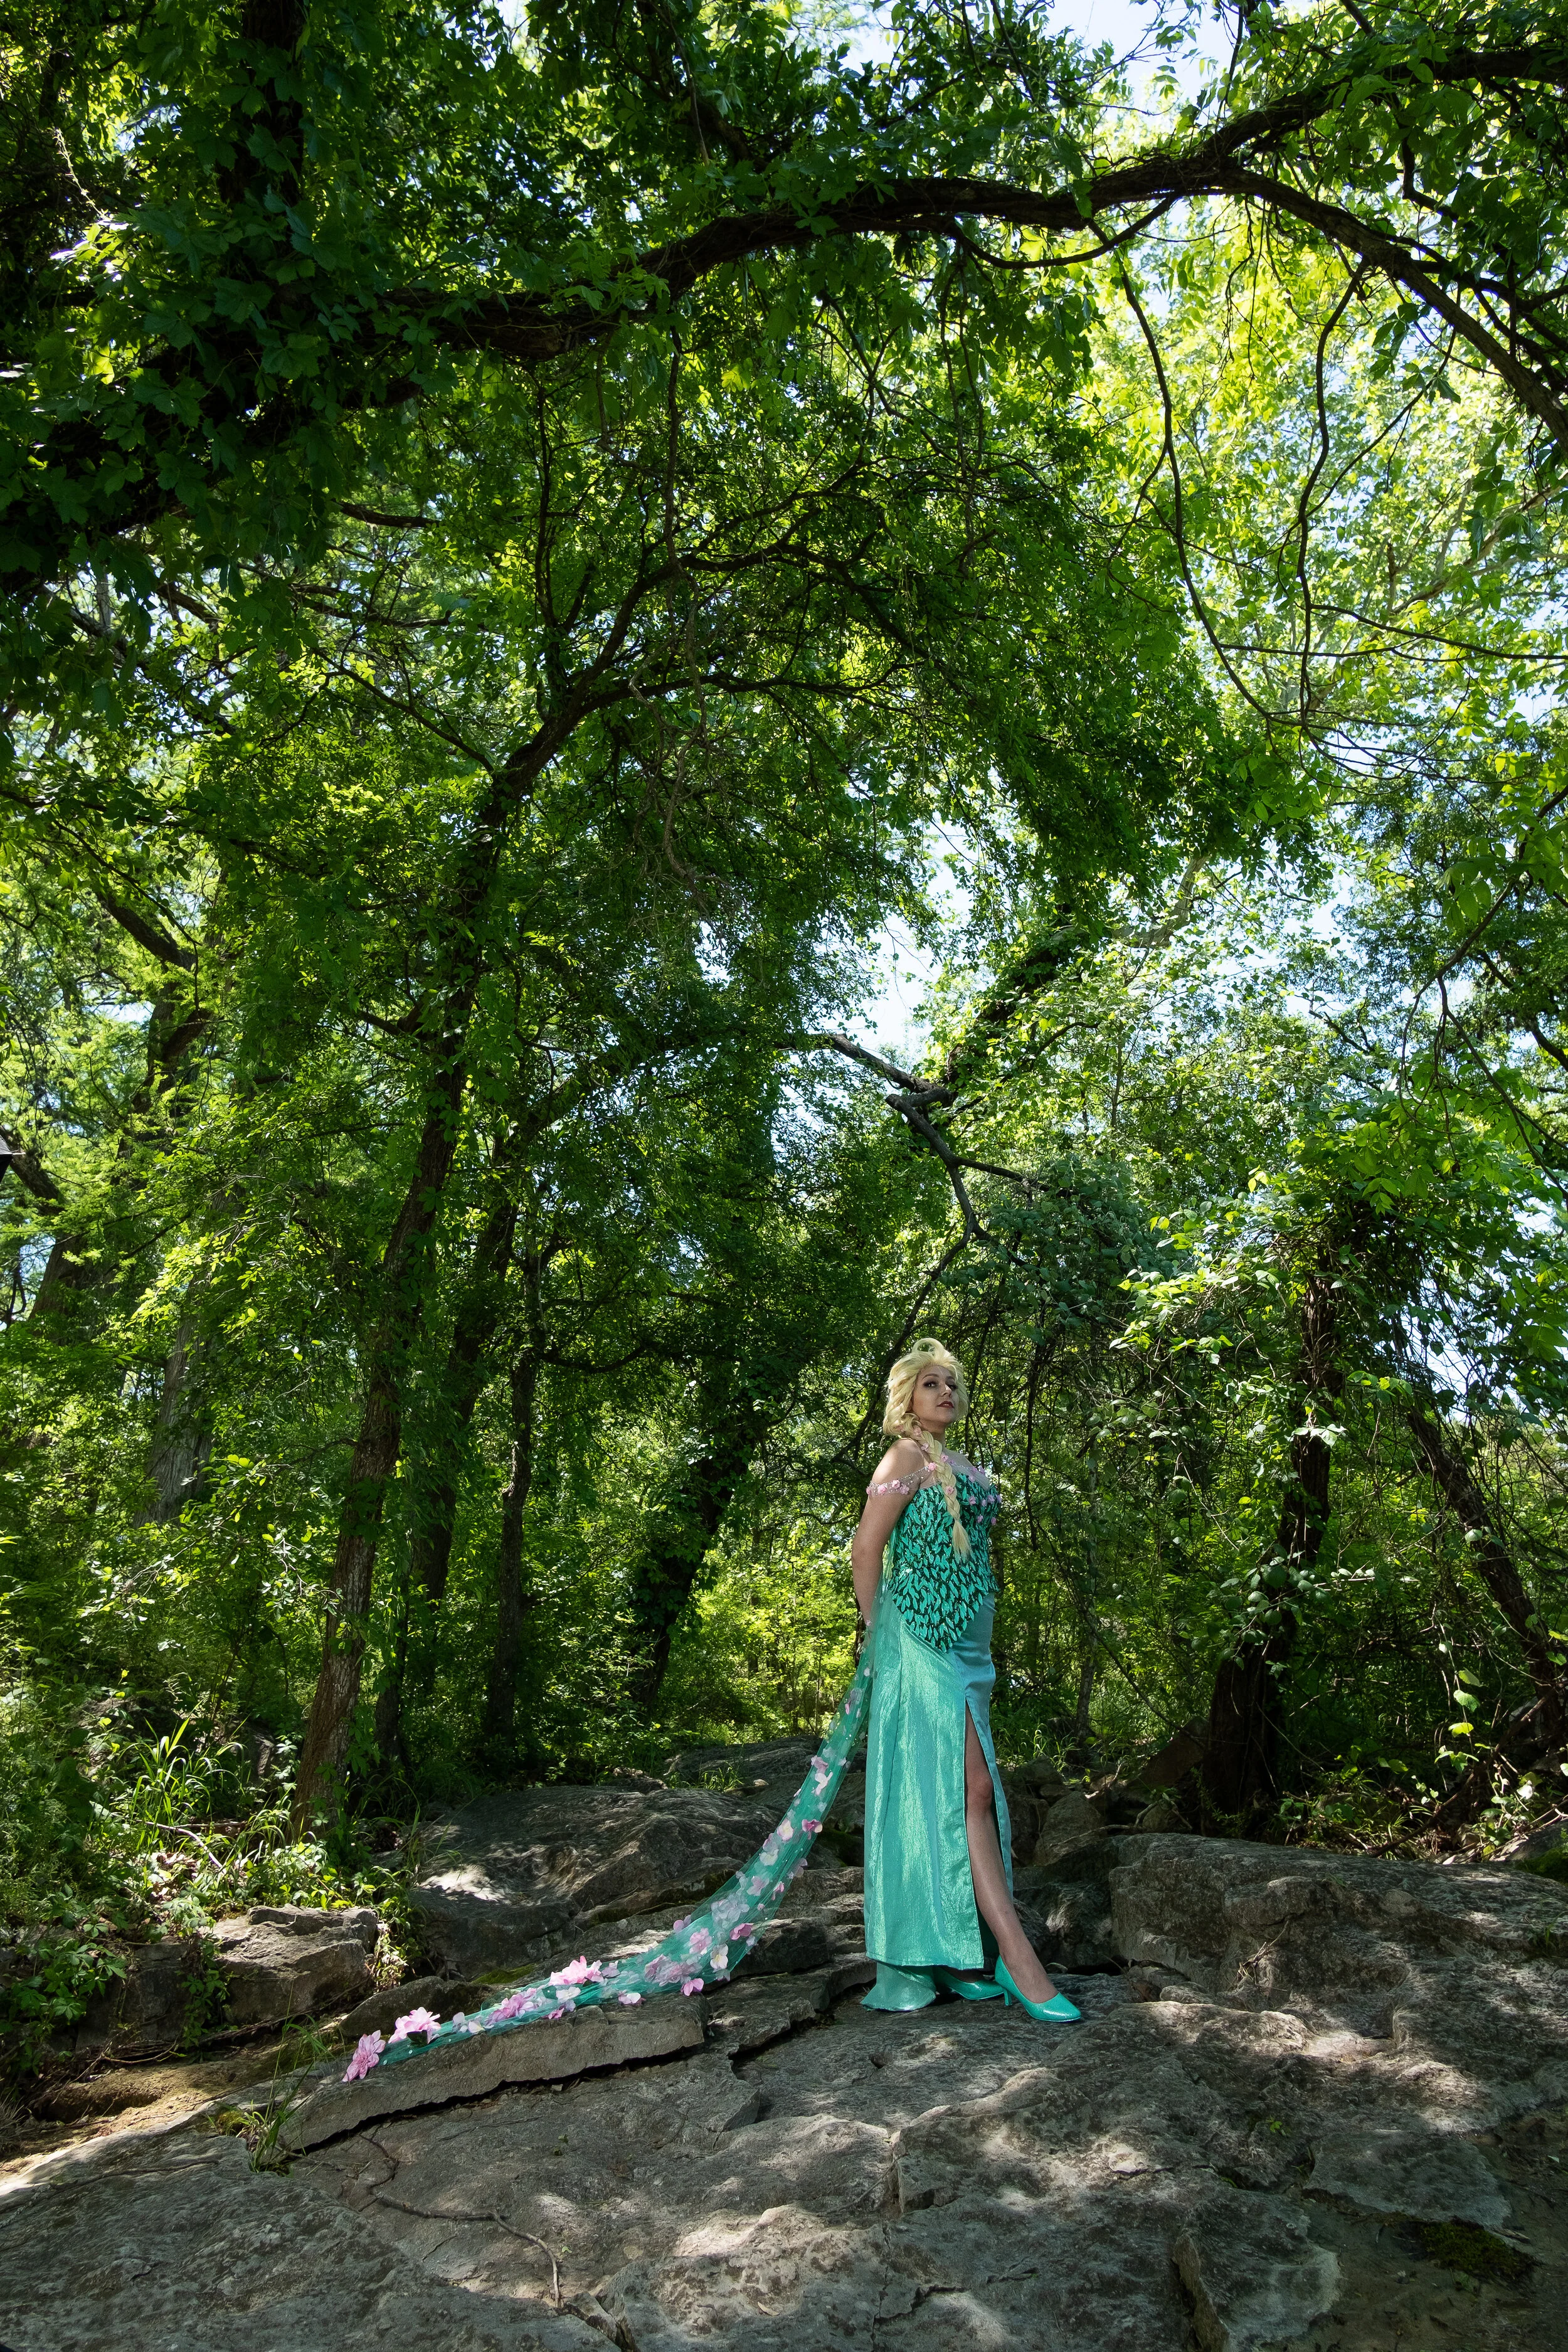
If a set wasn’t shot at Waveform (I use their gear to make things easier on me) you can likely bet the 60” umbrella was used.
Phottix Raja 60 cm x 90 cm Softbox
This is one you may have seen in our Cosplay Shot demos as well. Does a good job of being a larger light source but still allows some control since it does come with a 40 degree egg crate grid.
Godox 7” Reflector
Ah yes, the good old reflector. There’s a reason it’s still out there today… it just WORKS. Even more so when you use honeycomb grids with it. I currently only have a 10 degree grid but I want to get others to use. Does amazing things when you want it as a well controlled key light, or if you want to do interesting things with background fills.
Interfit 12” x 59” Stripbox
I’ve come to find out Interfit doesn’t actually offer this one anymore (the size jumps from 48” to 72” in length now). Much like the reflector we use this one for for really tightly controlled light. Plus it also works well for doing gradient background fills.
Other Gear
Camera Tethering System
I’ve written quite a bit about our tethering setup so I’m not going to get into the technical details of it. But even after a little over 2.5 years of using it I would say it was one of the better investments I’ve made for my work. It has helped us correct lighting problems so much faster. Also in a rather odd way has helped with calling out issues with posing.
There are a few upgrades I would like to make in the future. For one right now we can only use this setup in a studio setting. I am aware of some outdoor use solutions but they would require a decent investment. Second would be getting a larger monitor for when we are in the studio. The Dell Inspiron laptop I use has a 13” screen, but having something larger would help so we didn’t have to zoom in and check on certain things. I use a BenQ PD2700 to edit on so I would most likely get something similar to that.
Rosco CalColor Filter Kit
Since we’re all fans of interesting uses of color this gel kit is something we’ve used the hell out of. And when we’ve done our Cosplay Shot demos it has helped demonstrate how to make shots more interesting. Also using this kit has also helped illustrate the use of color theory in photography.
Light Stands, Background Stands, and other things.
Believe me when I tell you I have a ton of light stands. Somehow I just end up collecting them. The ones I tend to use the most are from the ProMaster LS series. Good pricing, pretty well built, and they just work. I don’t have to worry about them. The background stands I use are from RPS Studio. Solid items to work with and worth the money.
As for the backgrounds themselves… let’s just say we have a shitload of them. Acquiring seamless paper for use isn’t quite an option at the moment due to storage and other reasons (one of them being I have cats). So dyeing muslin backgrounds in various colors has been a regular thing even before MTA was started. Plus seeing your washing machine make colored foam is always amusing. I was originally using Neewer muslins but some time ago they switched to a synthetic fabric. Since I had no way to heat synthetic dye for a 10’ x 20’ background I needed a new supplier. Thankfully Prism Backdrops from Ravelli still uses a natural fiber for theirs. And I’ve been happy with them so far.
I wasn’t kidding about that background part.
Final Thoughts
Most of the time when I write articles about our photo sets I really try not to get deep into the gear side of things. I see that particular aspect brought up quite often when discussing photography so I really try to talk more about the inspiration and creative parts of what we do. But with some of the discussion that took place during our Cosplay Shot demos I thought it might be good to talk about the equipment in written form. And who knows right now when we’ll be able to do that demo again.
I tried to put product links where I could so people could easily find them if they were interested in purchasing. Though you may have noticed I referenced one specific vendor quite a bit: Precision Camera. I’ve purchased quite a bit of my gear from them. The pricing lines up with anything online and the staff is fantastic. Plus the money stays here in Austin. I’m big about doing that whenever possible. And no, they’re not affiliate links, and they didn’t know I was writing this article.
Hopefully this gives you some insight into why we use the equipment that we do. What we’ve listed here aren’t the only options out there for purchasing specific items. But maybe it will give you ideas on how to make your photos awesome.
